SOS Explorer® Installation Guide
SOSx Installation Guide
Permalink to SOSx Installation GuideYou have decided to install our award-winning software! Congratulations. SOS Explorer® is a great tool for understanding mapped data and scientific concepts and sharing them in a captivating way. Go to About SOS Explorer® to learn more about the different ways in which you can install it. Go to SOS Explorer® Resources on our Education page to understand how to use it.
Important: If you already have an older version of SOS Explorer® installed on your PC, please follow Uninstalling SOSx section below to first save your custom datasets and then to uninstall your old SOS Explorer® before installing the new one.
Installing SOSx
Permalink to Installing SOSxDownload Installer
Permalink to Download InstallerDownload the SOS Explorer® (SOSx) Installer:
Run Installer
Permalink to Run InstallerRun the SOS Explorer® Installer by double clicking the downloaded executable and granting administrator privileges.
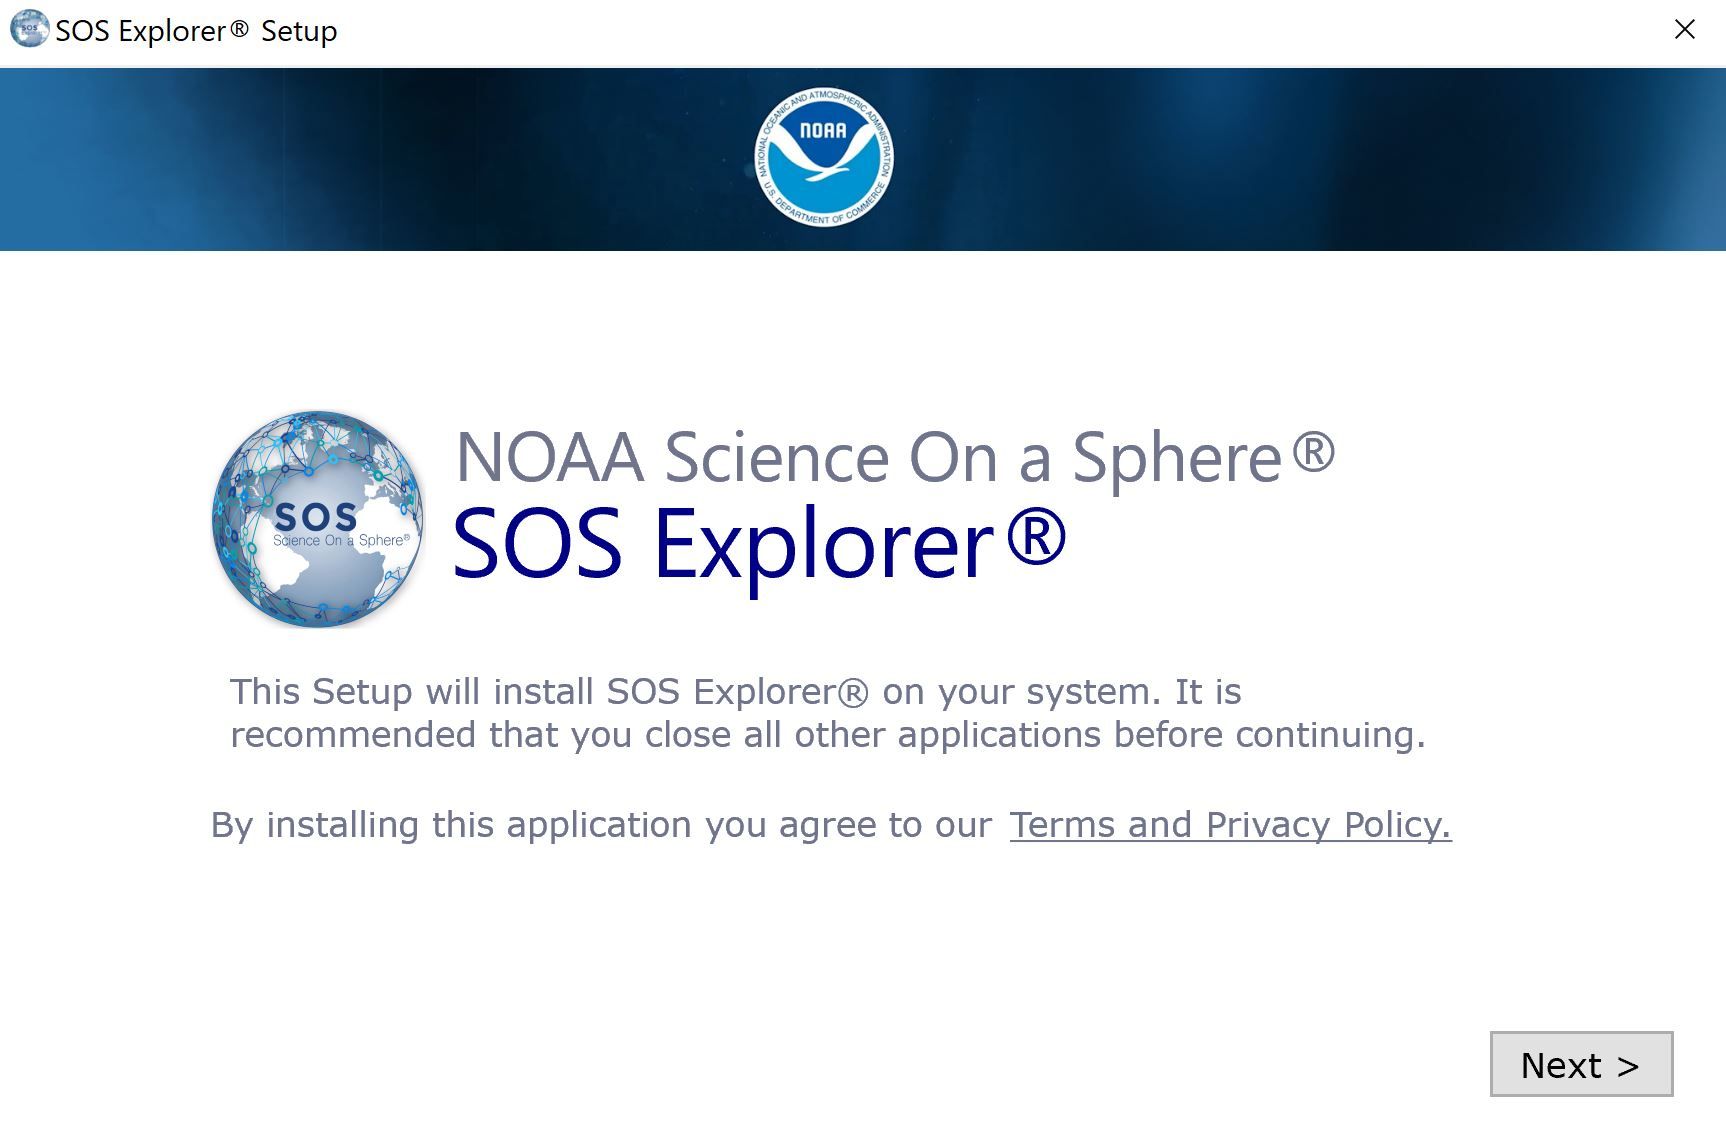
SOS Explorer® introduction screen
SOS Explorer® Installer will open. Click Next until the Configure Shortcuts menu appears.
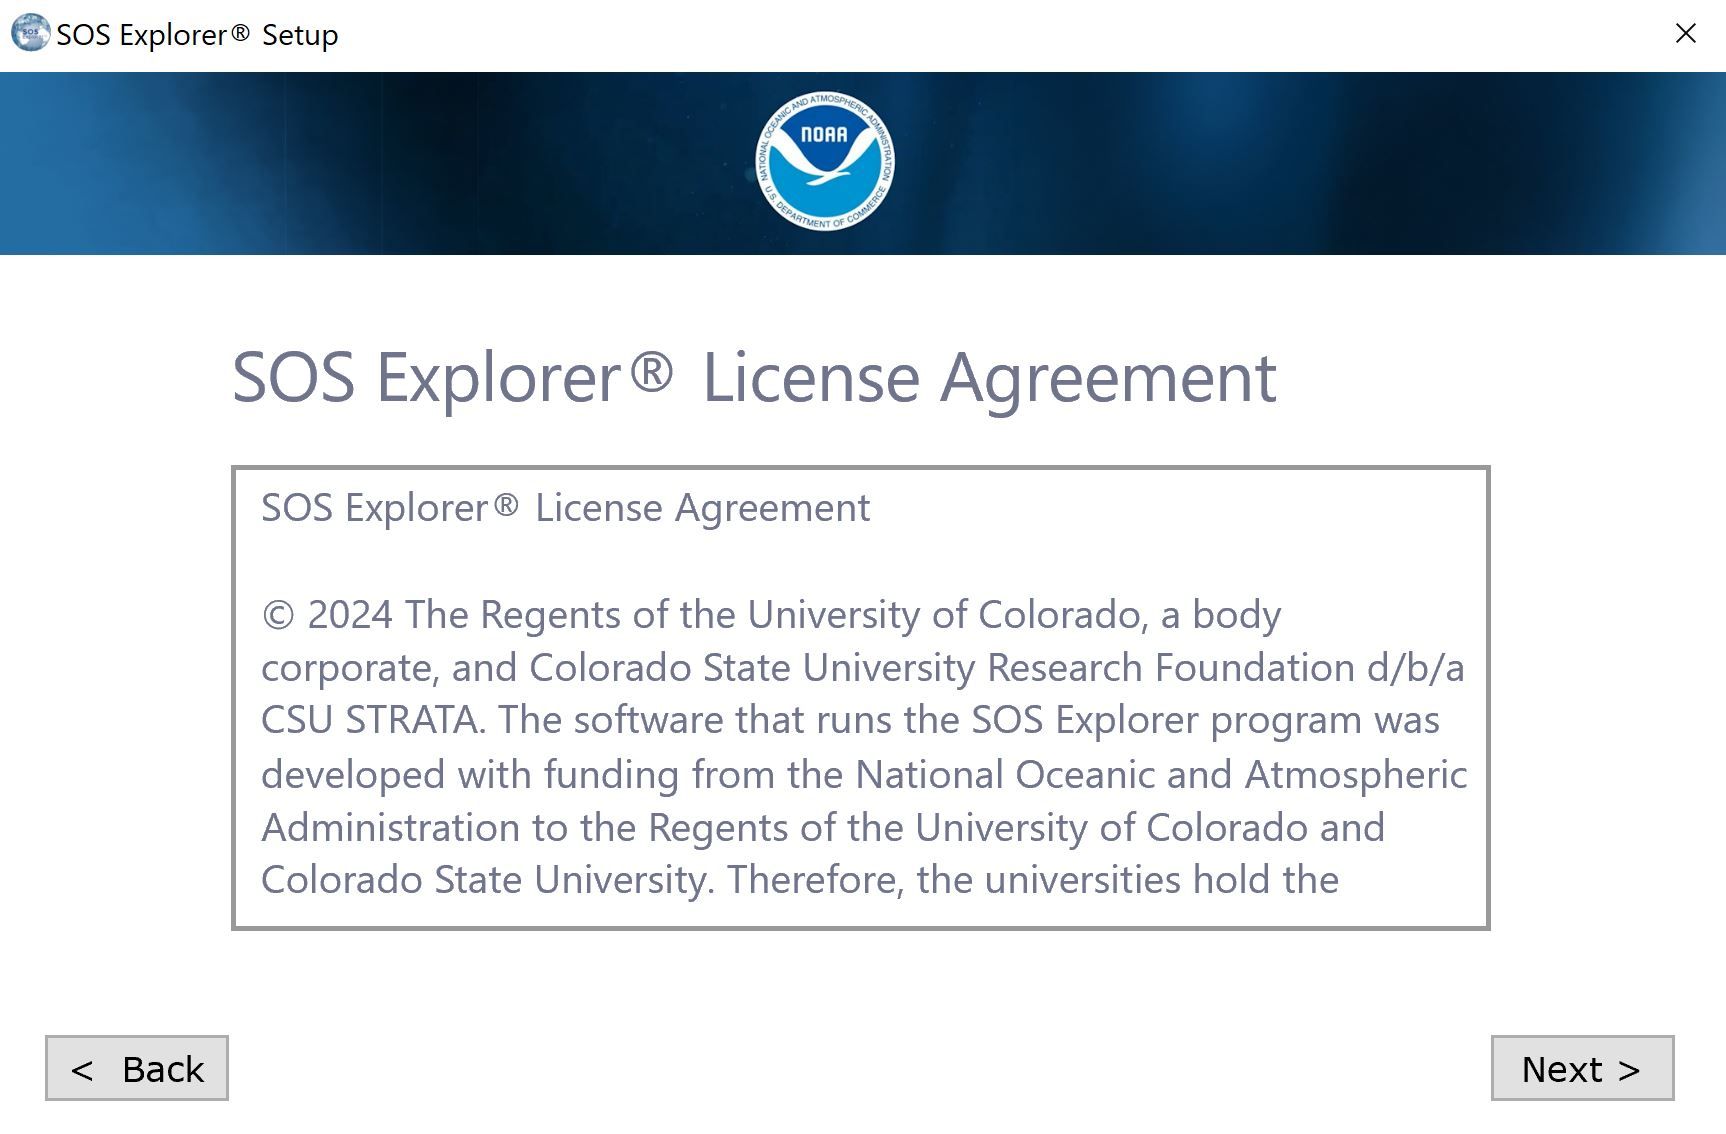
SOS Explorer® license agreement screen.
Install Shortcuts
Permalink to Install ShortcutsWe recommend keeping the default setting with all the options checked and clicking Next.
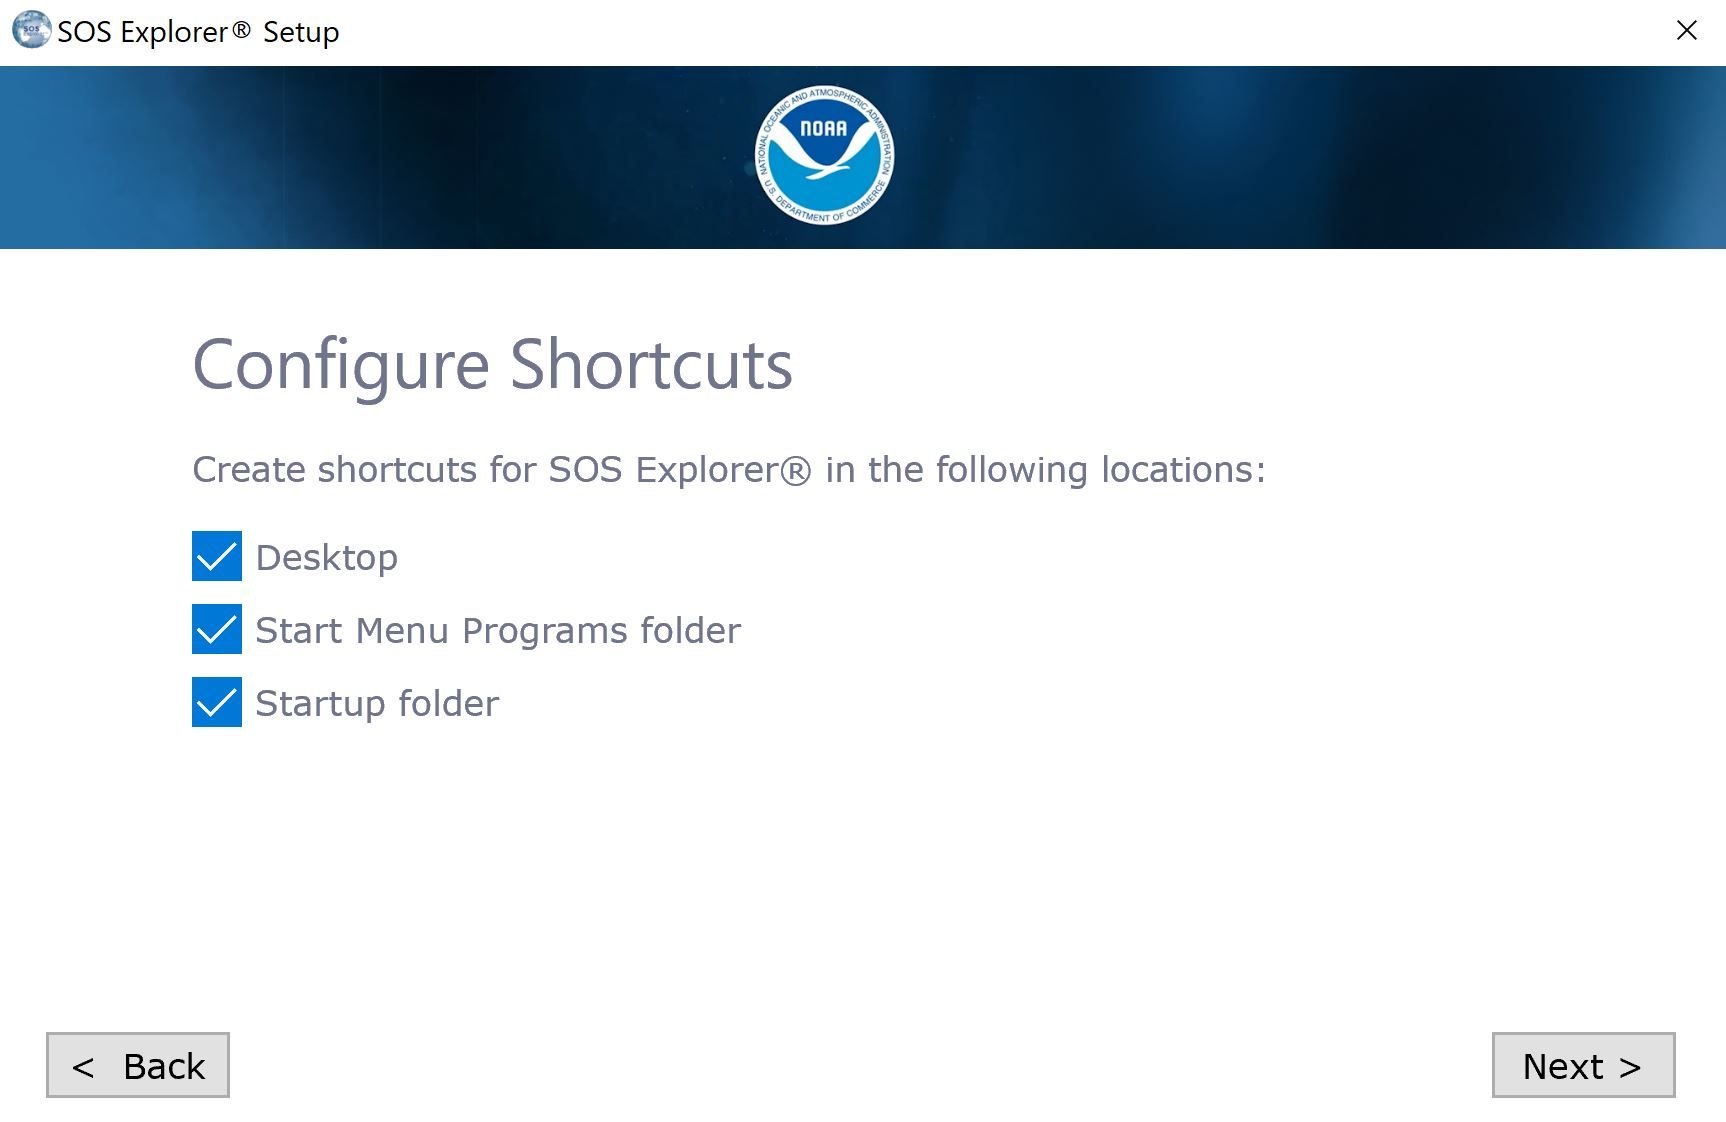
SOS Explorer® Shortcut Options screen.
Select Install Location
Permalink to Select Install LocationClick Browse to choose the folder where you want to install SOS Explorer®. You can keep this setting by default if you don’t need a custom location.
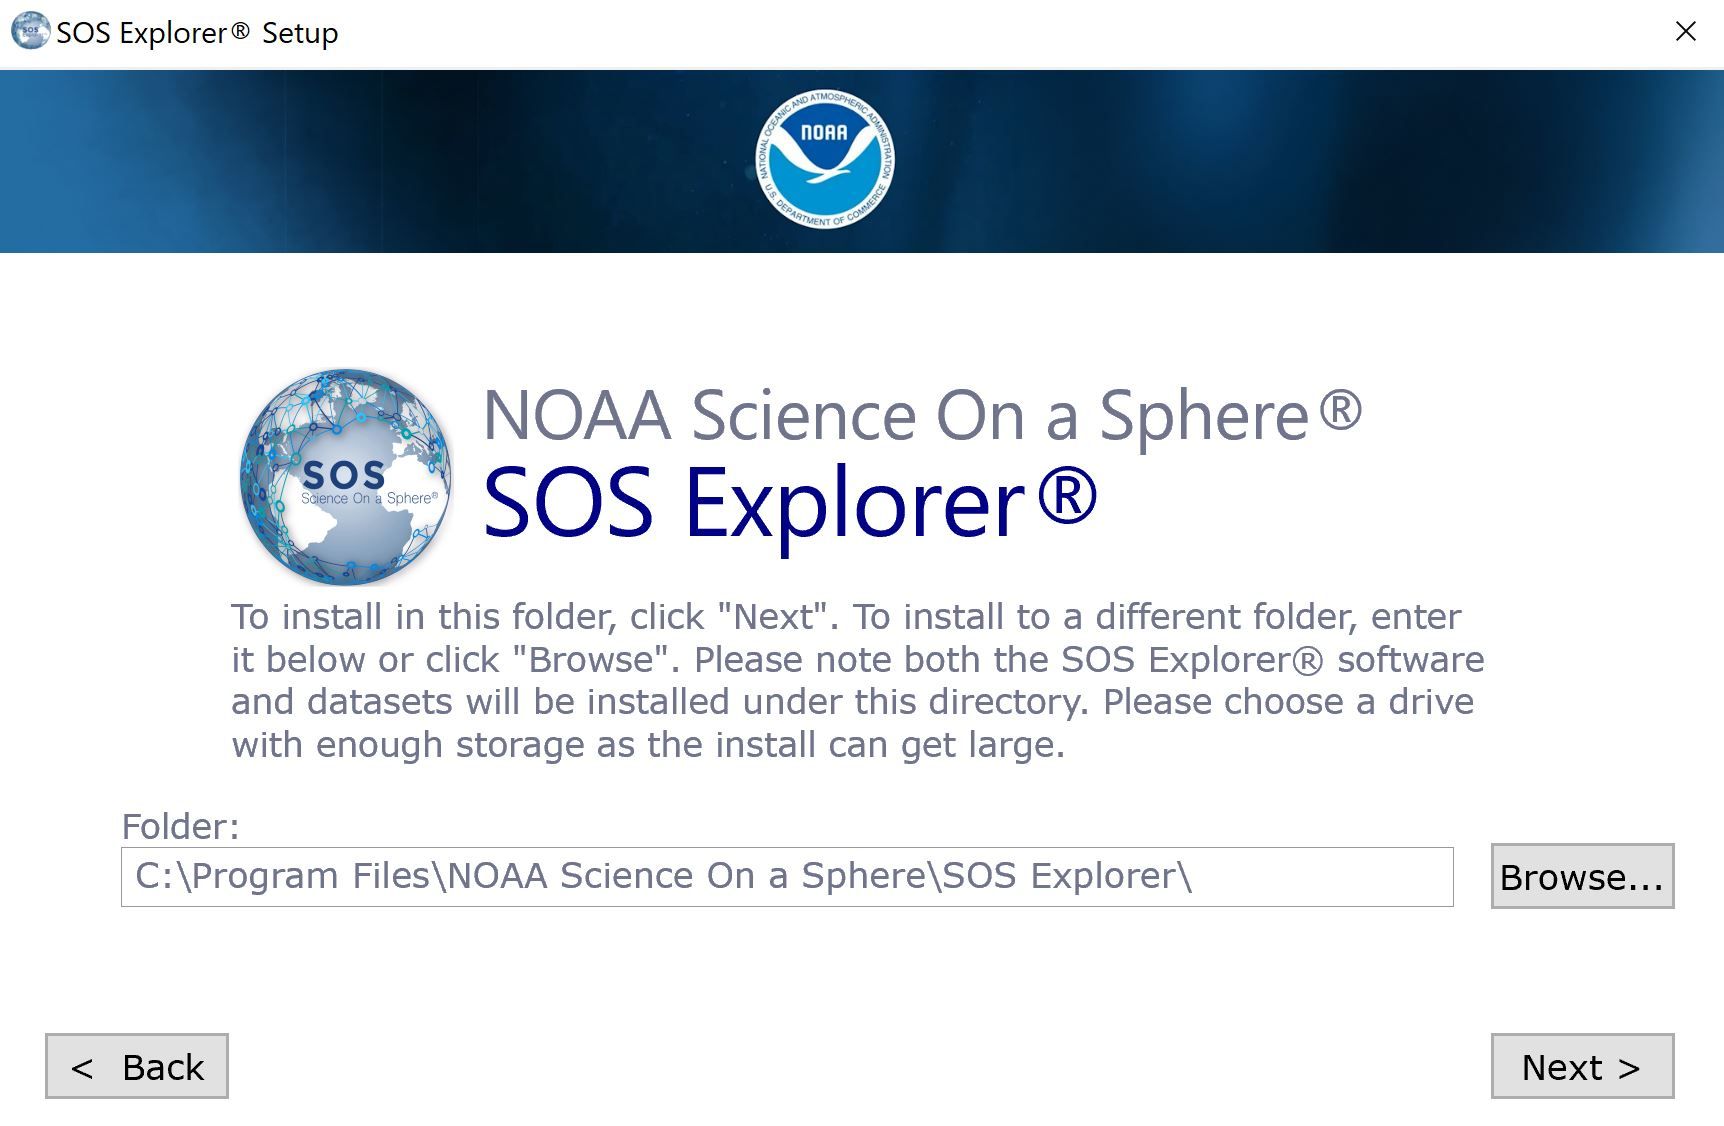
Install location selection screen.
Schedule Real-Time Dataset Updates
Permalink to Schedule Real-Time Dataset UpdatesWe highly recommend you leave this option checked. This will ensure the real-time datasets you install will update every Tuesday at 9 AM local time. Leaving this option checked will also run the synchronizing script at the end of the installation. Press the Next button when done.
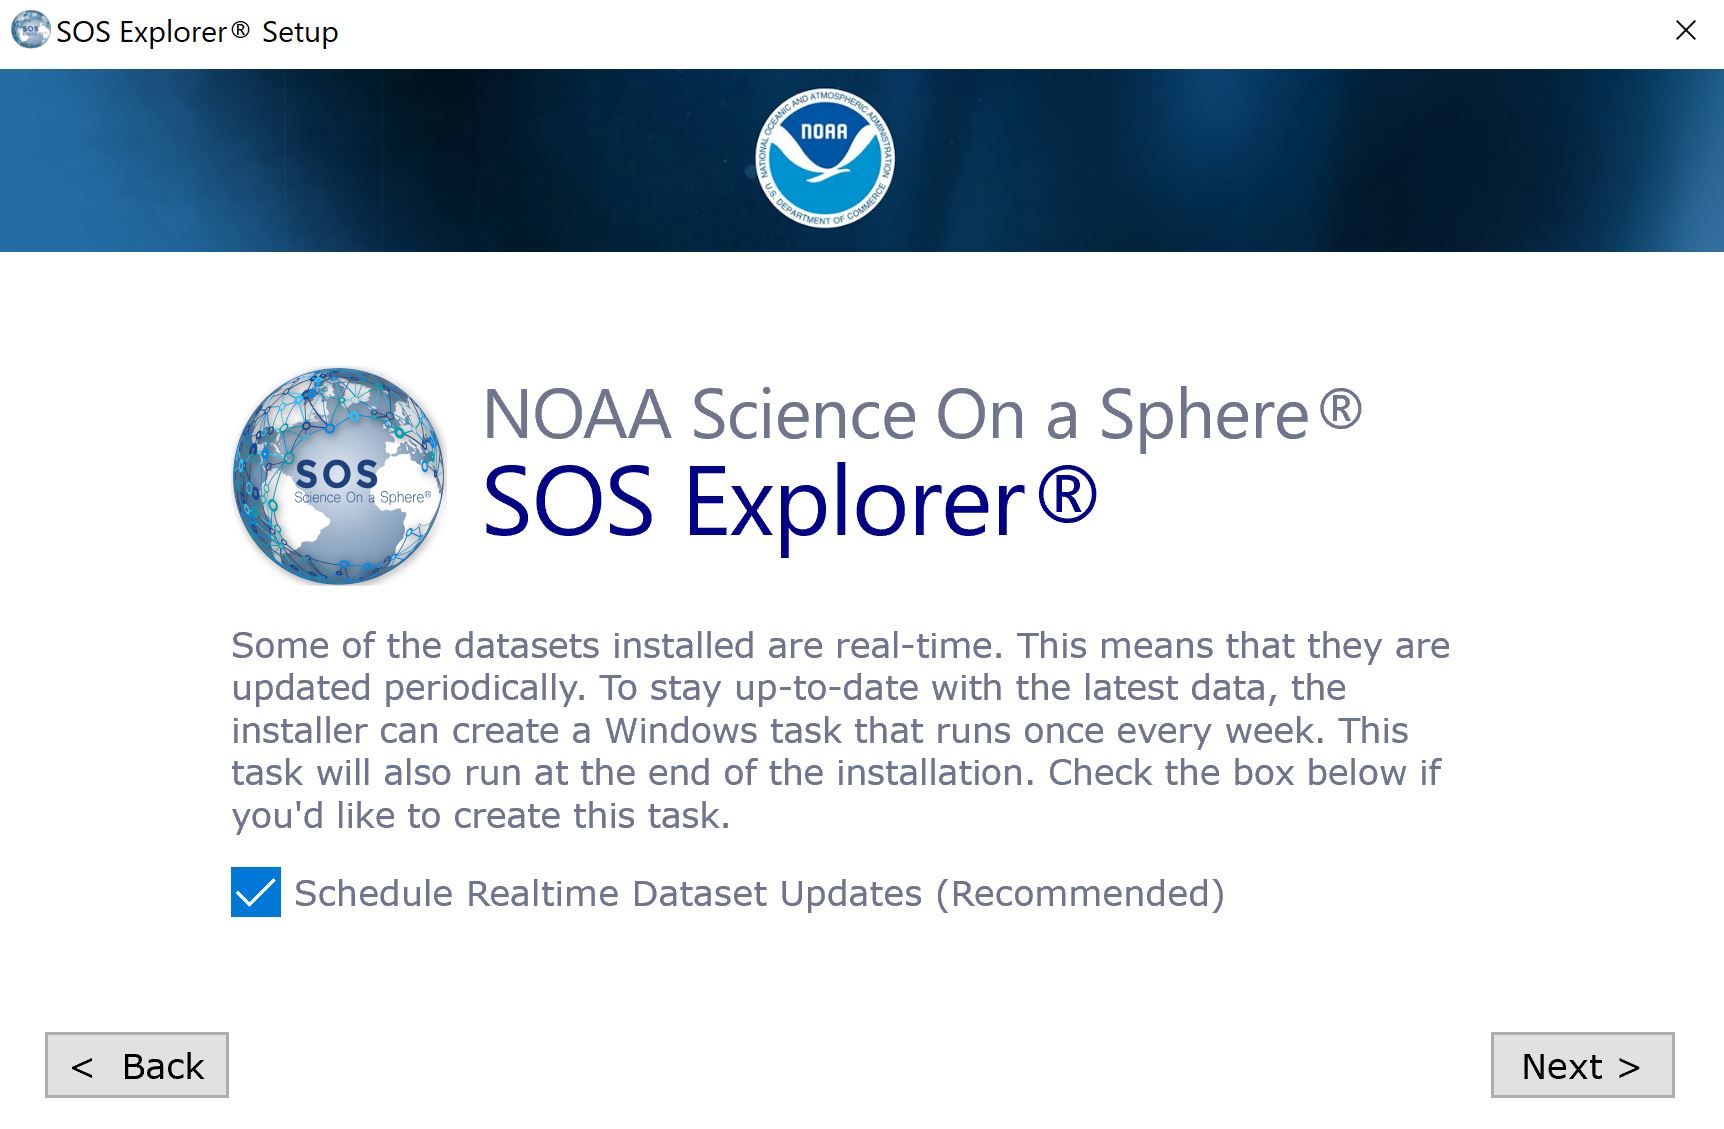
Real-Time dataset syncing selection screen.
Select Datasets
Permalink to Select DatasetsChoose the Datasets you want to include in your installation.
This software program, SOSx, is able to pull datasets from the vast SOS Dataset Catalog that serves NOAA’s Science On a Sphere. If you’re not familiar with this catalog, you may want to browse it before you choose which datasets you would like to download. In the catalog, be sure to set the Platform filter on the right to SOS Explorer® so that you are viewing the datasets available for SOS Explorer®.
Dataset Package Options
Permalink to Dataset Package Options- Essential: Installs a curated list of our favorite Datasets but only includes a few single frame real-time datasets and no real-time animations. A list of the Essential datasets can be found here.
- Custom: Choose which Datasets you want to install. This install already includes Essential datasets by default.
- Complete: Includes all of our 115+ Datasets. If you chose the Complete install, it may take from an hour to more than a day to finish, depending on your internet connection.
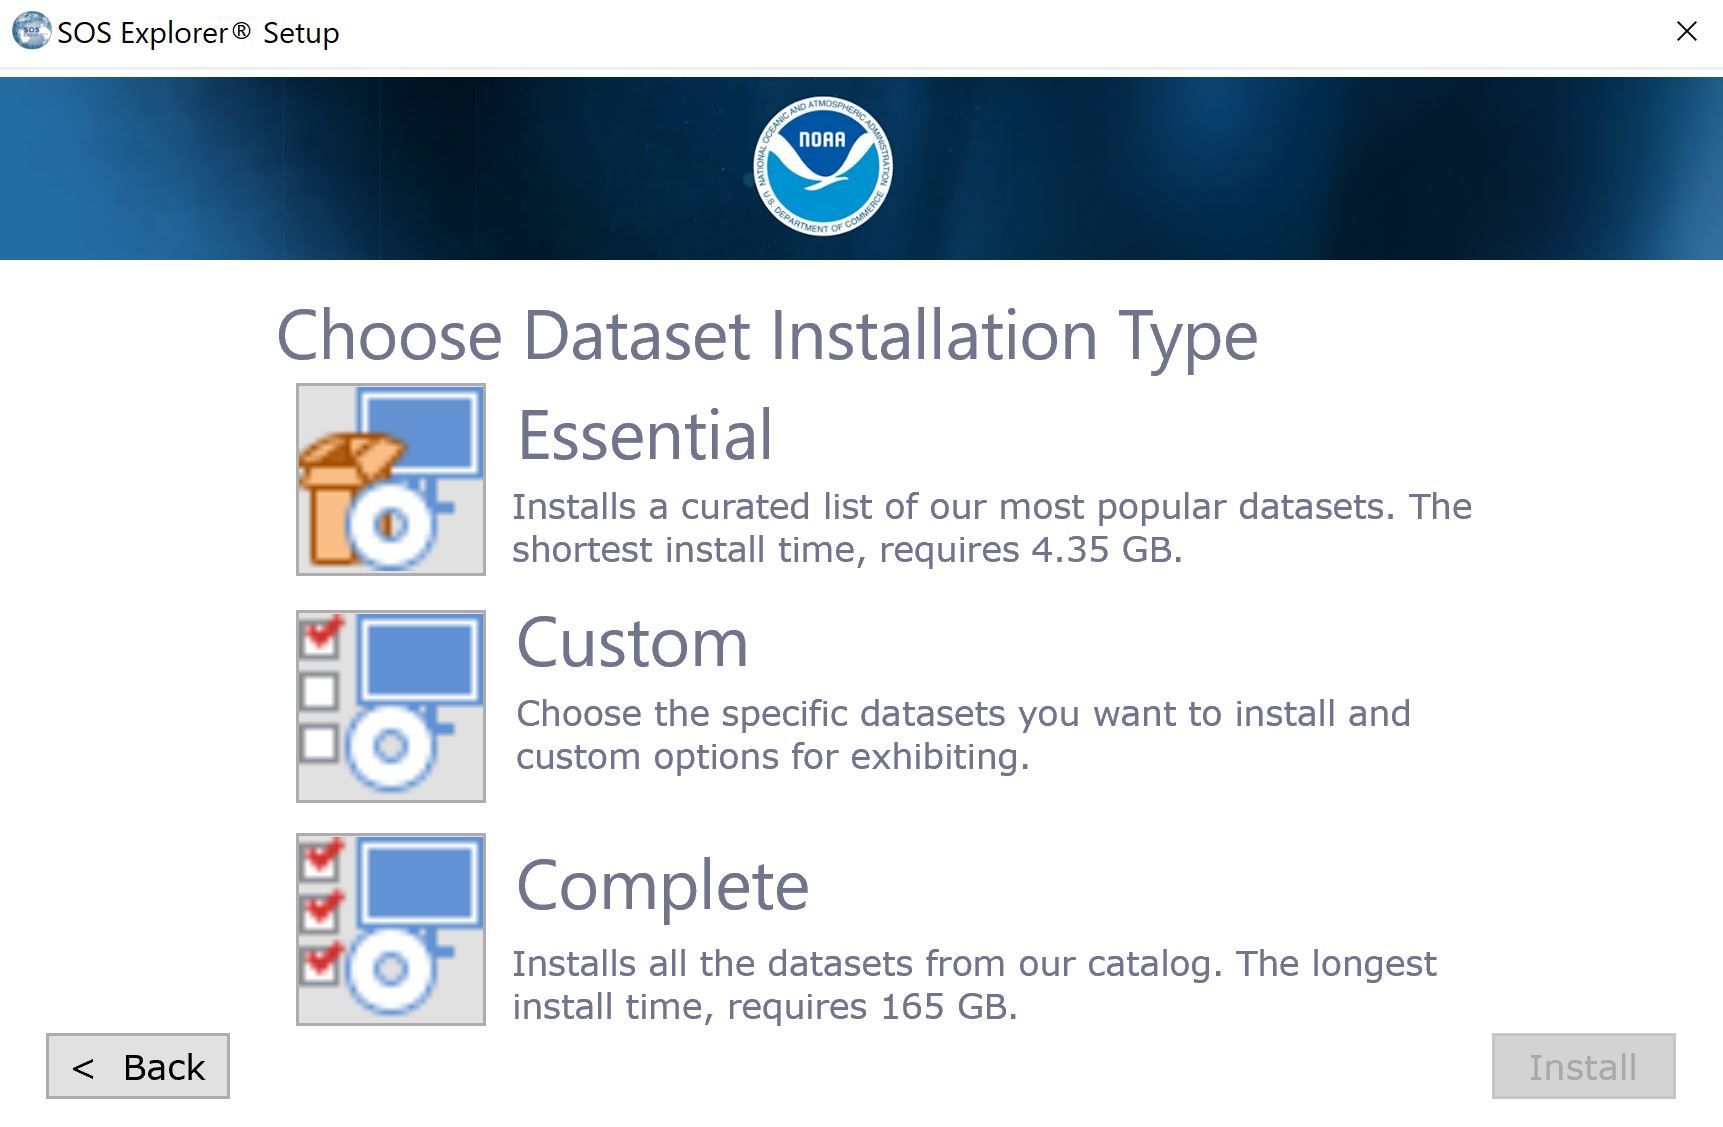
Dataset Install Type selection screen.
If you chose the Custom Installation.
Permalink to If you chose the Custom Installation.The Dataset Management menu will pop up. This menu will give you the option to select the specific Datasets you would like to install.
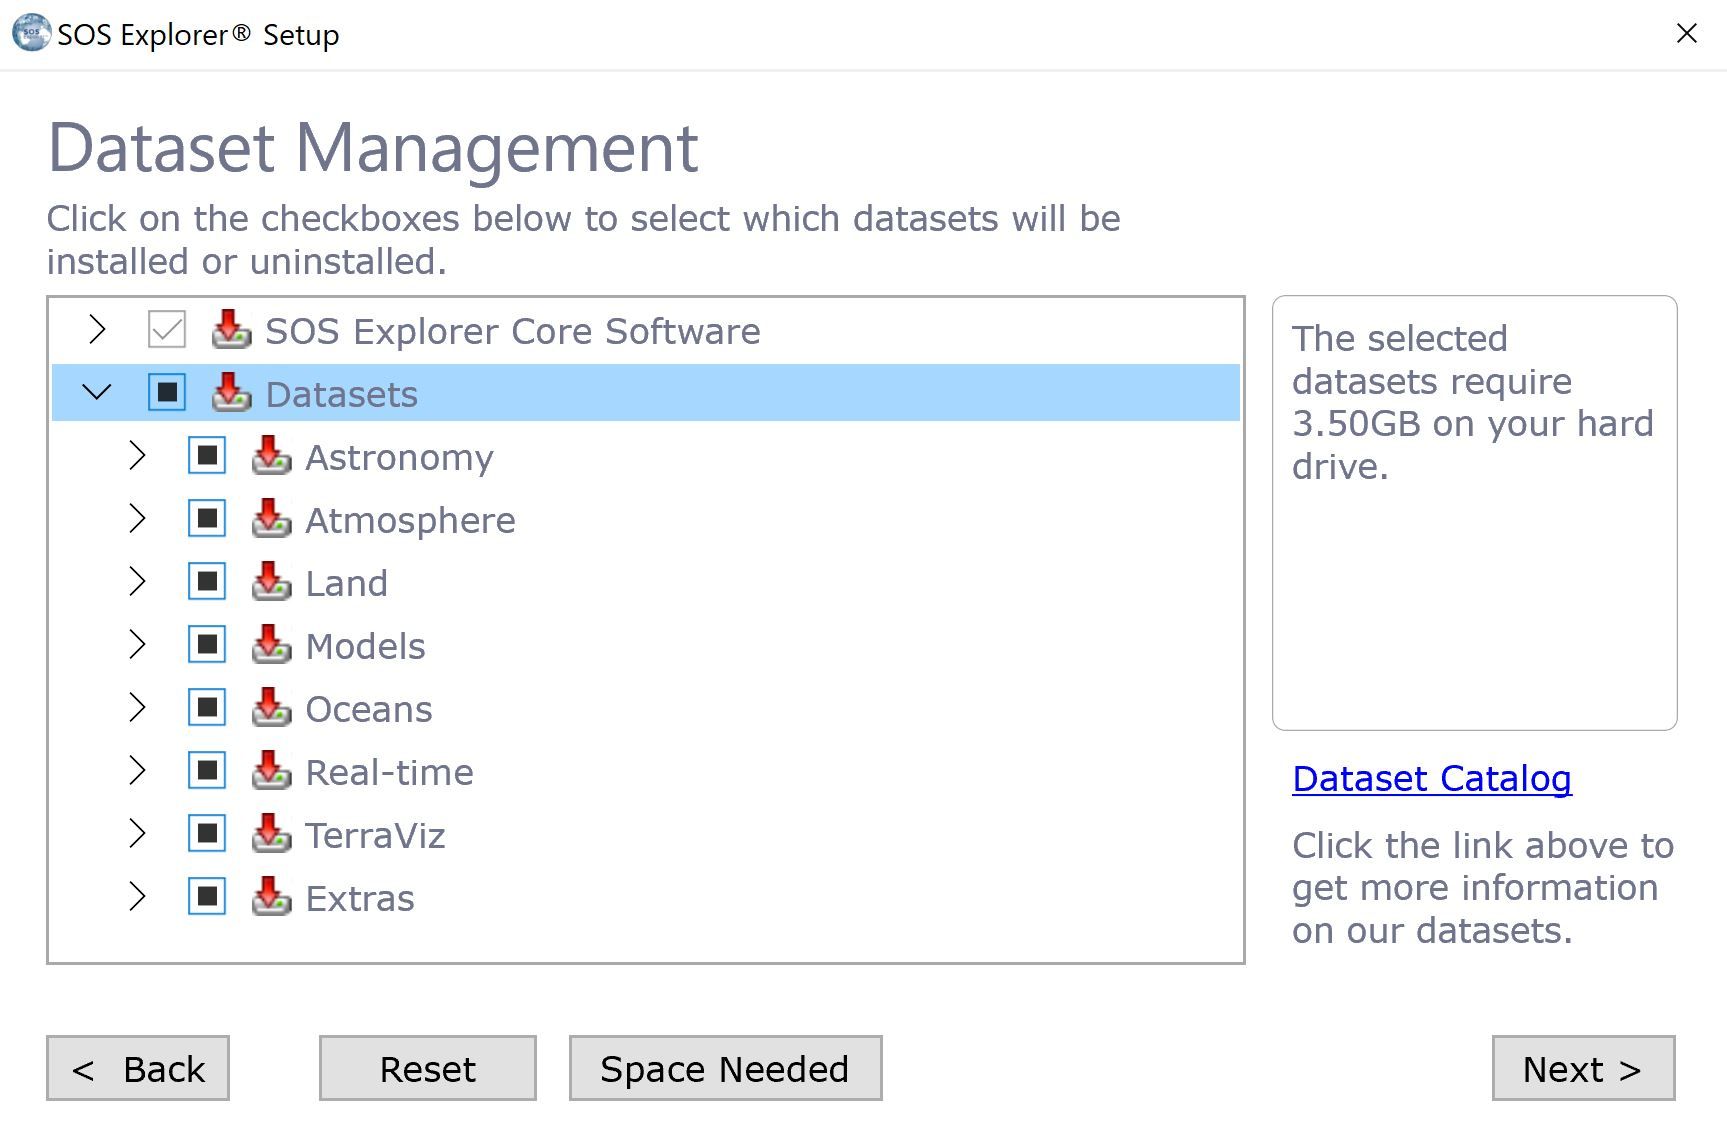
Dataset Management screen.
- Reset Resets the datasets selected to the default Essential install.
- Space Needed Displays an overview of the disk space available on your system, as well as the space required to install the selected datasets on your system.
- Next Continues with the SOS Explorer® installation.
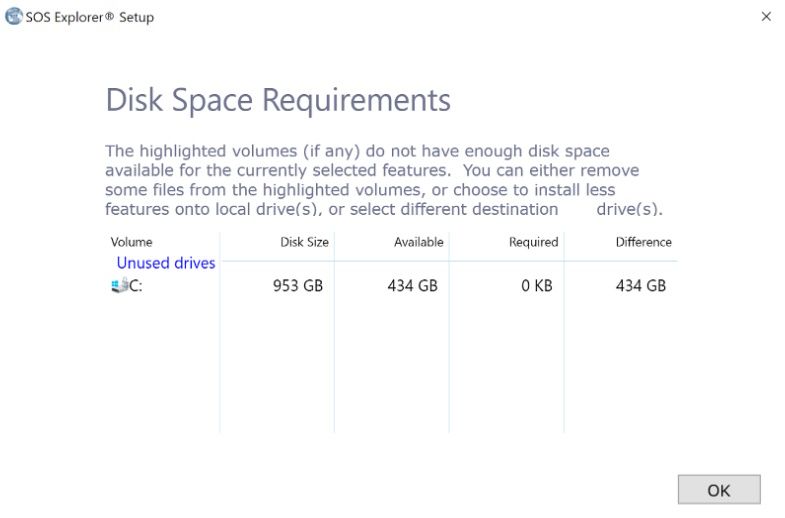
Disk Space requirements screen.
Set Exhibiting Options
Permalink to Set Exhibiting OptionsThis menu lets you select an option that will optimize your computer for exhibiting (e.g. a display in a public setting, like a museum). By default, we leave this option unchecked.
- Hide SOSx Exit Button: This will disable the Exit Button within the Settings of SOSx. This can be reverted by opening the SOSx Configuration App (go to your Desktop > SOSx Utilities > SOSx Configurator).
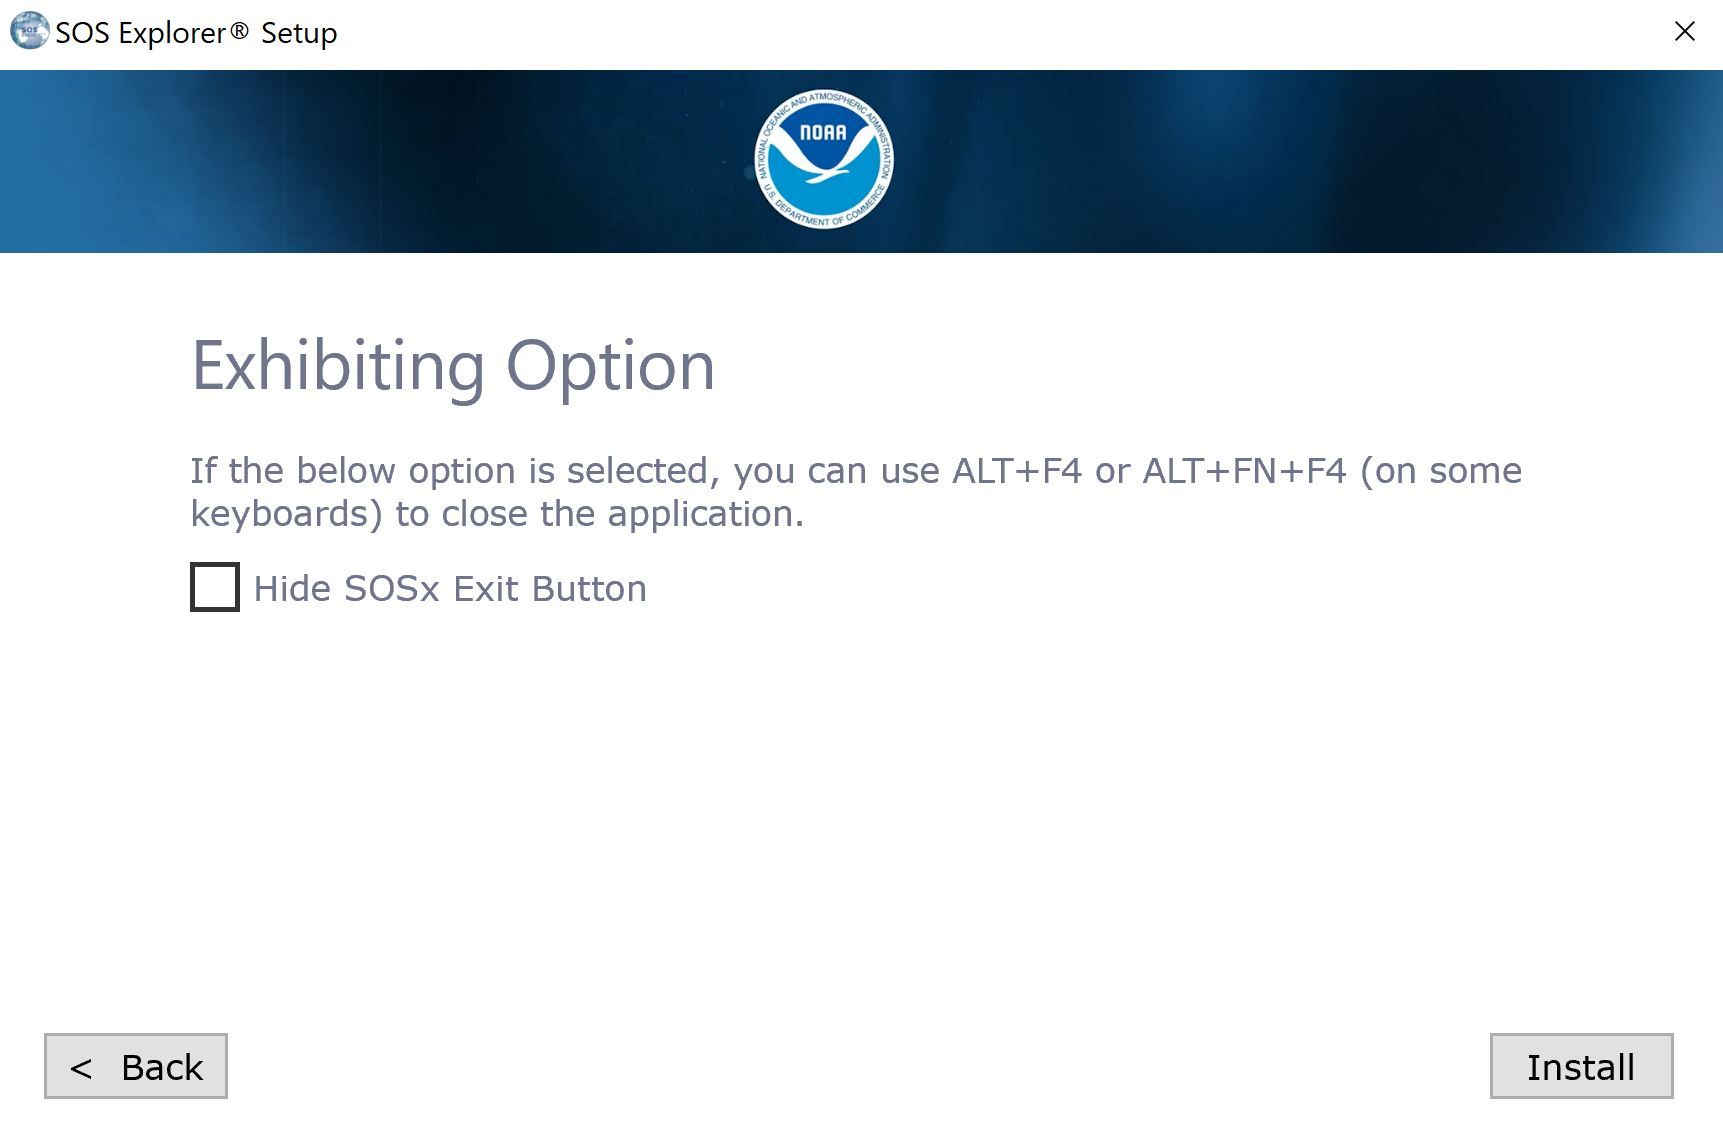
Exhibiting options screen.
Wait for Installation Progress
Permalink to Wait for Installation ProgressIn this screen, the Installer will download, install, and make the necessary changes to your system. Please be patient as this process can take a while.
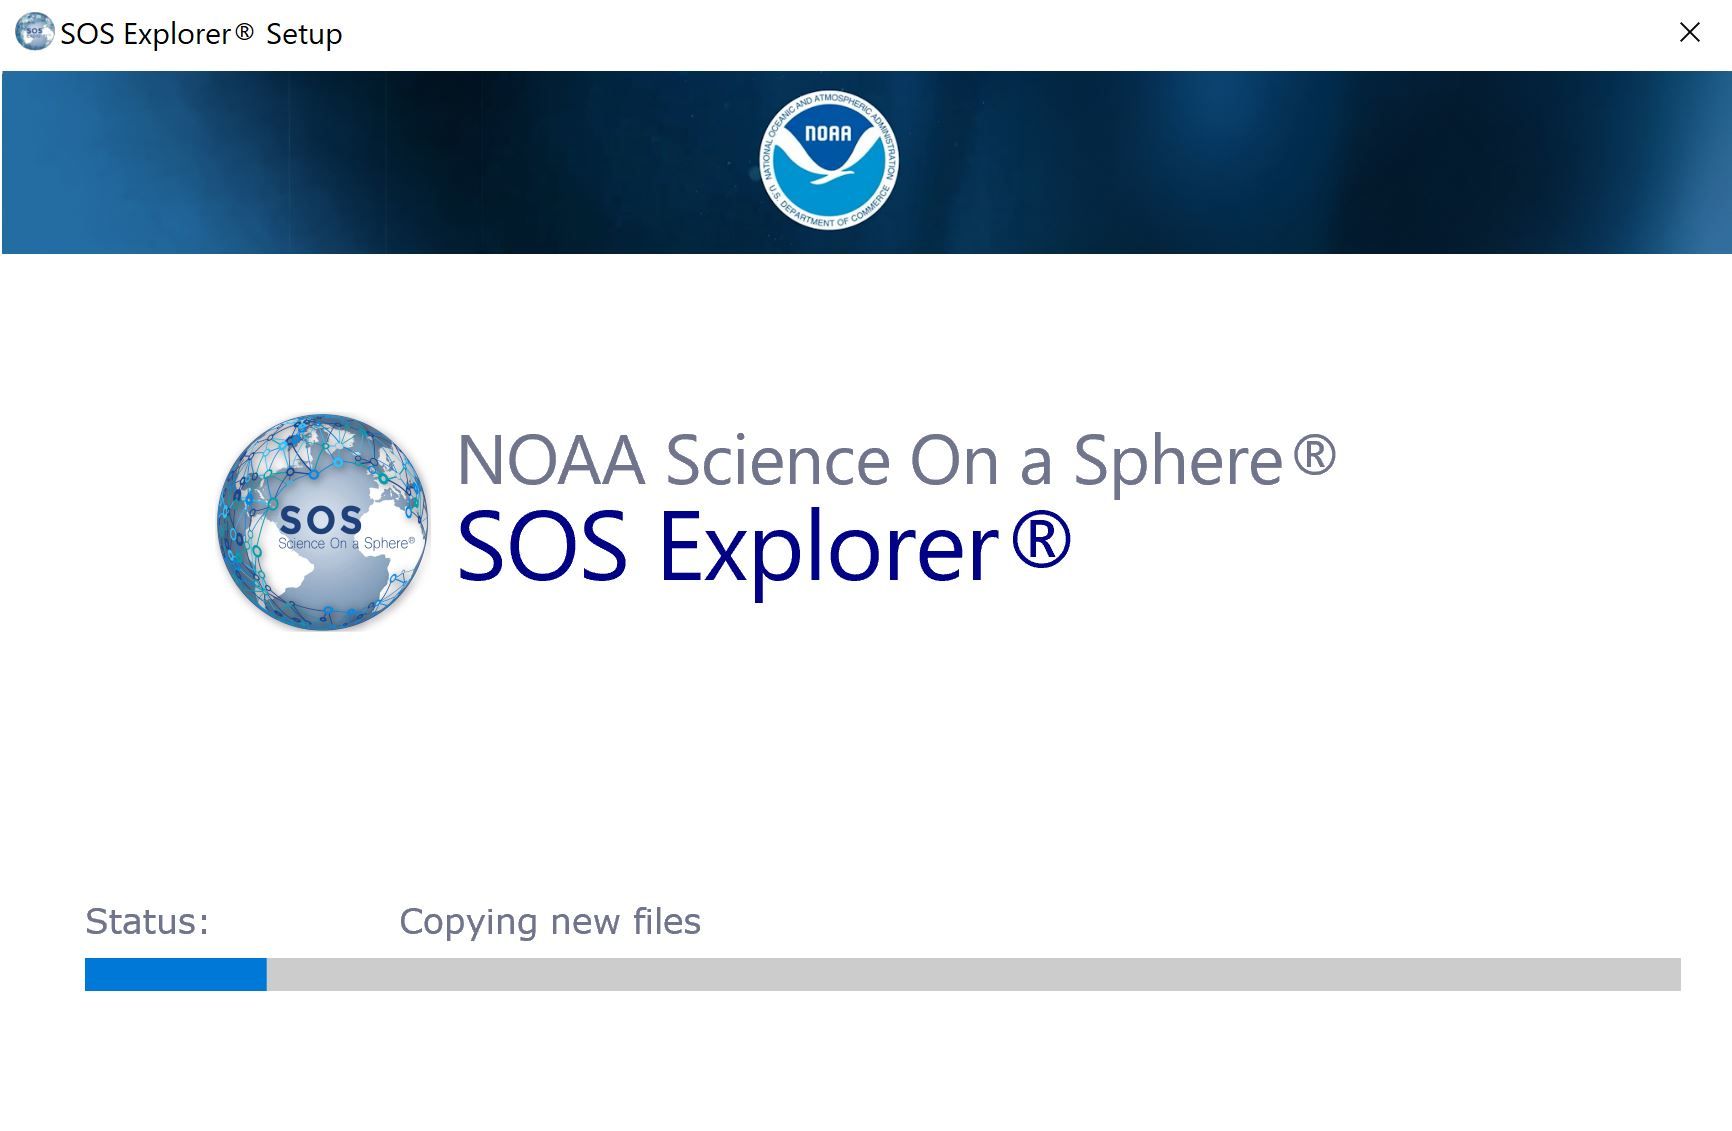
Installation progress screen.
Complete Installation
Permalink to Complete InstallationBefore finishing the install, there are a few more options to consider. Make your selections and then click Finish. Depending on what you have selected, you will see some additional pop ups, as described in the points below.
- Launch SOS Explorer®: SOS Explorer® will launch after you click Finish.
- View Quick Start Guide: The URL to the Quick Start Guide file will be opened.
- Install LAV Filters (Recommended): LAV Filters are recommended for optimal playback in SOS Explorer®. Click this link for more details.
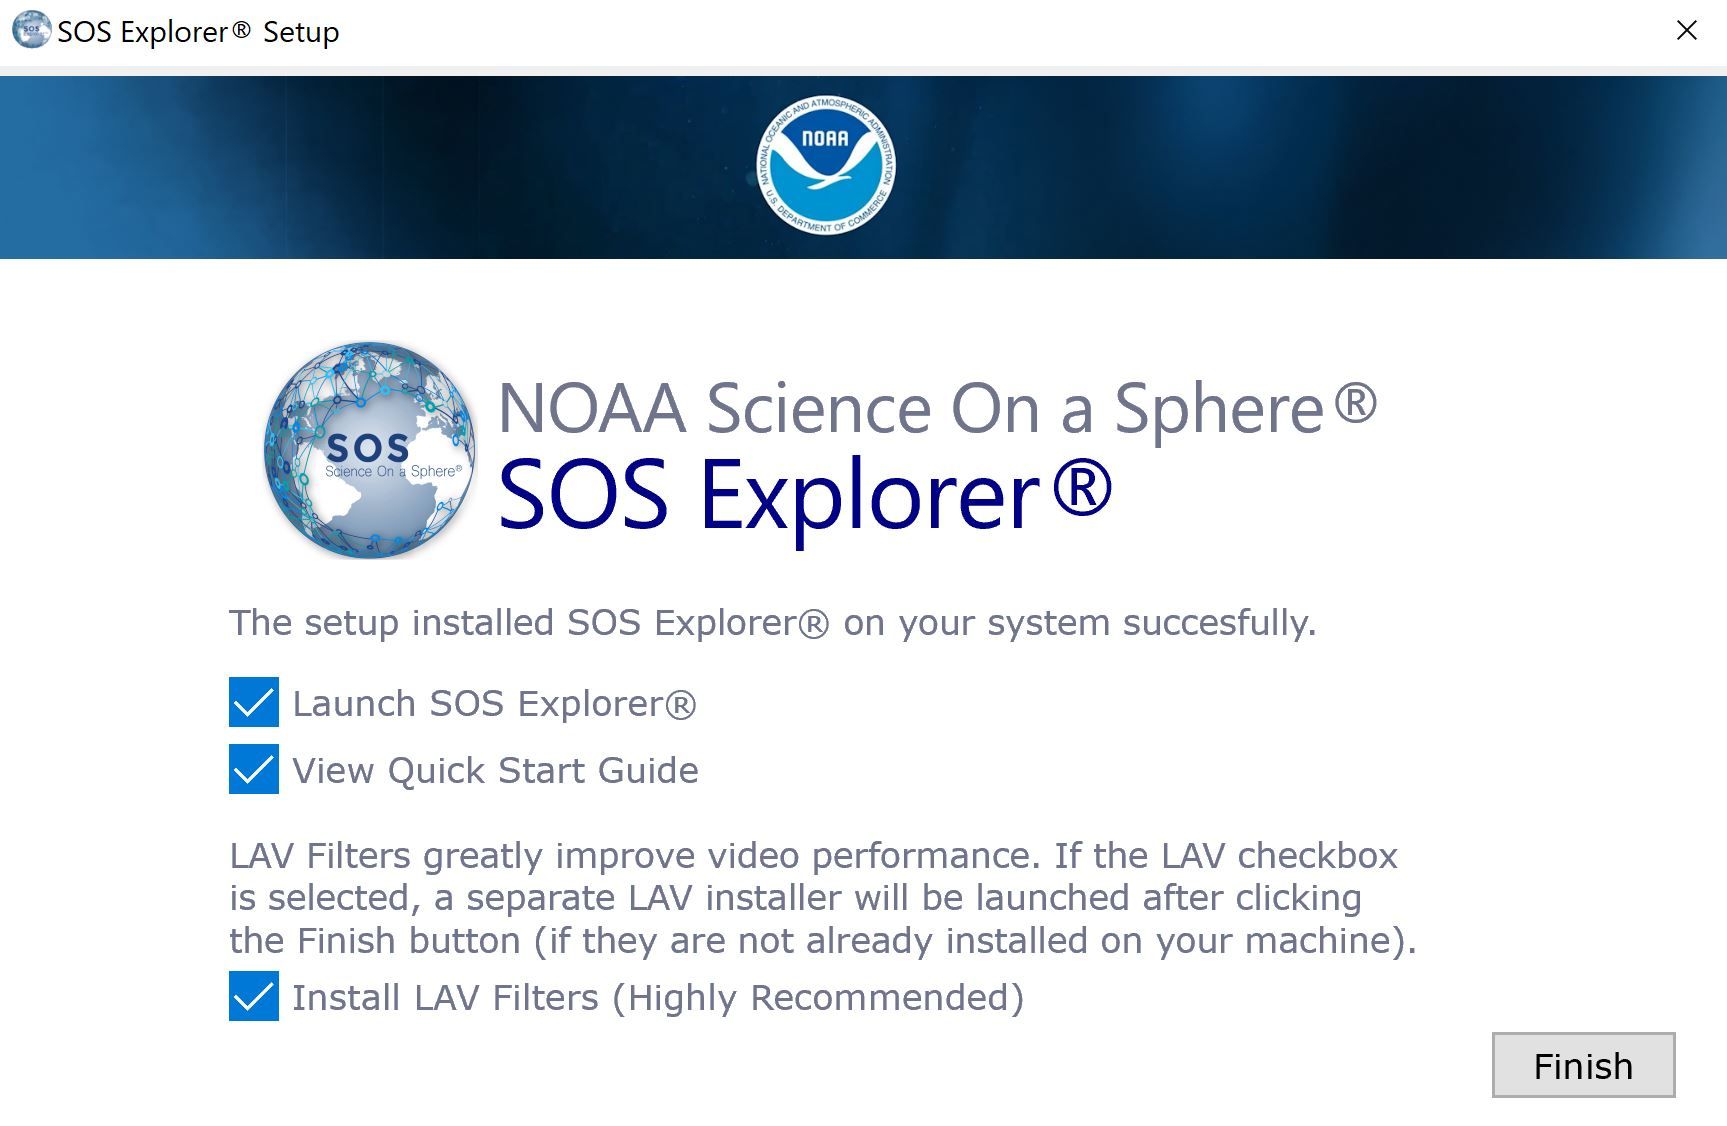
Installation complete screen.
LAV Filters Installation Guide
Permalink to LAV Filters Installation GuideIf you opted to install LAV Filters, you will see a pop up to begin that process. We recommend keeping the default options.
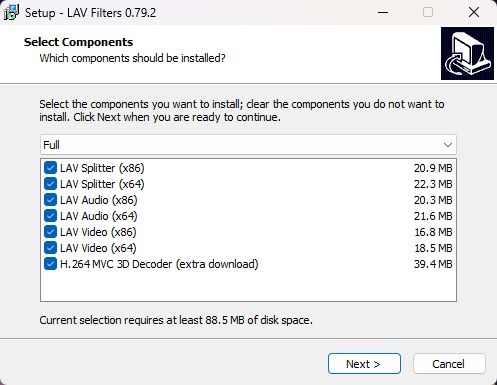
LAV Filters Component selection screen.
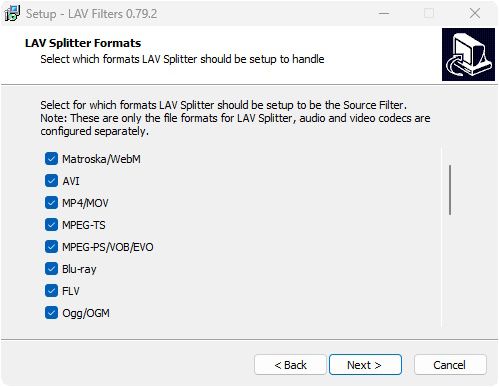
LAV Filters Format selection screen.
After completing the LAV Filters installation, please press Finish to close it.
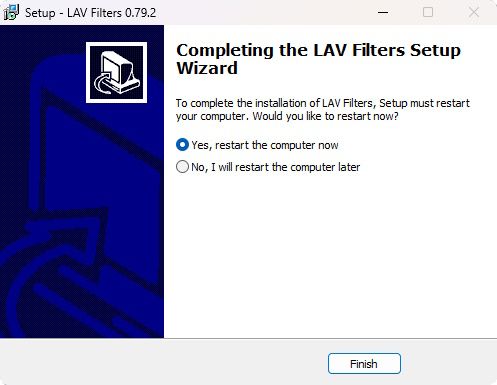
LAV Filters Format End screen.
Real-time Dataset Syncing
Permalink to Real-time Dataset SyncingIf you chose to Sync Real-time Datasets, the installer will automatically run a command-line window after the install is done (the window will be minimized when running). Going through the sync process will take some time the first time, so we recommend leaving it running until it automatically closes.
The command-line window will look like the following:
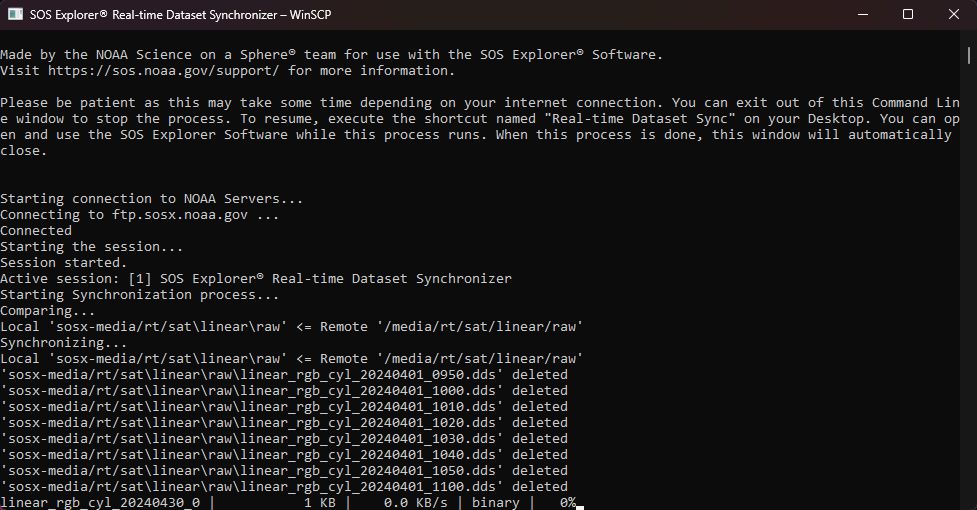
SOS Explorer® Sync Command Line Utility.
This sync script, when enabled, will run weekly every Tuesday at 9 AM local time. You can manually update real-time datasets anytime by double-clicking “SOSx Real-time Dataset Sync” shortcut icon in your SOSx Utilities folder on your Desktop.
Uninstalling SOSx
Permalink to Uninstalling SOSxSave Custom Datasets
Permalink to Save Custom DatasetsIf you are uninstalling an old version of SOSx that has custom datasets, please read the Backing Up Custom Datasets section before proceeding with the uninstallation.
Uninstall SOS Explorer® (Version 1.4.1 or Below)
Permalink to Uninstall SOS Explorer® (Version 1.4.1 or Below)SOS Explorer® has been around since 2016. If you have the version of SOSx that was NOT downloaded from the cloud (SOSx version 1.5 which was released May 2024), rather you received via an external harddrive or from a distributor, then follow these instructions to uninstall before installing the new version. If you have concerns, please reach out to us at sos.explorer@noaa.gov or to the distributor where you received your software.
Windows 10 or 11
Permalink to Windows 10 or 11If you are on Windows 11 or Windows 10, you can uninstall SOS Explorer® by going to Settings > Apps > Installed Apps.
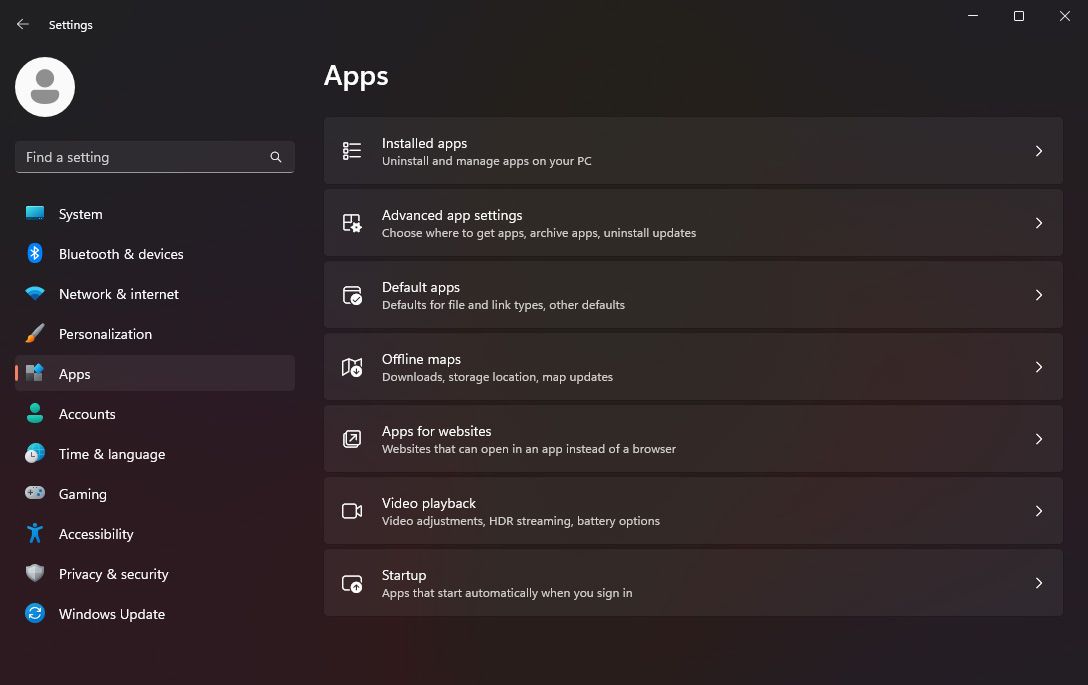
Settings screen on Windows 11
Scroll down the list of installed apps until you find SOS Explorer®. Click on the three dots to the right, and select Uninstall.
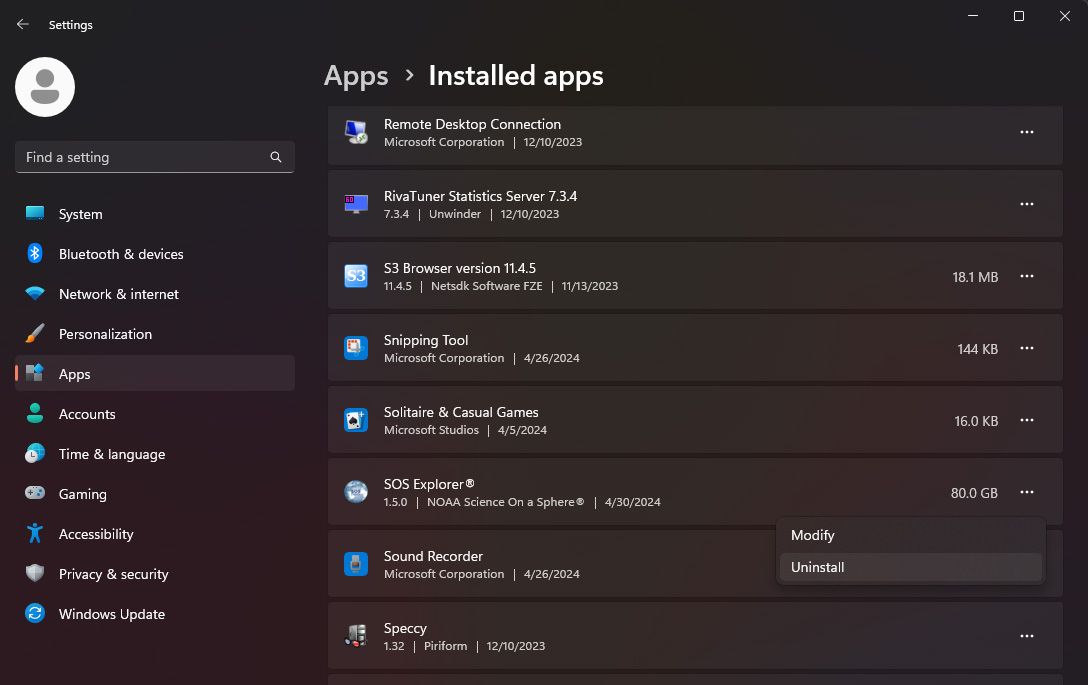
Installed Apps screen on Windows 11
Windows 8 or Earlier
Permalink to Windows 8 or EarlierIf you are on Windows 8, or earlier go to the Control Panel > Programs and Features > Uninstall a program and scroll down on the list until you find SOS Explorer® then right-click and select Uninstall to uninstall it.
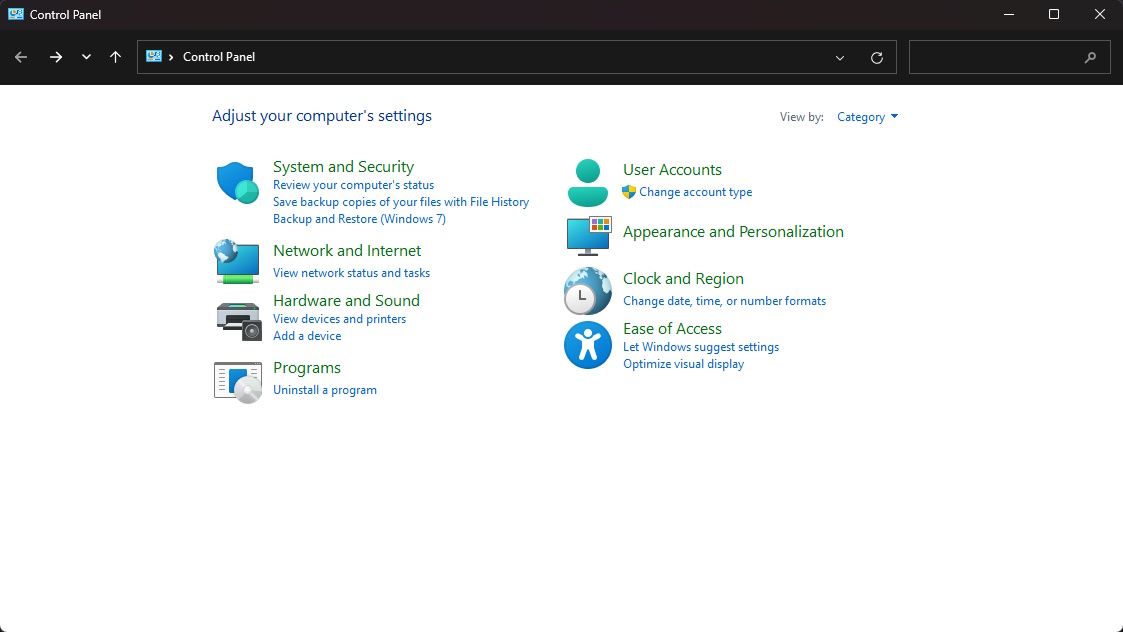
Control panel screen on Windows 8
Uninstall SOS Explorer® (Version 1.5 or Above)
Permalink to Uninstall SOS Explorer® (Version 1.5 or Above)If you downloaded SOS Explorer® from the cloud (SOSx version 1.5 or above, released May 2024), then follow these instructions to uninstall before installing the latest. The reasons for this might be: You no longer want SOSx or you are having issues with an update. It might be best to start clean. If you have concerns, please reach out to us at sos.explorer@noaa.gov or to the distributor where you received your software.
Launch the SOSx Uninstaller Shortcut
Permalink to Launch the SOSx Uninstaller ShortcutUse the following shortcut to run the SOSx Uninstaller, then the uninstall menu will pop up.
Option A
Permalink to Option APlease open the Start Menu, then find SOS Explorer® tag, then launch SOSx Uninstaller to uninstall the SOS Explorer®.
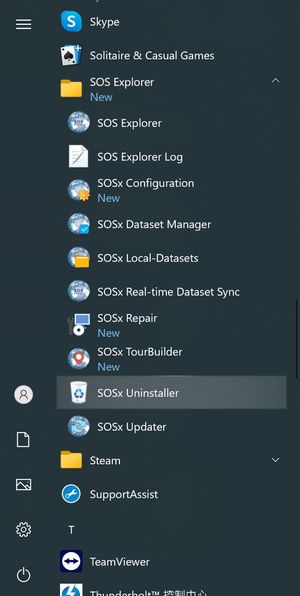
SOSx Uninstaller shortcut in the Start Menu
Option B
Permalink to Option BPlease open SOSx Utilities folder on the Desktop, then launch SOSx Uninstaller to uninstall the SOS Explorer®
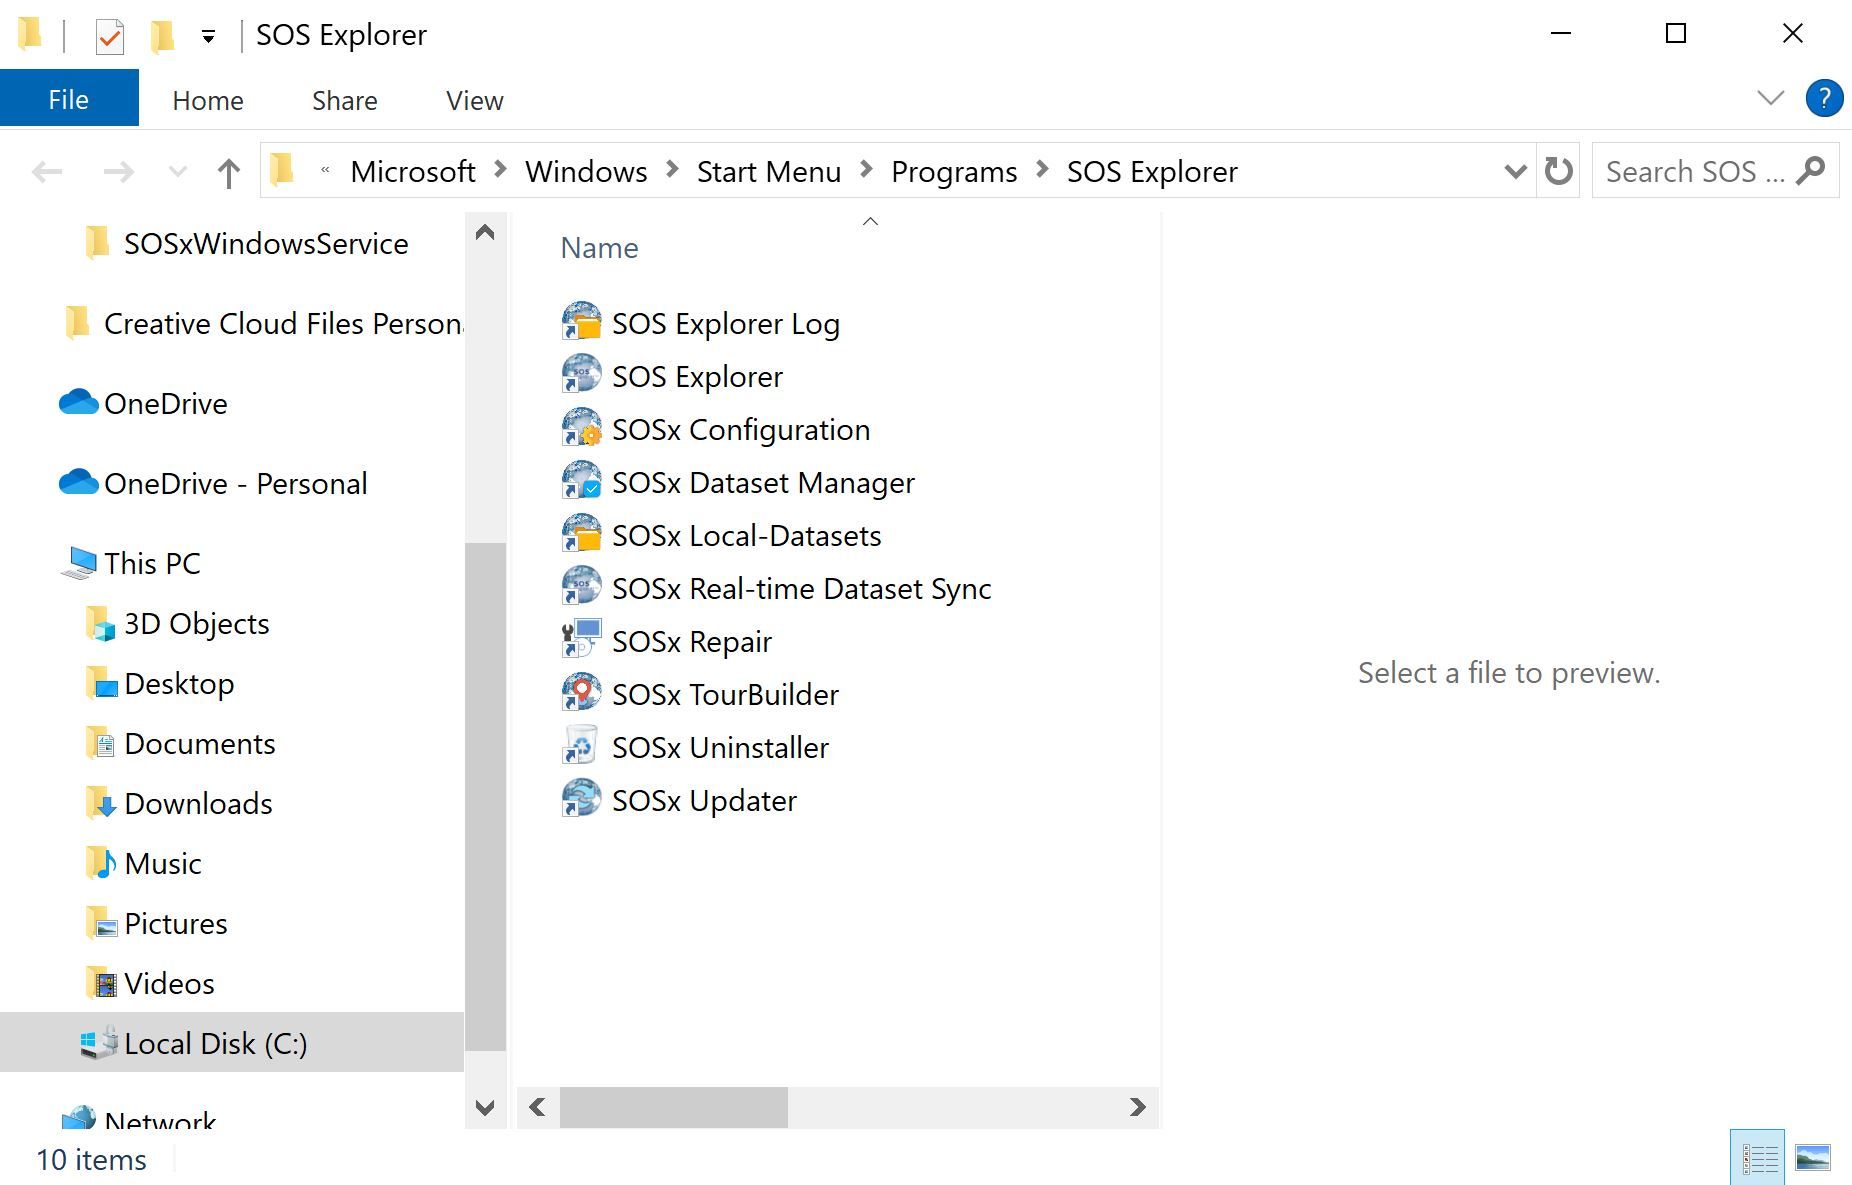
SOSx Uninstaller shortcut in the SOSx Utilities folder
Uninstall
Permalink to UninstallOnce you click the Uninstall button you will get a window asking you to confirm the uninstallation. Click Yes to uninstall.
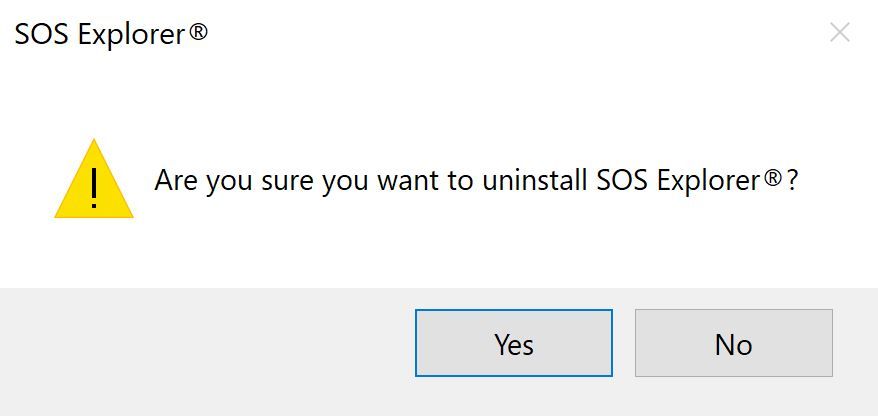
Uninstall confirm prompt
Please wait for the Uninstall Process to complete.
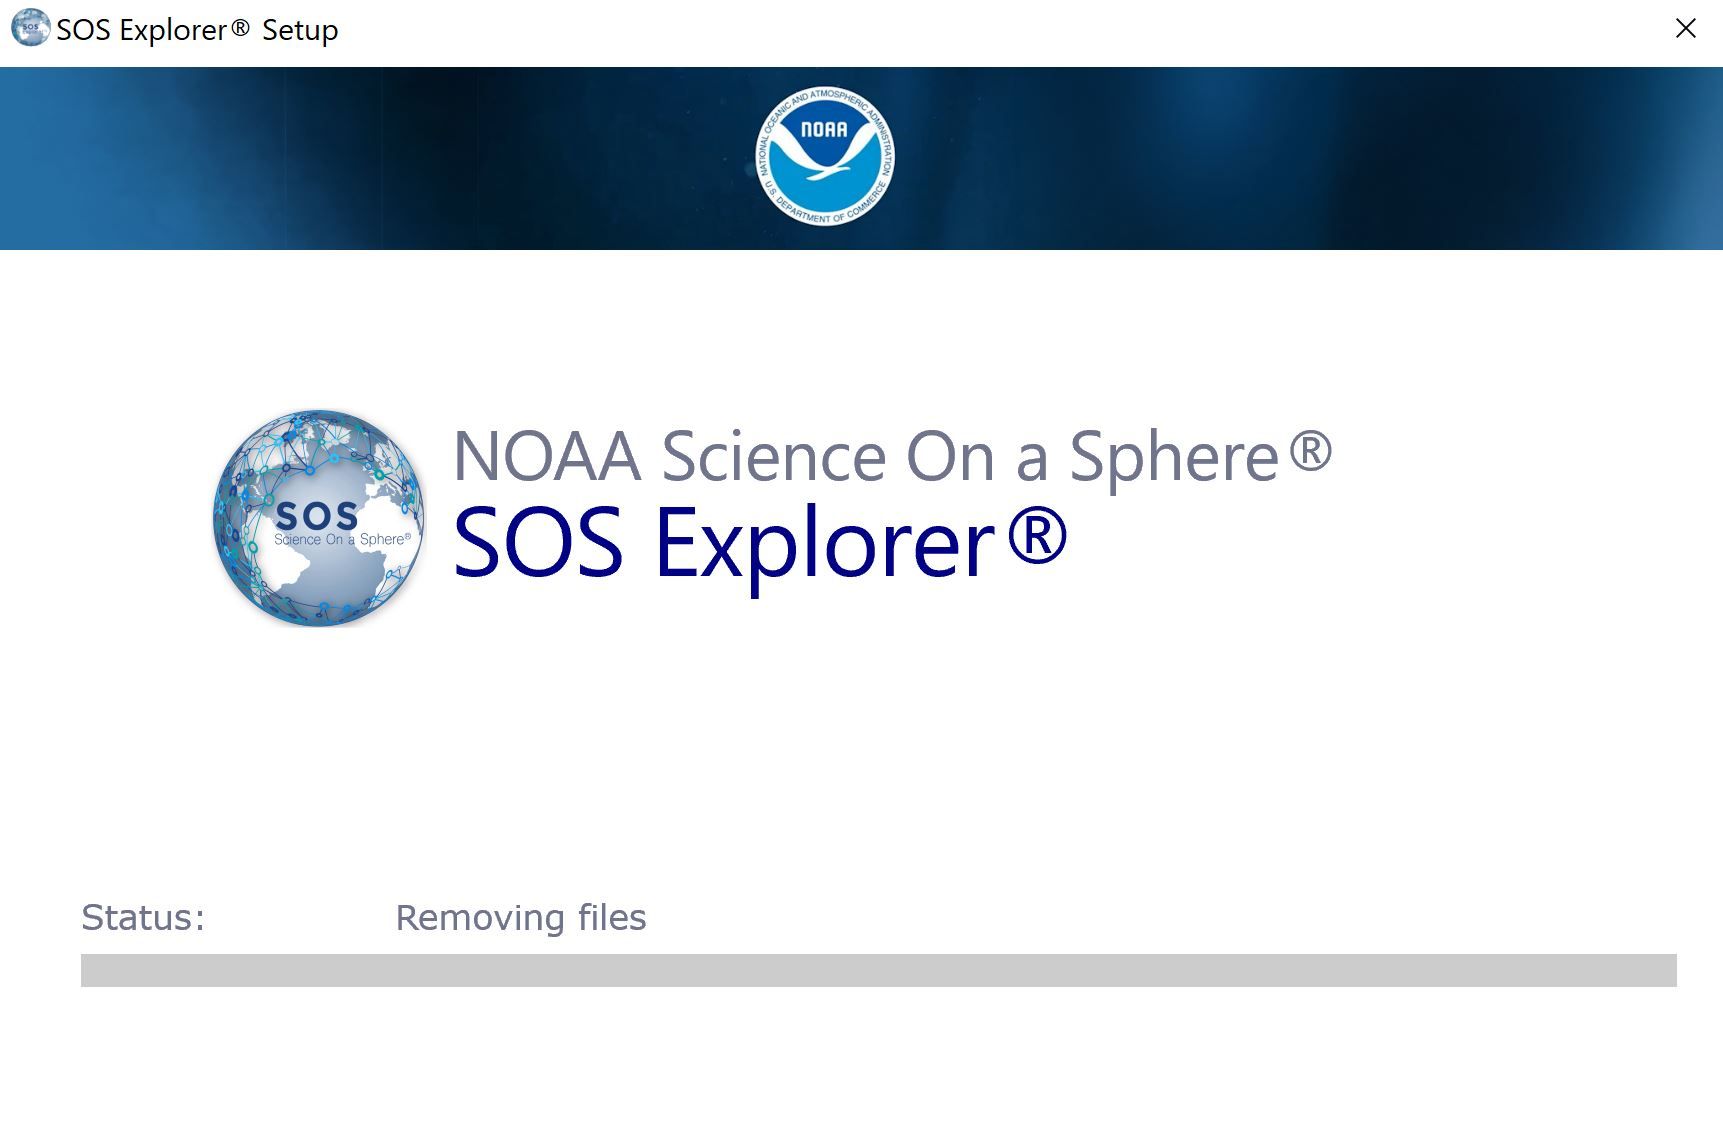
Uninstall process
After the process completes, you should be set.
Dataset Backup
Permalink to Dataset BackupTo backup your Custom Datasets from a previous installation, you have to first
go to your local-datasets folder (Default path: C:\local-datasets),
double click on the custom folder, and copy all the contents to another
temporary location (like your Desktop for example). If your custom folder is empty,
this means you don’t have any custom datasets and you can disregard this section.
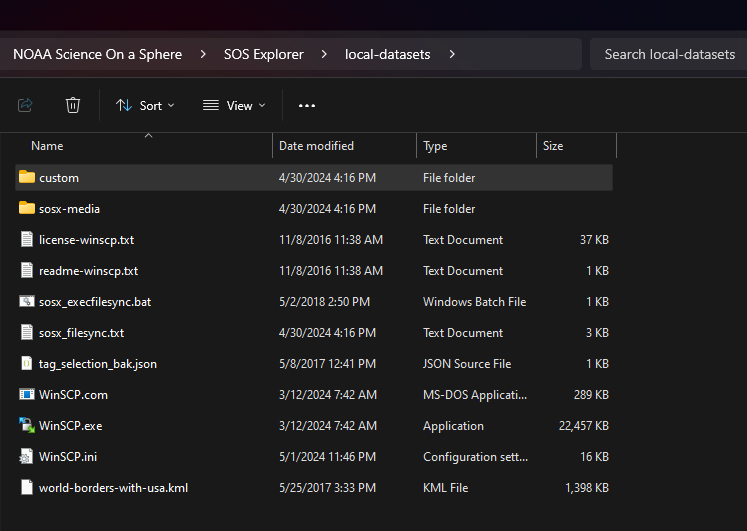
Default location for the custom folder.
After the installation of the new version of SOSx, you can copy the backed up contents to the new local-datasets/custom folder in the location where you chose to install SOSx.
(Default Path: C:\Program Files\NOAA Science On a Sphere\SOS Explorer Desktop\local-datasets\custom)
Changing Real-time Dataset Syncing Schedule
Permalink to Changing Real-time Dataset Syncing ScheduleIf the Schedule syncing of real-time datasets Tuesday at 9:00AM checkbox was left checked during the setup process, a command prompt window will launch weekly at that schedule. When the data download is happening, it’s possible that you will see a decline in performance for the SOSx software. If you plan on leaving the computer on all the time, you can set this download to occur in the middle of the night to avoid potential performance issues.
If your computer happens to be off at 9:00am on Tuesday, you can use a manual sync to get any new datasets that you are missing. This manual sync can be done by opening your SOSx Utilities folder on your desktop and double clicking SOSx Real-time Dataset Sync shortcut.
Modifying the Existing Task
Permalink to Modifying the Existing TaskBy default, the installer will set the scheduled task to be run every Tuesday at 9:00AM your local time. However, the scheduled task can be modified by starting the Task Scheduler found in the Start menu.
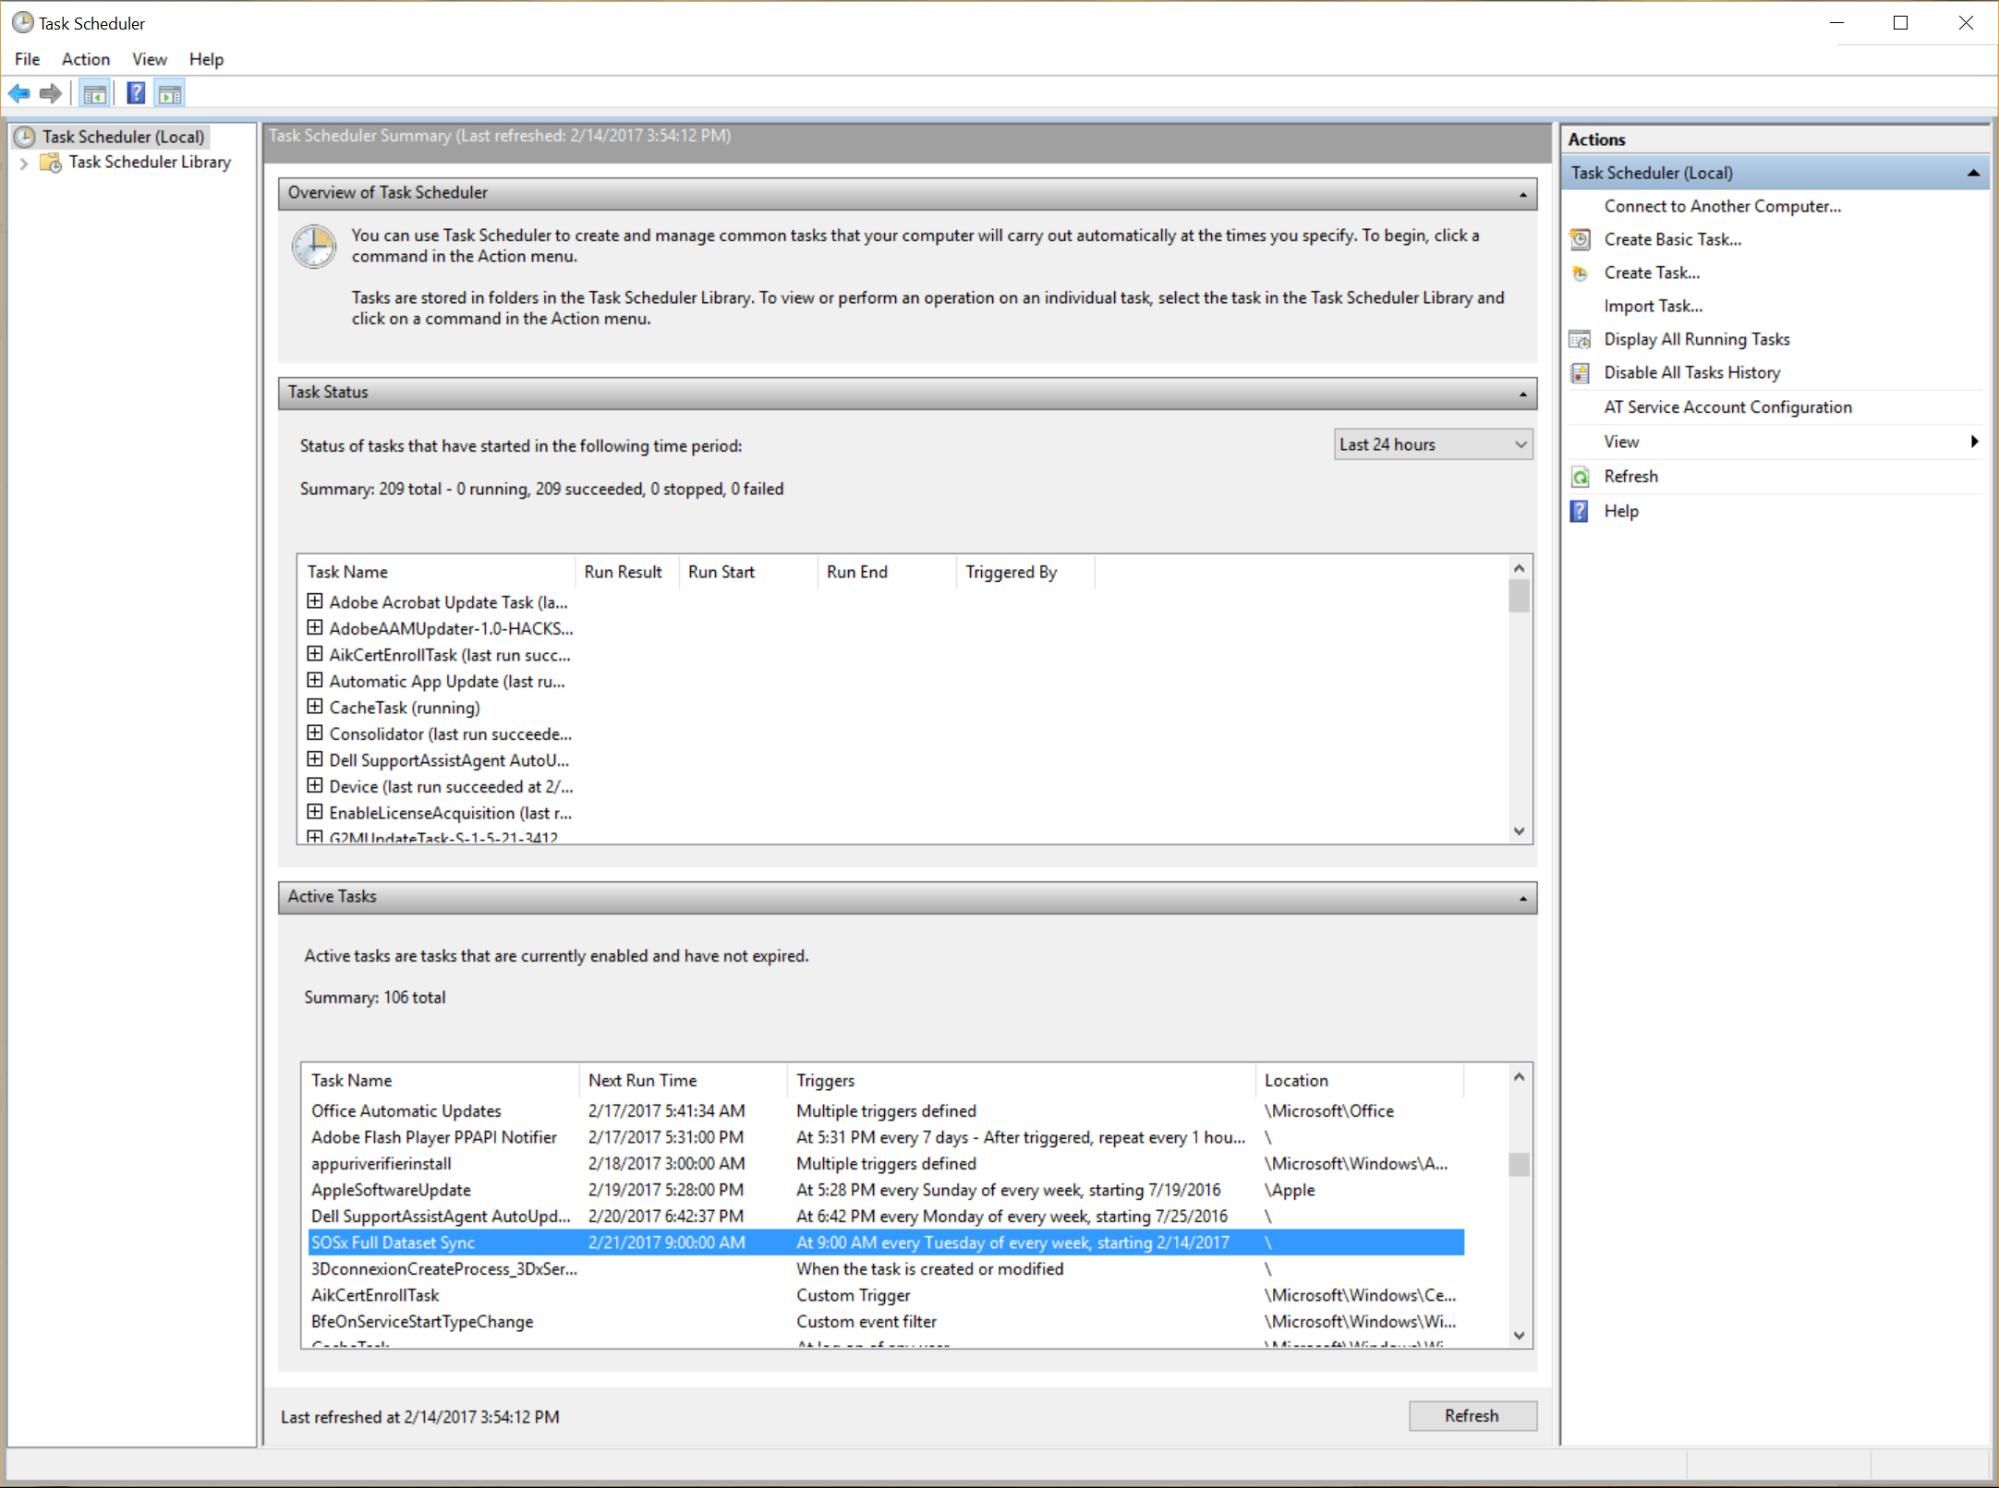
Windows Task Scheduler
Double-clicking on the SOSx Full Dataset Sync task pulls up the properties.
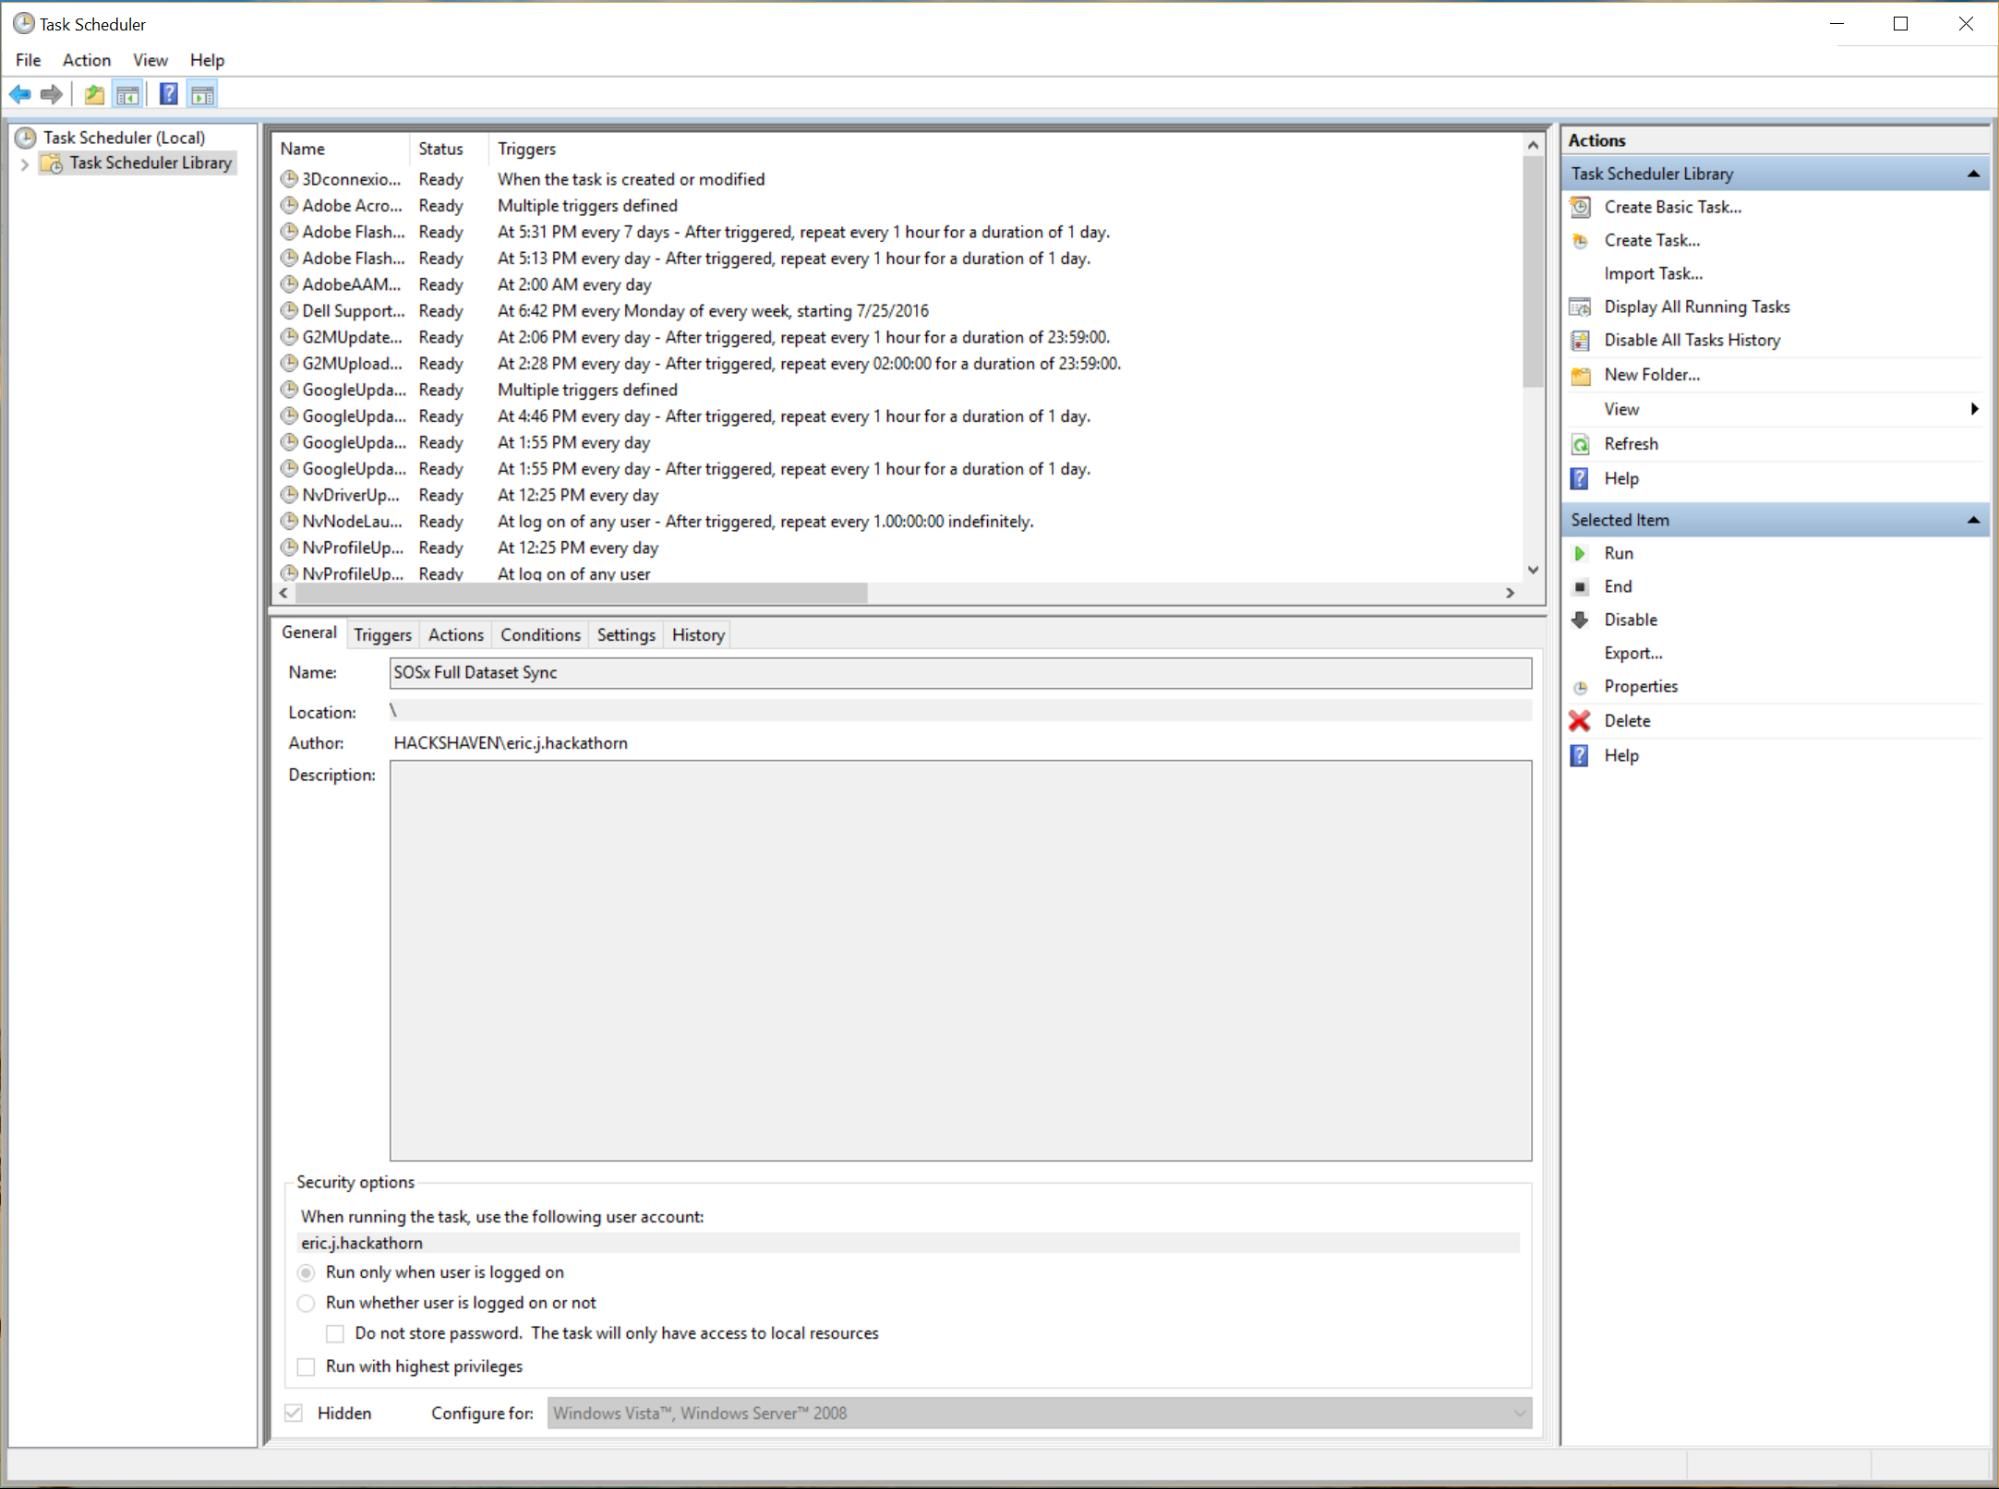
SOSx Full Dataset Sync task
Click on Properties in the Actions bar on the right to edit the task.
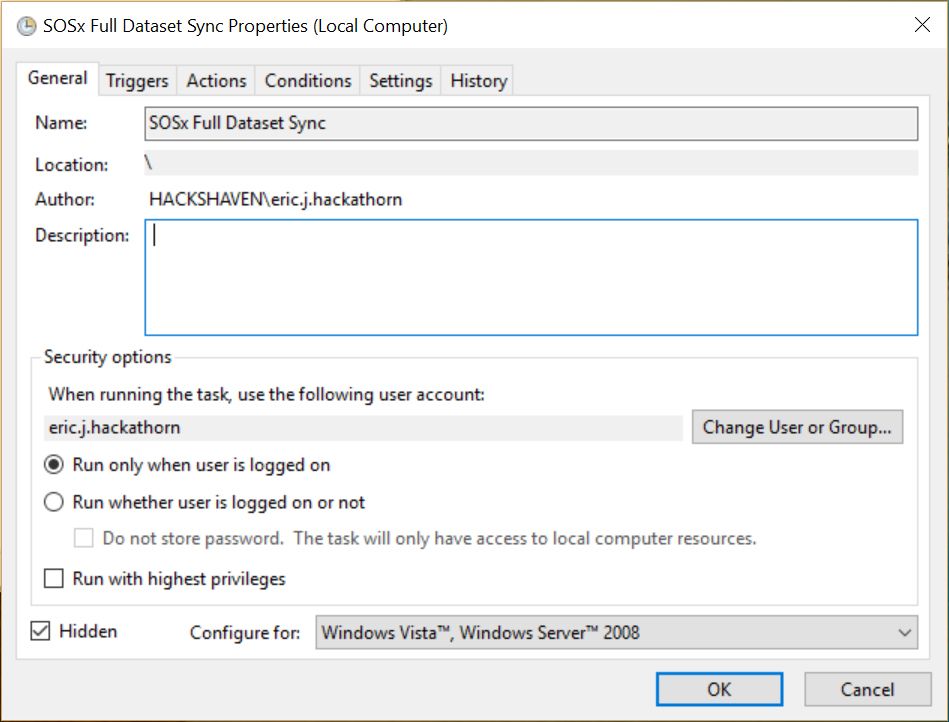
Properties for the SOSx Full Dataset Sync task
The Triggers tab will let you change the time and frequency of the scheduled full dataset sync.
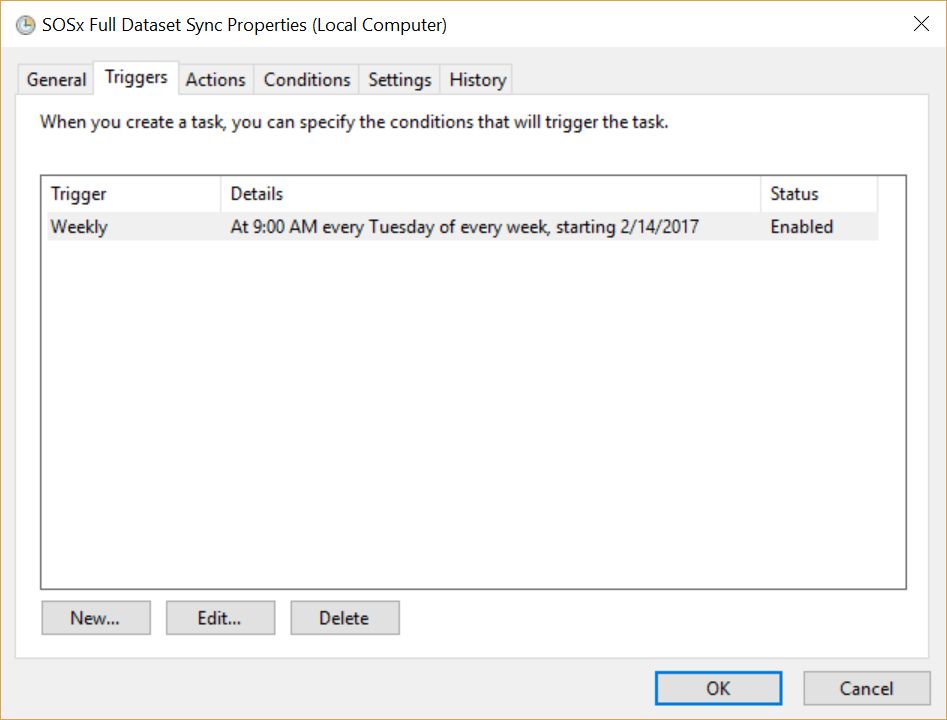
Triggers for the SOSx Full Dataset Sync task
List of Essential Datasets
Permalink to List of Essential DatasetsThe following list shows each dataset included in the Essential install.
- Default Basemap: the default dataset that showcases the Earth during the day and night.
- Air Traffic
- Age of the Seafloor
- Agriculture: Cropland Intensity
- Agriculture: Food vs. Feed
- Agriculture: Pastureland Intensity
- Bird Migration Patterns - Western Hemisphere
- Climate Model - Surface Temperature Change: SSP2 (Middle of the Road) - 2015 - 2100
- Climate Model - Surface Temperature Change: SSP5 (Fossil-fueled Development) - 2015 - 2100
- Clouds - Real Time
- Earthquakes - Real-time
- Earthquakes of the 20th Century
- Hurricane Maria - 2017
- Hurricane Tracks: Cumulative - 1950 - 2020
- Human Transporation
- Jupiter (still)
- Light Pollution - Artificial Sky Brightness
- Lightning Detection - Jun 2011 - Aug 2012
- Loggerhead Sea Turtle Tracks
- Mars
- Moon
- Ocean Acidification: Saturation State
- Phytoplankton Model
- Population Density - 2016
- Resilient Community
- Satellite Positions
- Saturn
- Sea Ice Extent: September Only
- Sea Surface Currents and Temperature (vegetation on land)
- Sun: X-Ray - 2003
- Temperature Anomaly: Yearly (NOAA) - 1850 - Present
- Tour - Pandemic & Air Quality
- Tsunami Historical Series: Chile - 1960
- Venus: Radar Brightness
Credits
Permalink to CreditsIcons
Permalink to IconsThe following are icons used in the creation of this installer. Specifically, they were used to create the custom icons that are used for the several shortcuts linking to different Utilities of SOSx.
-
Gear icon made by Freepik from www.flaticon.com
-
Point of Interest icon made by Muhammad_Usman from www.flaticon.com
-
Checkbox icon made by icon_small from www.flaticon.com
-
Updater icon made by Grafixpoint from www.flaticon.com
-
Folder icon made by juicy_fish from www.flaticon.com