Getting Science On a Sphere®
Getting SOS
Permalink to Getting SOSScience On a Sphere® is a patented turnkey system created by the National Oceanic and Atmospheric Administration (NOAA). The process for acquiring SOS is straightforward and begins with emailing sos.contact@noaa.gov for distributor contact information. From first contact with NOAA to final installation, the process typically takes several months.
This page provides information for Science On a Sphere installation planning. If you are interested in getting SOS Explorer® (SOSx), please visit our SOS Explorer® pages where you’ll find information about SOSx and SOSx Mobile, downloading SOSx Mobile, and getting SOSx.
Timeline
Permalink to Timeline- Email sos.contact@noaa.gov for general information and distributor contact details
- Read First Steps and Technical Specifications
- Contact SOS distributors for installation and pricing information
- Prepare exhibit space for SOS installation
- Order all the equipment for SOS
- Install SOS with distributor
First Steps
Permalink to First StepsThis guide is meant to cover the first steps for planning and designing a Science On Sphere® exhibit. Make sure to also review the technical specifications for SOS.
No two SOS exhibits are alike, so what is described here is a recommended setup based on lessons learned. While many of the parameters can be adjusted to meet your site’s desires, there are limits to how much the exhibit can be altered. Please work with the SOS team every step of the way to ensure that your SOS exhibit will reach its full potential. Your first contact should be sos.contact@noaa.gov for general information and distributor contact details. The SOS installation process from first contact to a completed, installed exhibit is typically several months. Contacting the SOS team early in the planning process helps to ensure your installation timeline can be met.
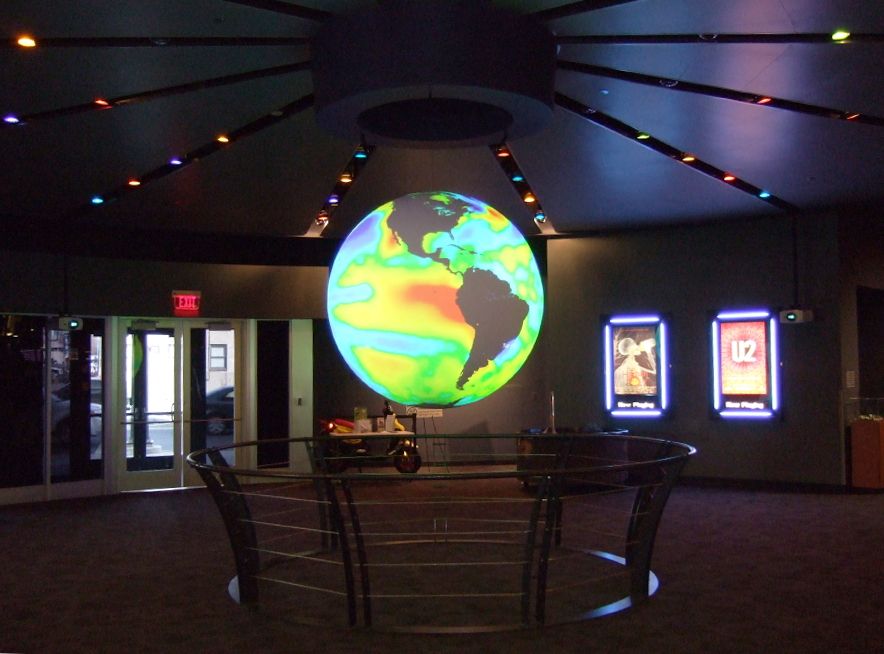
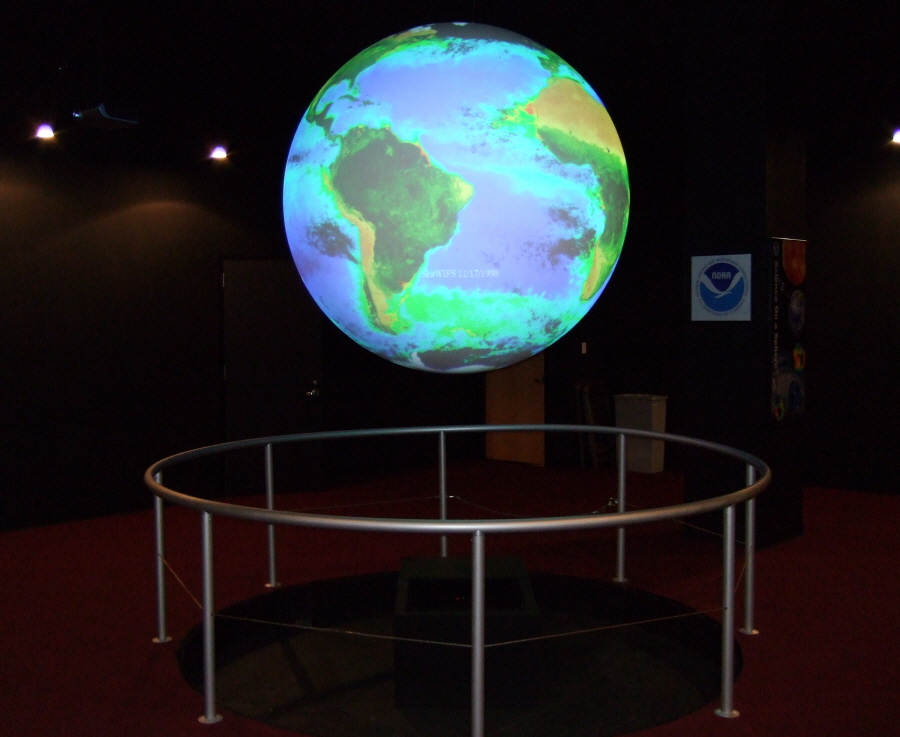
SOS at the Clark Planetarium in Salt Lake City, UT
Exhibit Design Checklist
Permalink to Exhibit Design ChecklistThe exhibit design checklist is meant to accompany this guide and help ensure that sites have covered all the major details.
Facility Space
Permalink to Facility SpaceAfter your initial contact with the SOS team, the very first thing to consider for a Science On a Sphere® exhibit is space. Science On a Sphere® is a room-sized exhibit. The recommended footprint for the exhibit with a standard size sphere is 30’×30’, with ceiling heights greater than 12’. For the suggested exhibit layout and alternatives options, please refer to the SOS Floor Plan.
Sphere
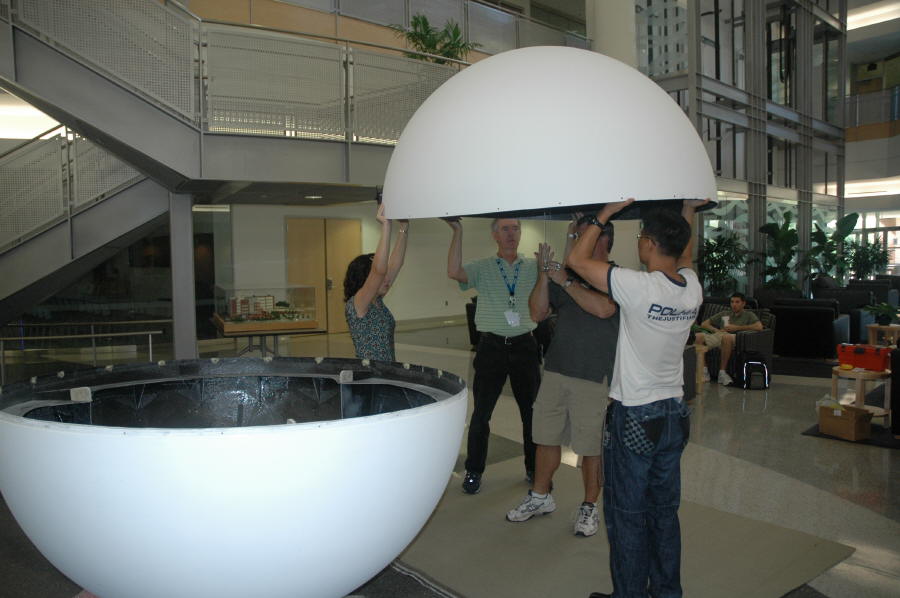
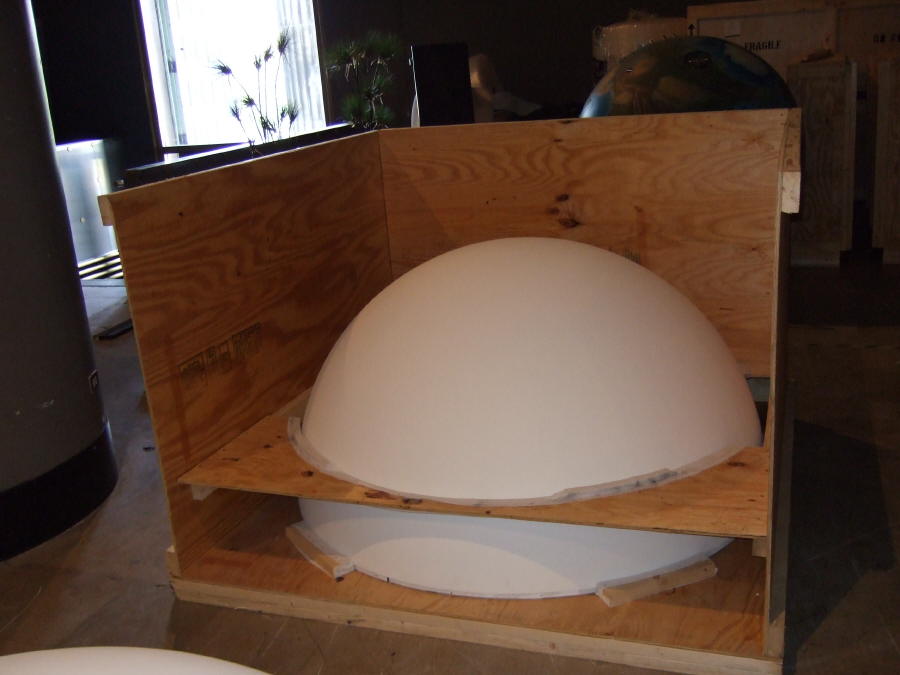
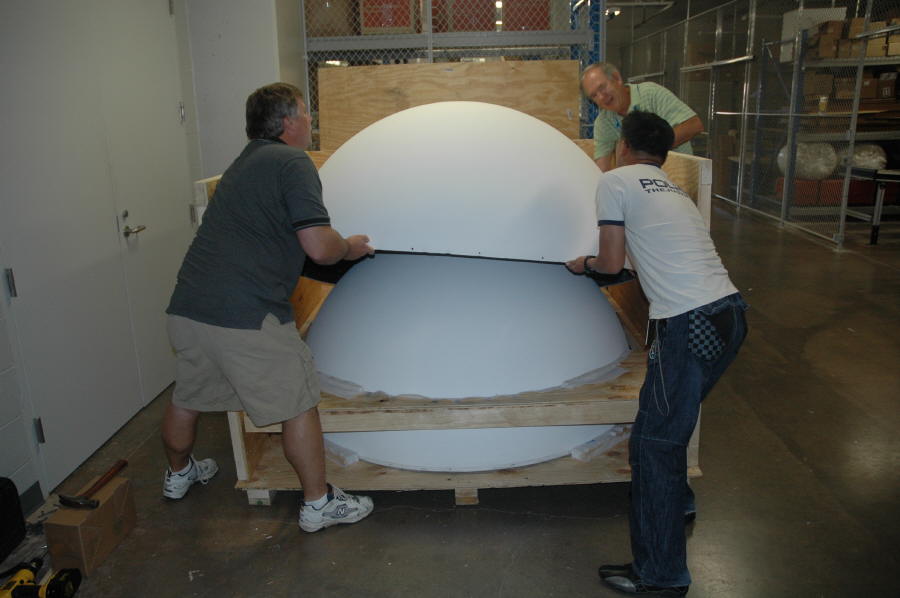
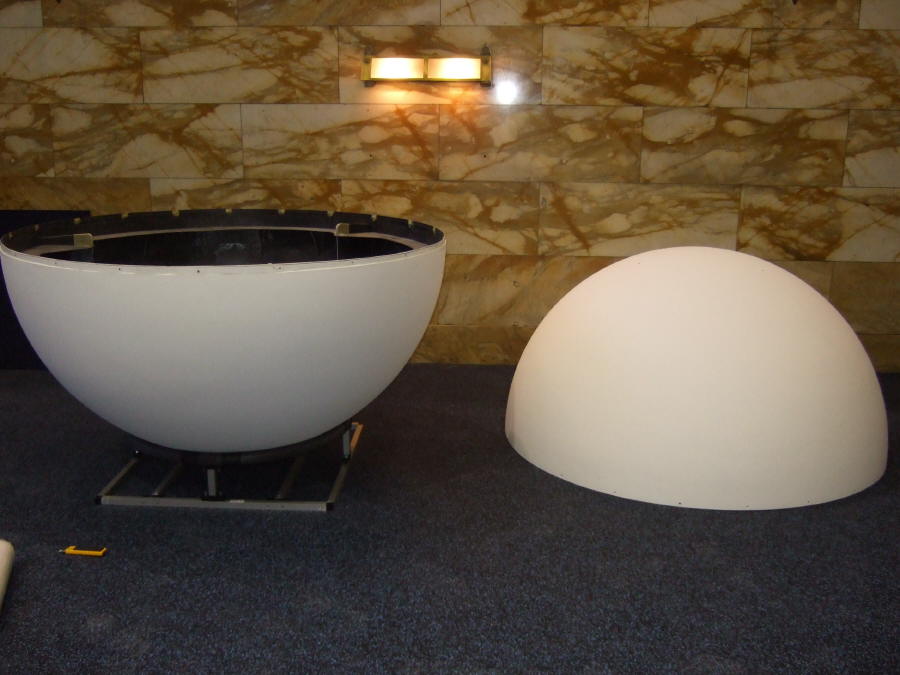
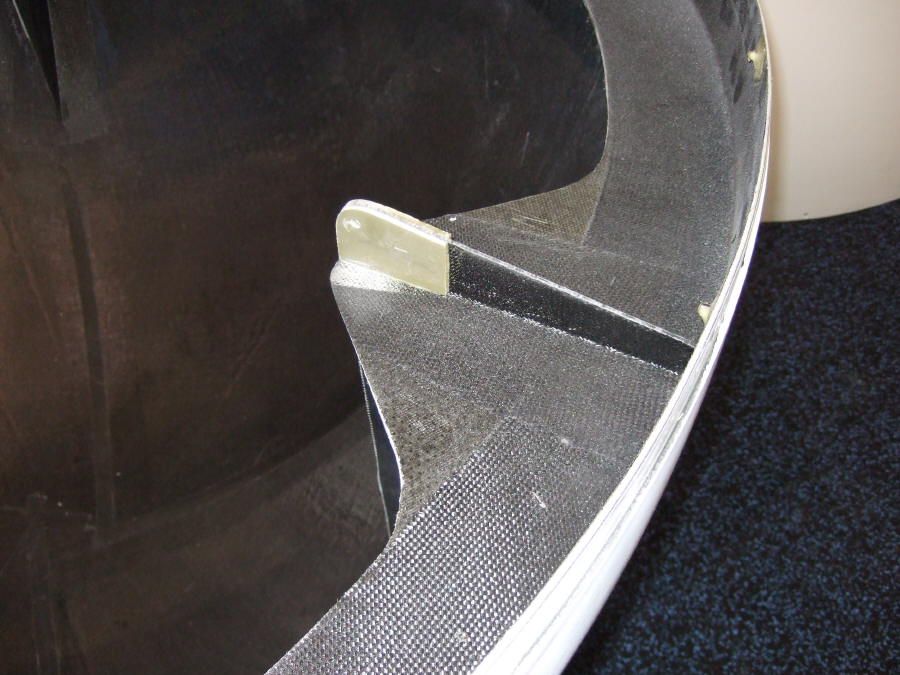
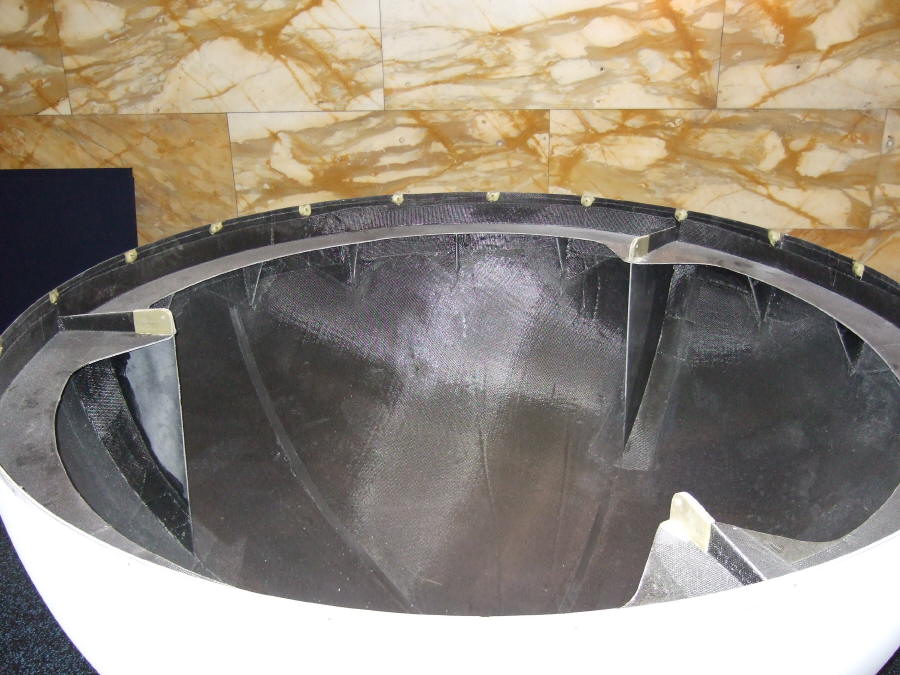
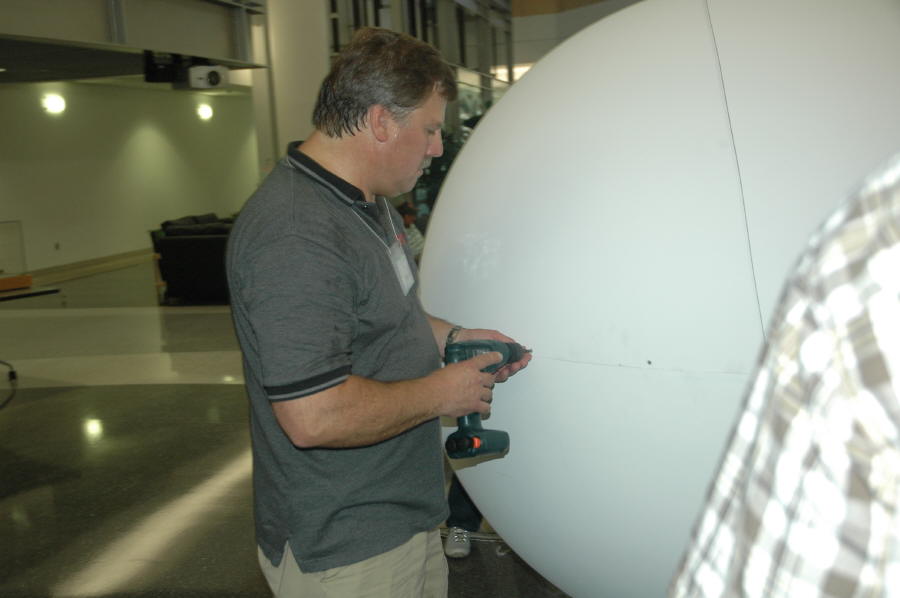
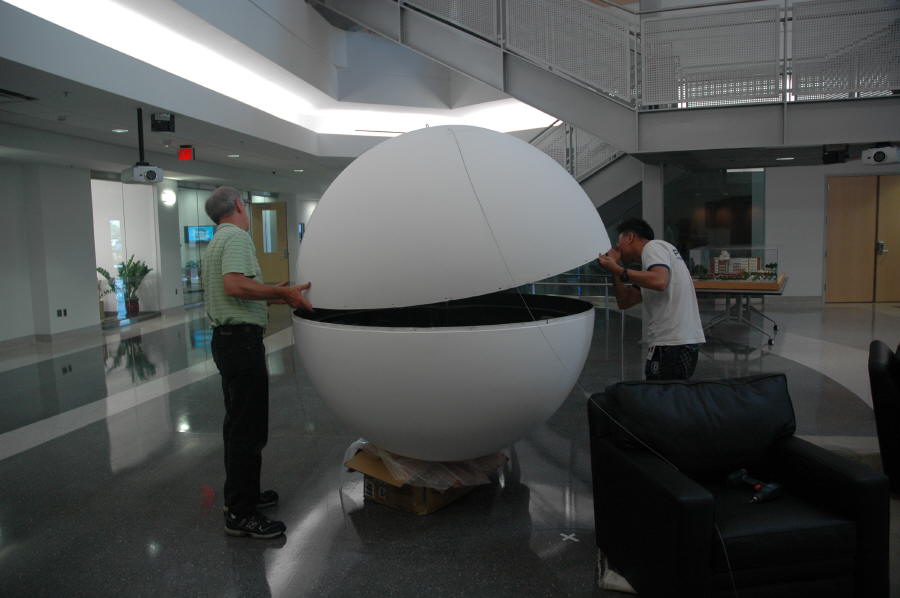
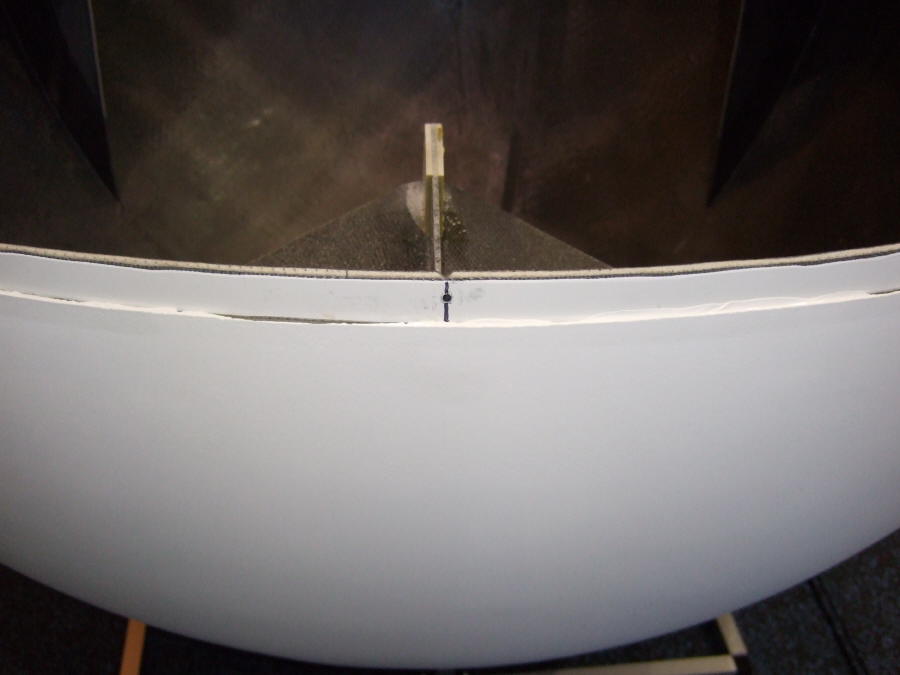
Permalink to SphereThe standard sphere is 68" in diameter. Other sphere sizes are possible, including the currently available 48" and 60" spheres. The spheres are built to come apart at the equator in two equal halves. There is one seam to hide and it’s a very straightforward process to cover it with spackle and paint.
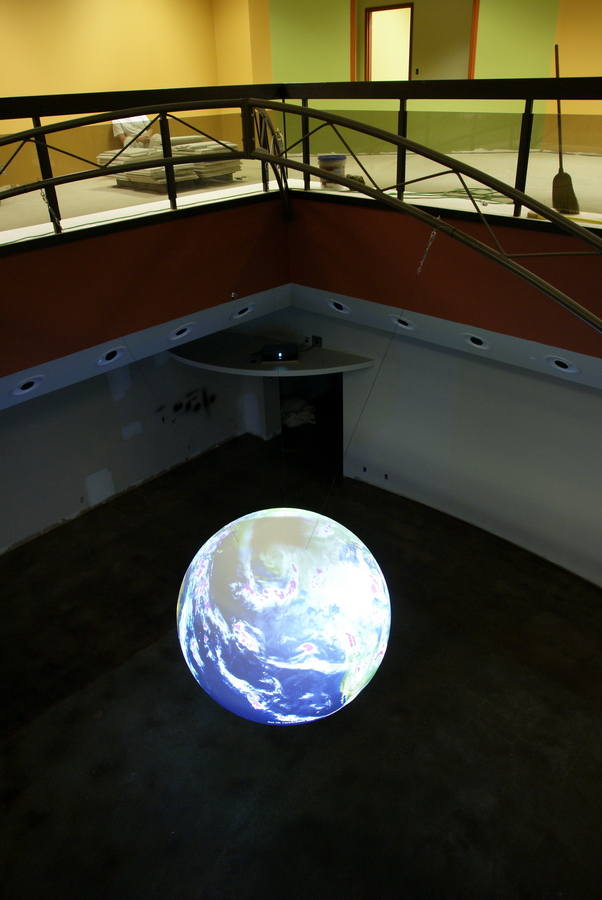
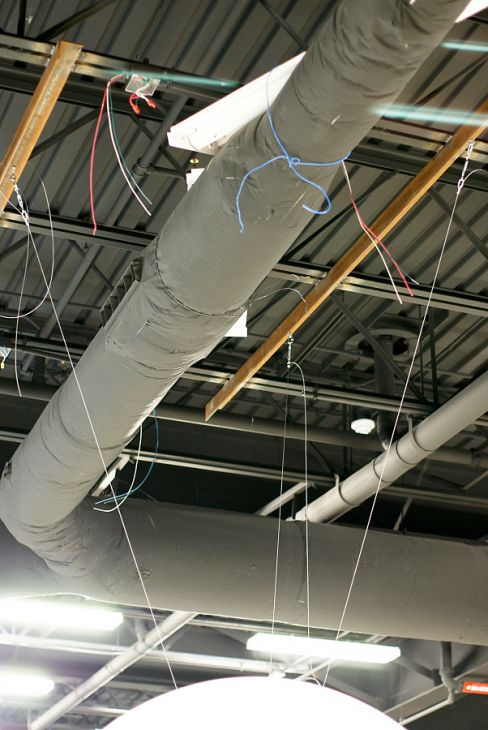
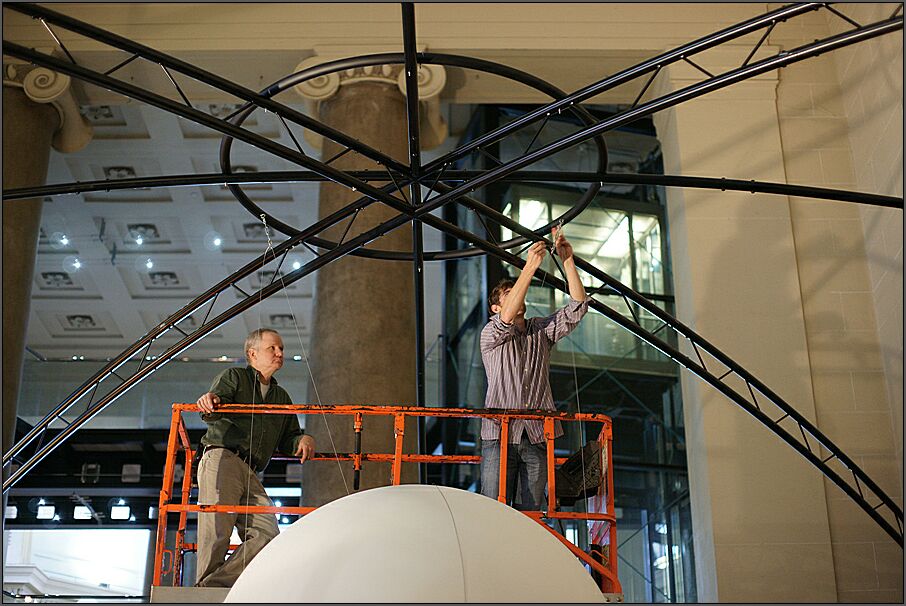
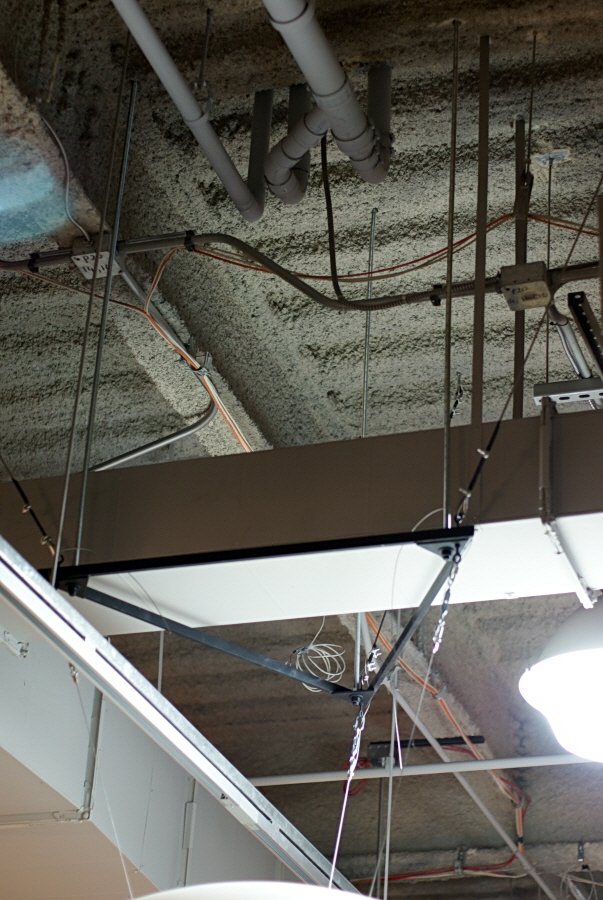
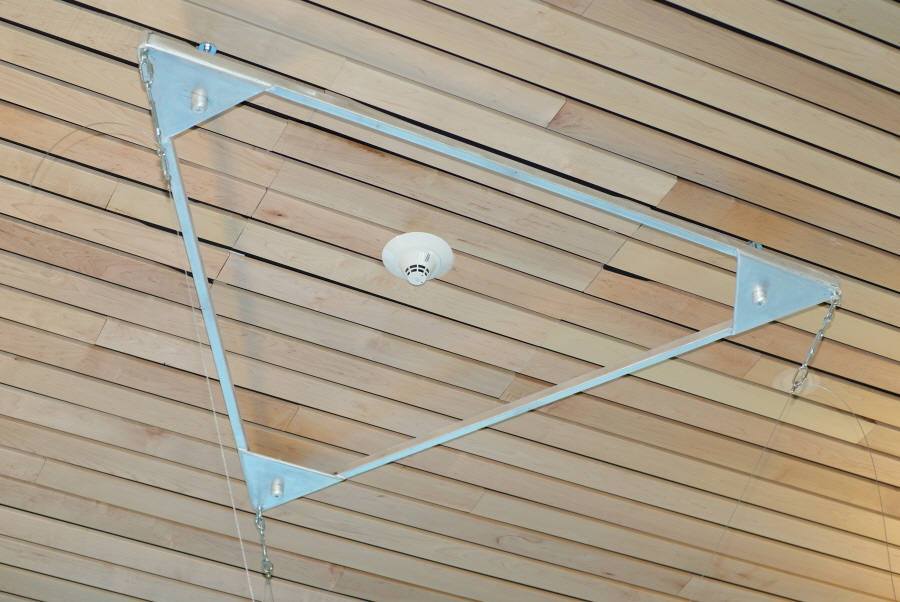
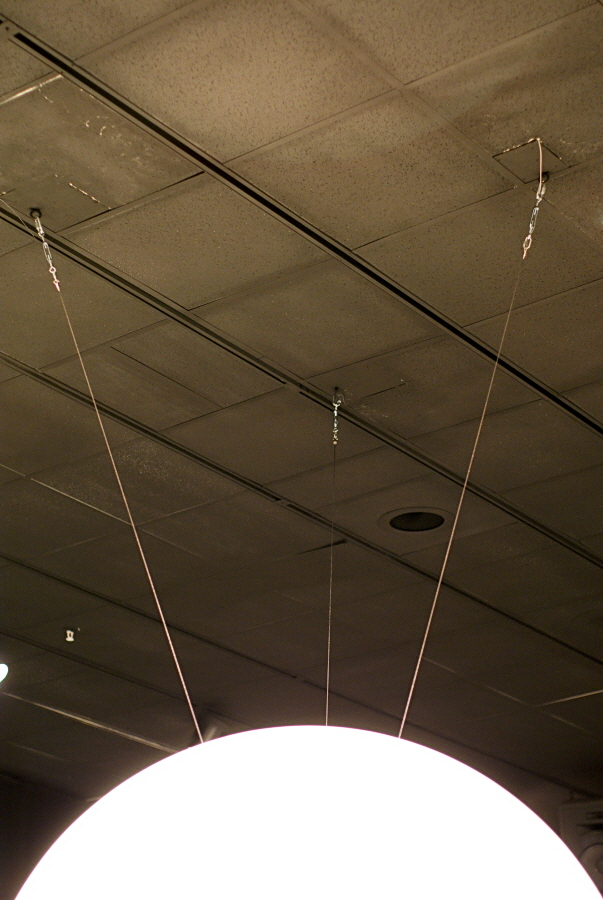
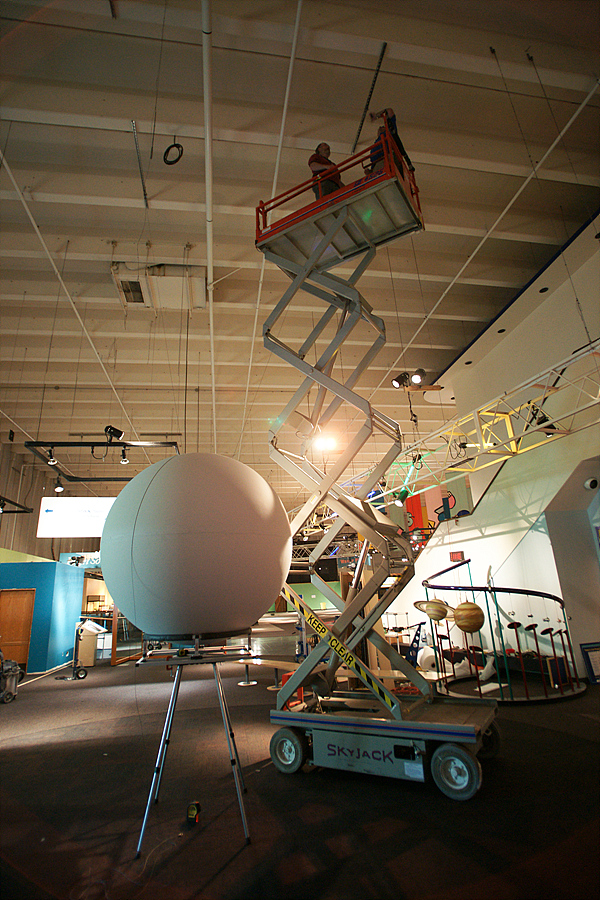
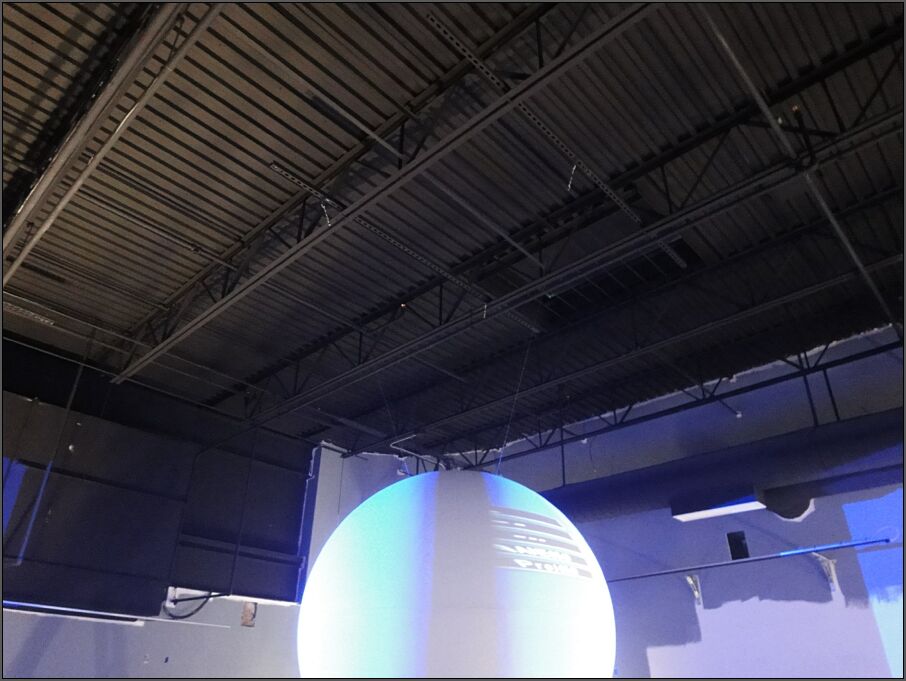
The sphere, which only weighs 50 pounds, is attached to the ceiling or suspension structure with three cables. The included cables are rated to hold many times the weight of the sphere. A three-point suspension system is used to hold the sphere in place and reduce lateral movement. If the sphere moves, then the images become un-focused. The cables are strong, yet small enough to blend into the background. The suspension cables come with the sphere. The Sphere Mount Calculator should be used to determine the location of the mount points that need to be installed prior to installation week.
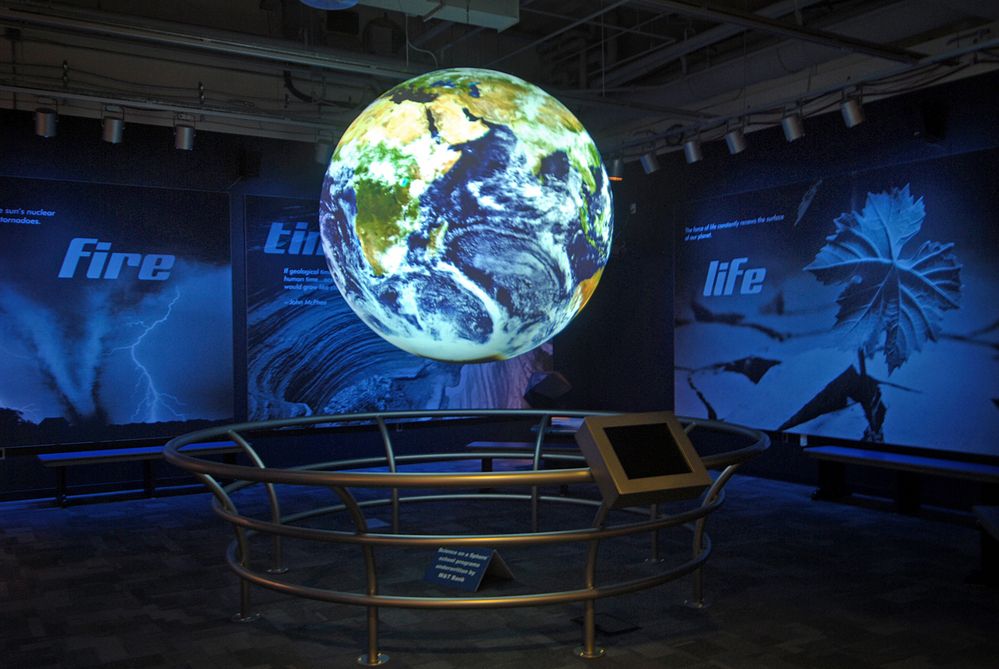
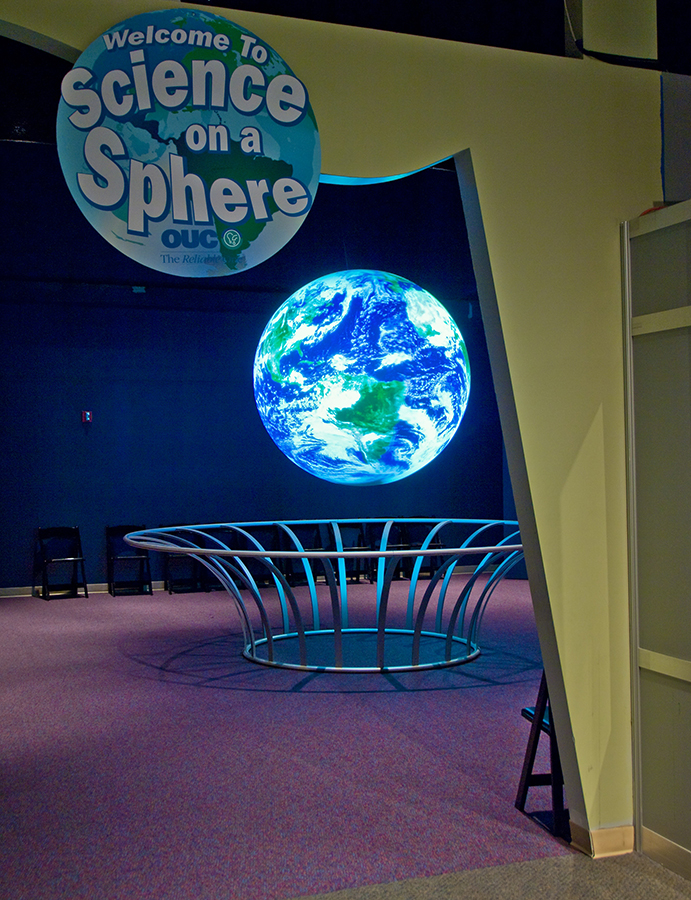
SOS at the Whitake Center for Science and the Arts, Harrisburg, PA
Looking down from above, the sphere sits in the center of a square box that can be formed by drawing lines between each adjacent projector. If “D” is the distance from the center of the box to a projector, then the lengths of the sides of this box can calculated by the formula: sqrt(2) x D. It’s important to realize that the distances are just to the projector lens, so the depth of the projector needs to be accounted for when fitting the projectors into a corner or other tight space.
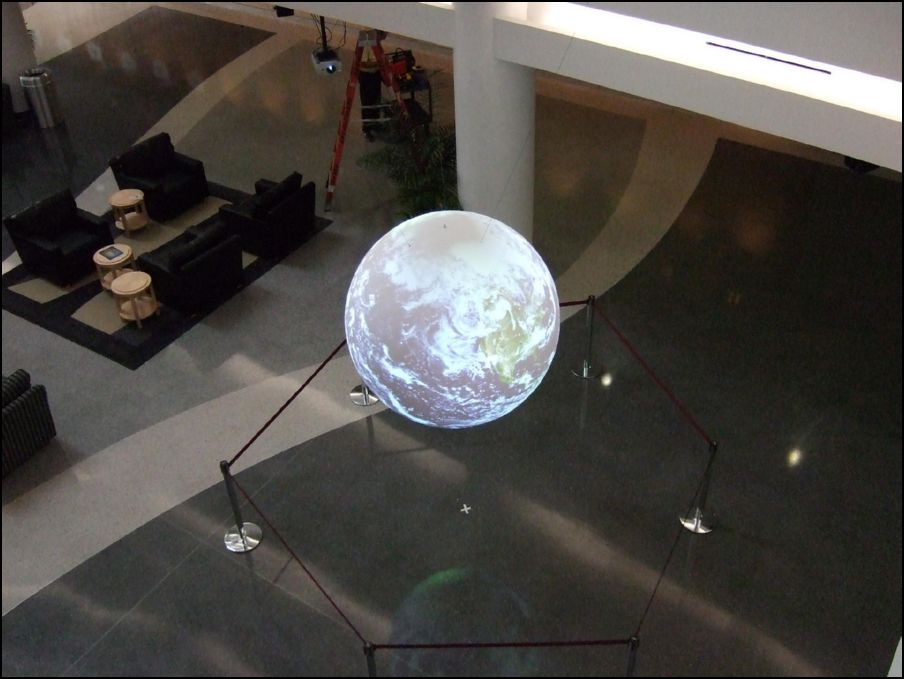
Typically the 68" sphere is positioned 52” above the floor, which puts the equator of the sphere at 7’2”. The height of the sphere is somewhat arbitrary however there are some best practices that should be followed. Positioning the equator at 7’2” serves two goals, the first being that the projectors are also generally 7’2” off of the ground and this height somewhat minimizes the shadows that occur when an individual walks directly in front of a projector. This is clearly dependent on the height of the individual and their closeness to the sphere. The second goal served is that the sphere isn’t too high for viewers. By stepping back four to eight feet, the viewers can still get a view of the northern part of the sphere, yet it’s not so high as to not allow a viewer to walk up very close to the sphere and get a feeling of size, scale and proportions of the globe.
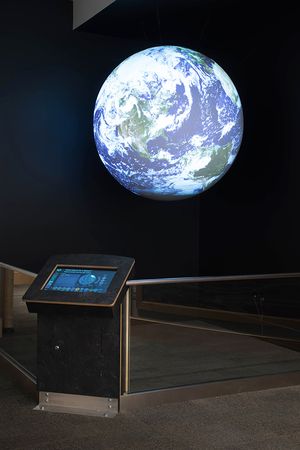
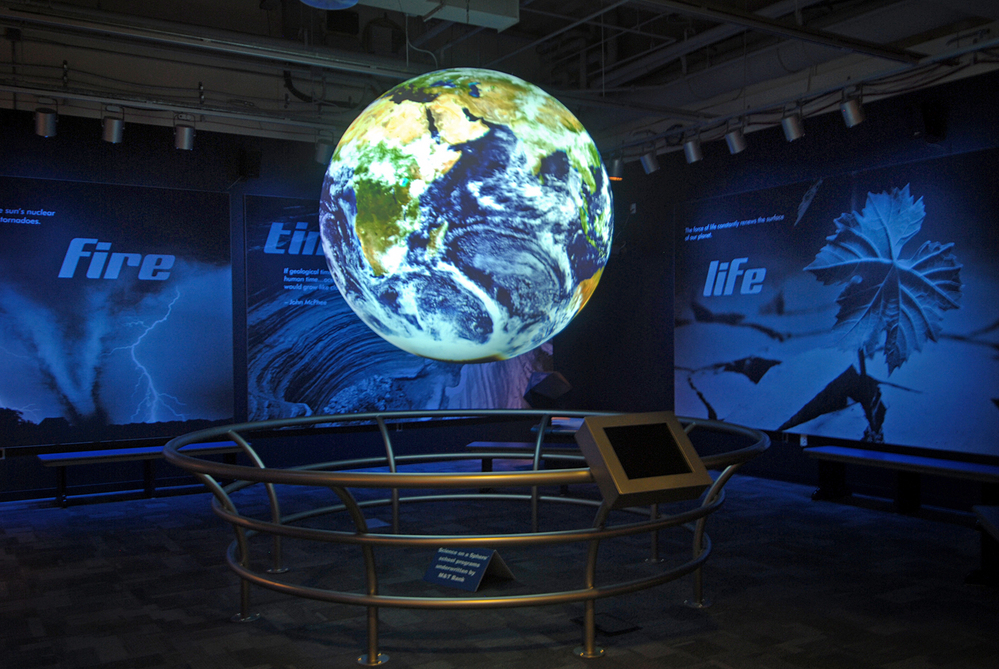
SOS with the SOS Public Kiosk at The Kalamazoo Valley Museum in Kalamazoo, MI
Projector Placement
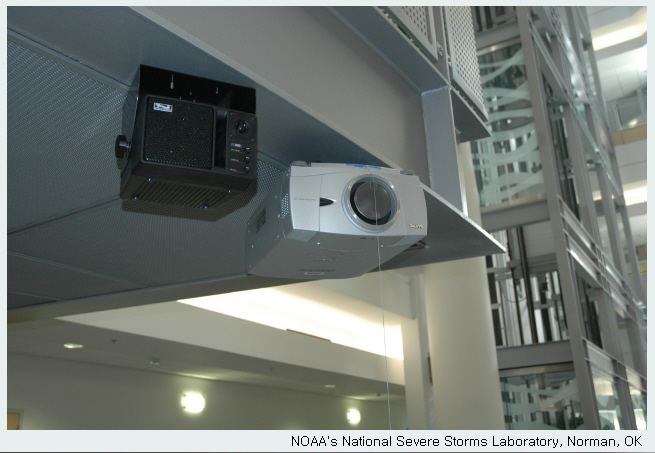
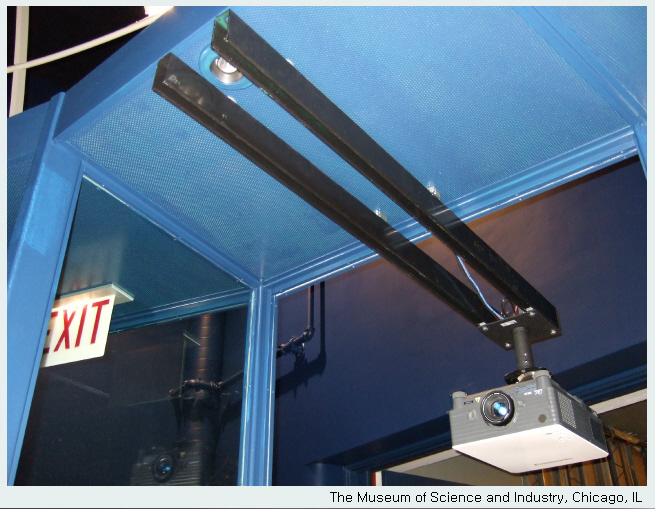
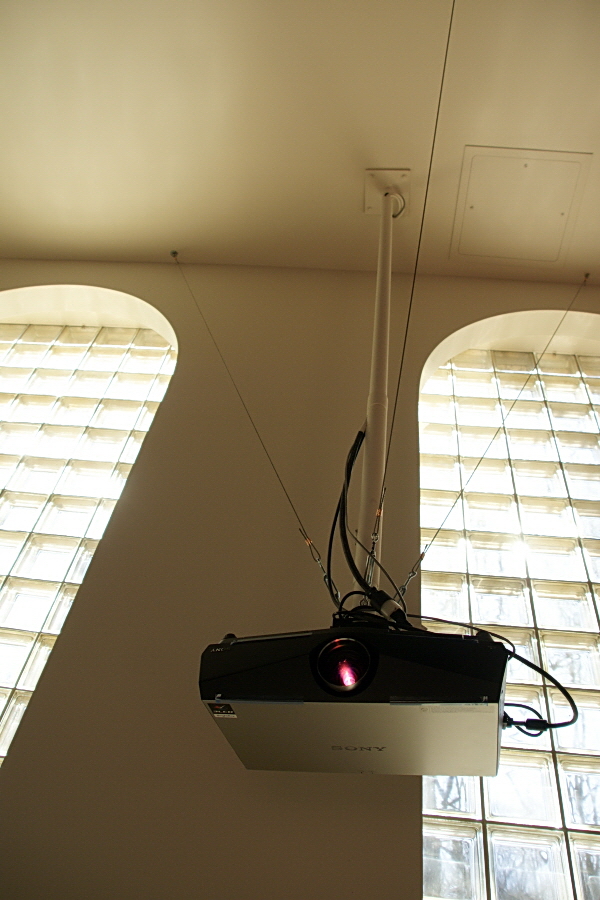
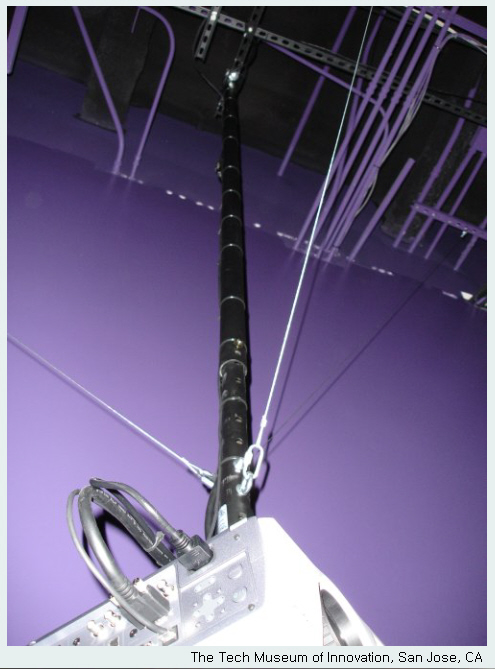
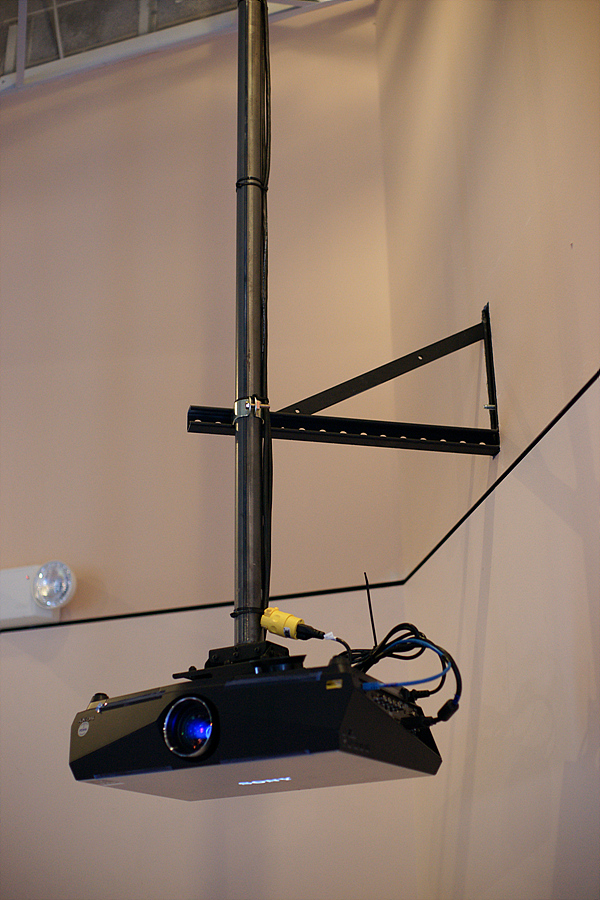
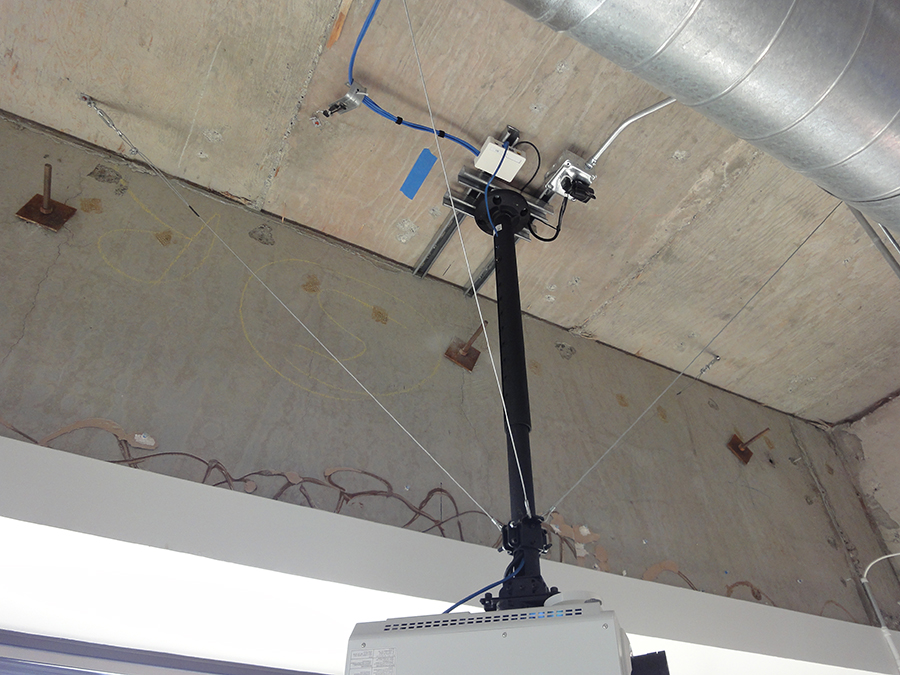
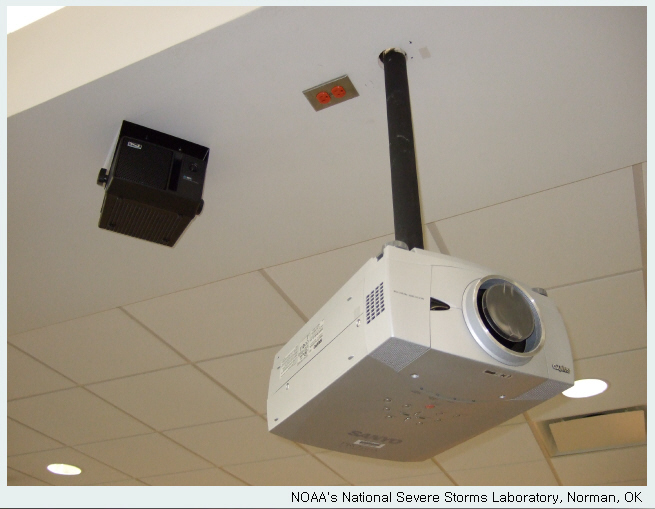
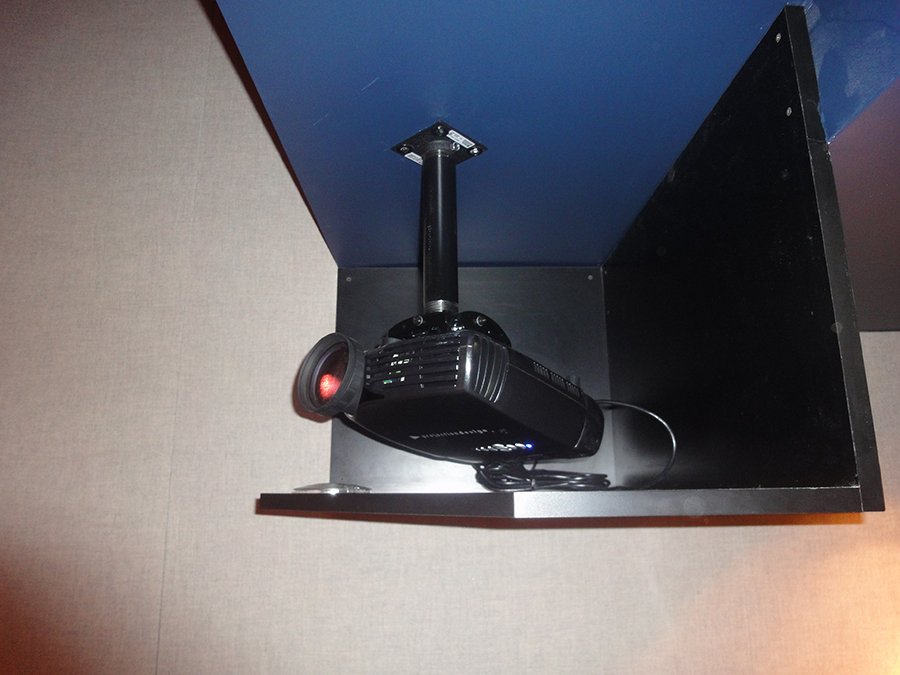
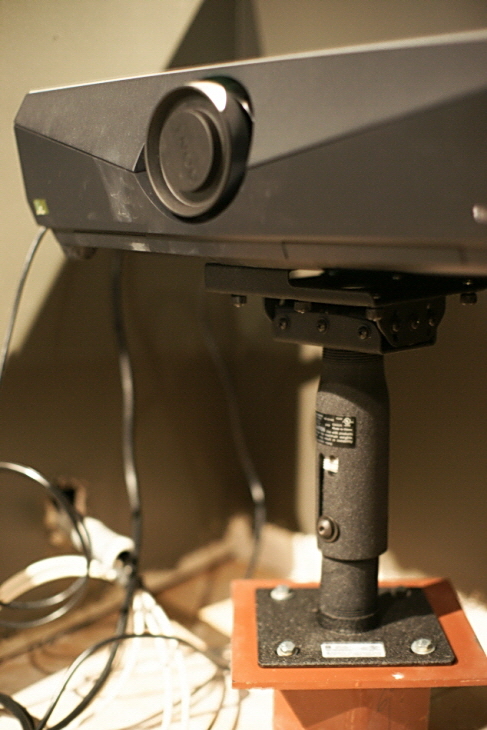
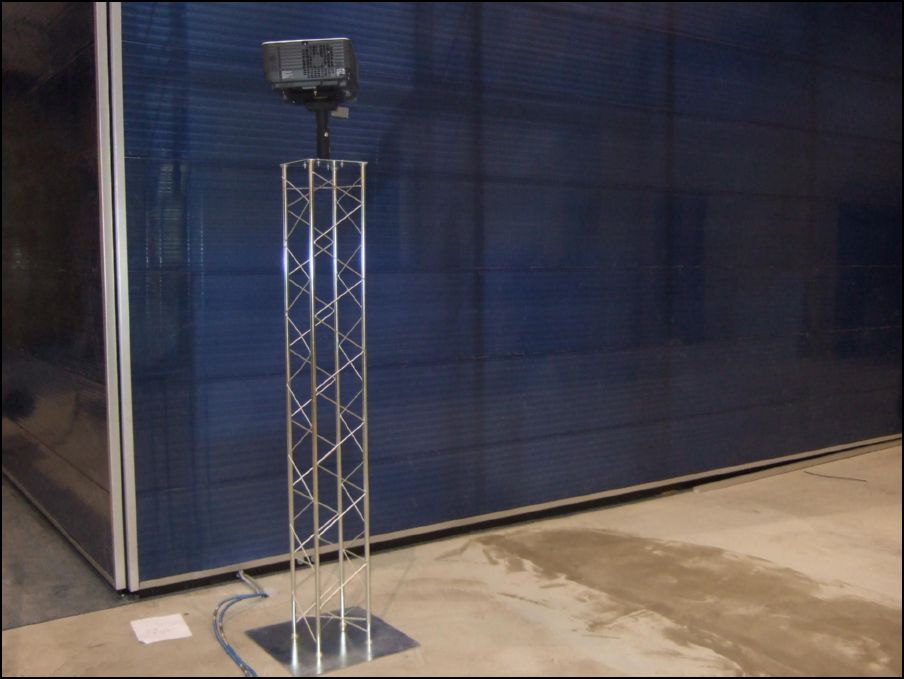
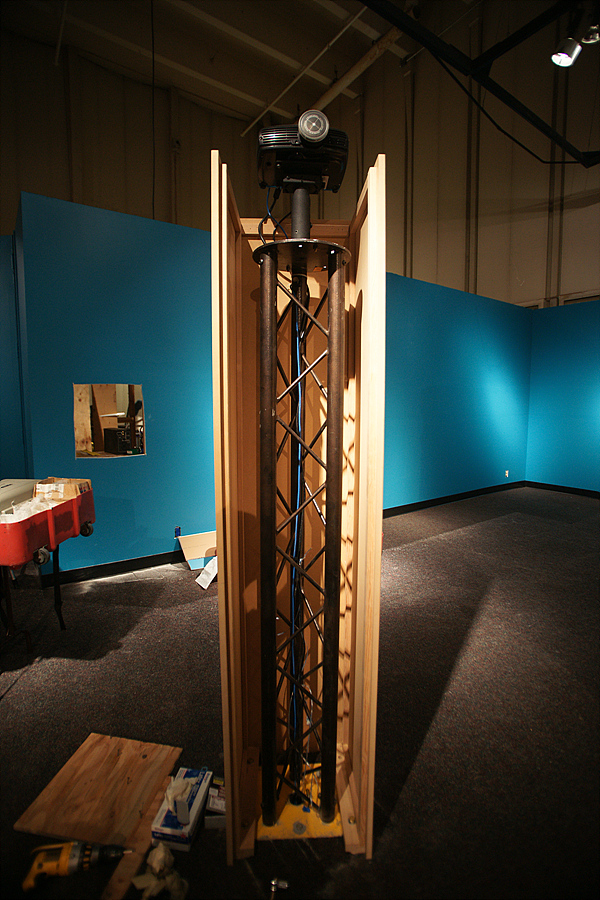
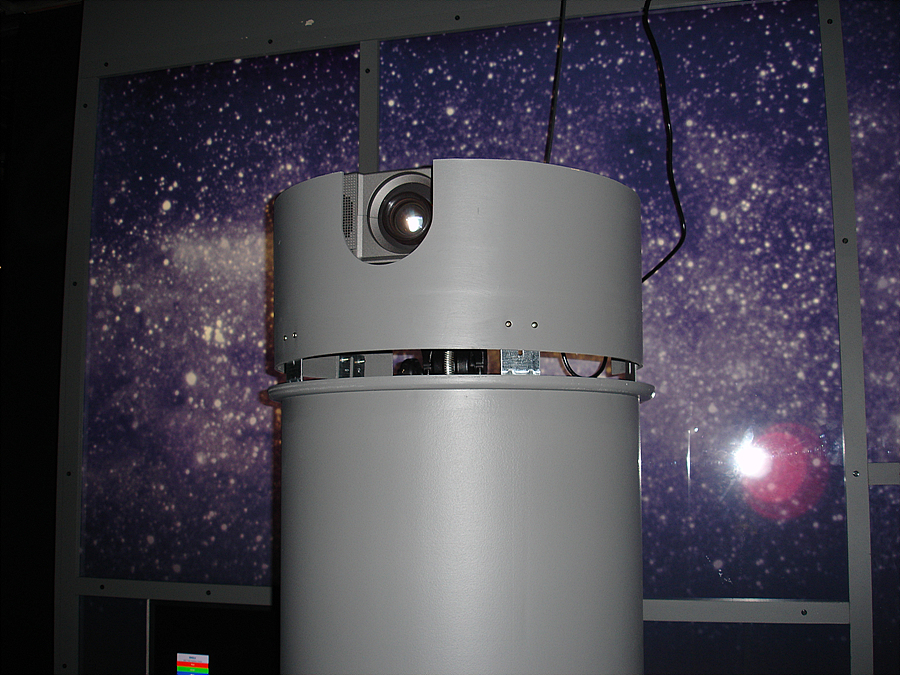
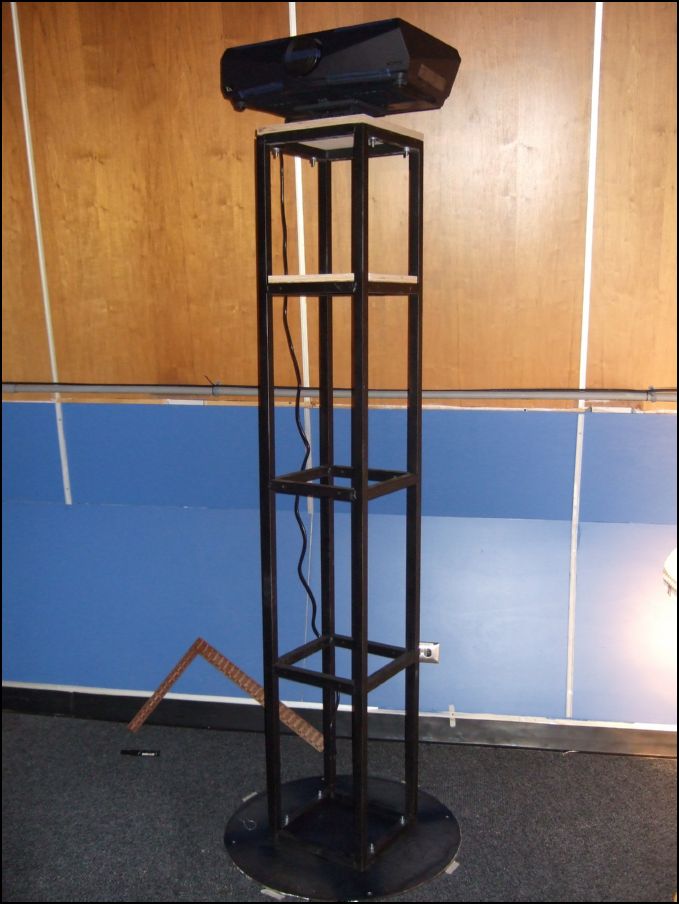
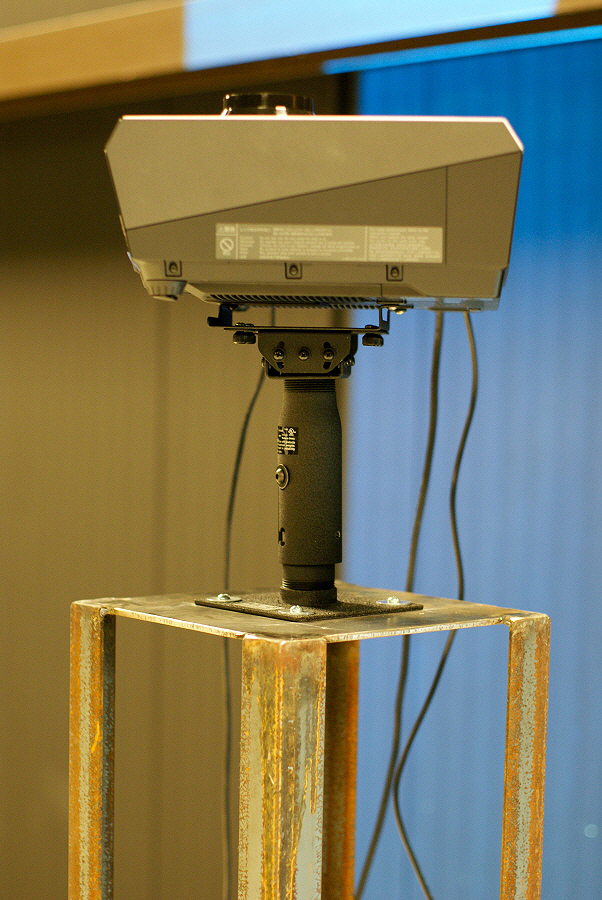
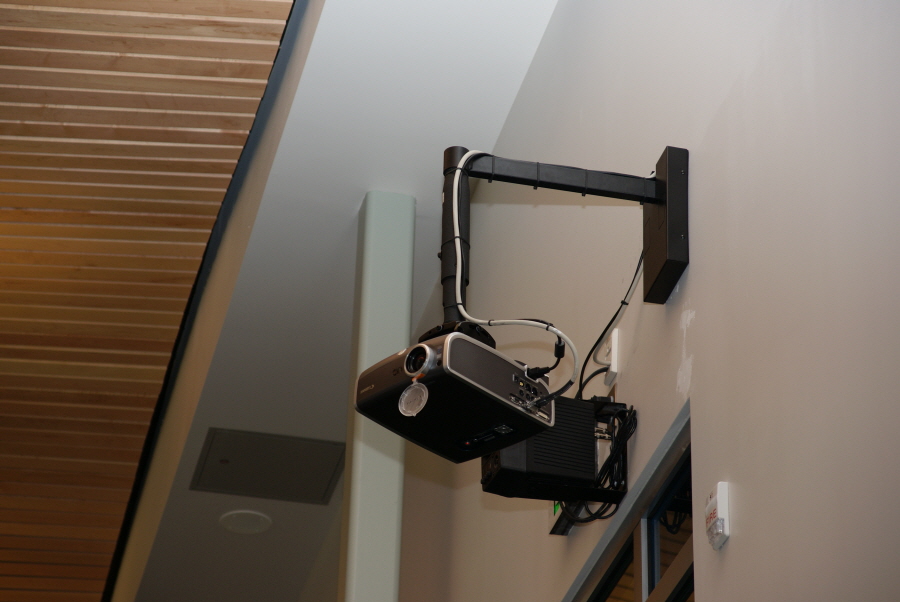
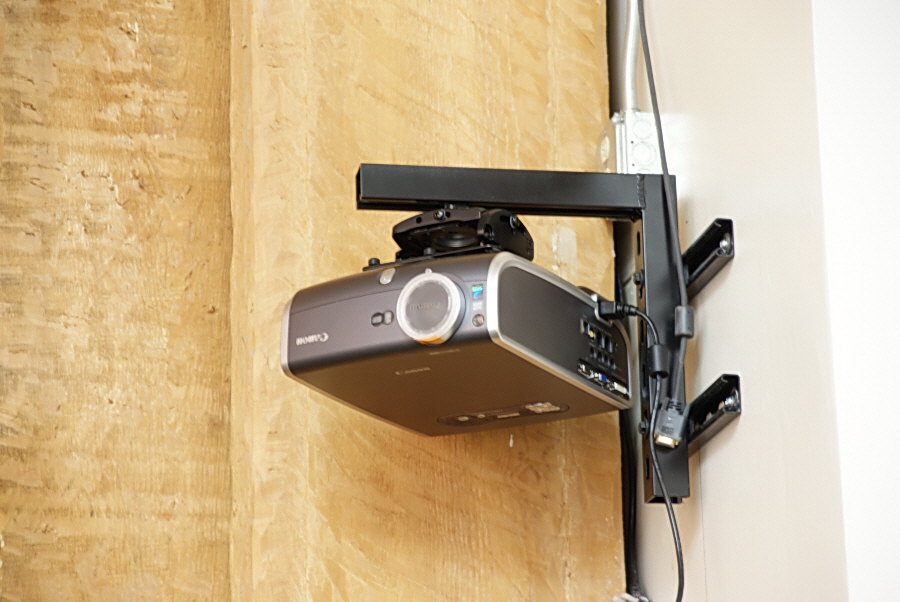
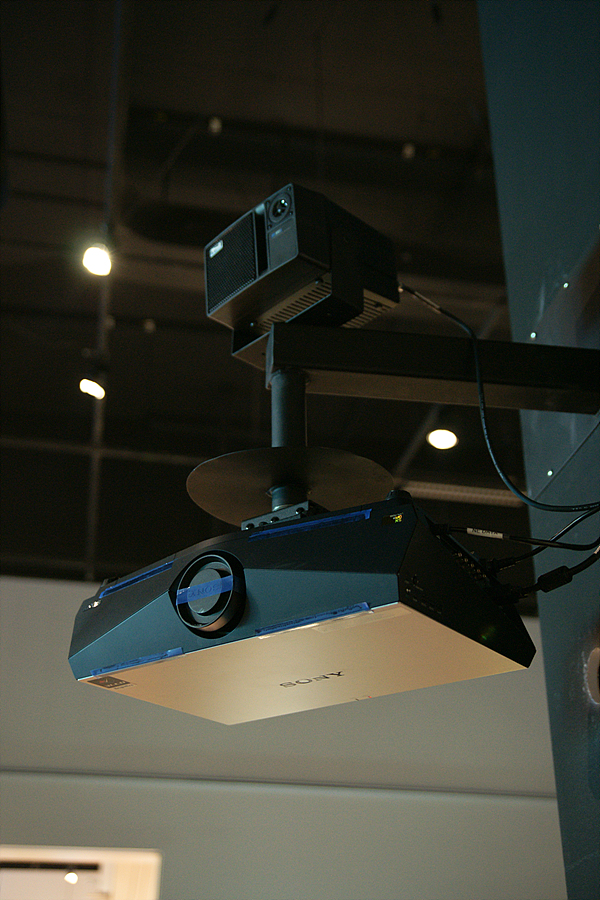
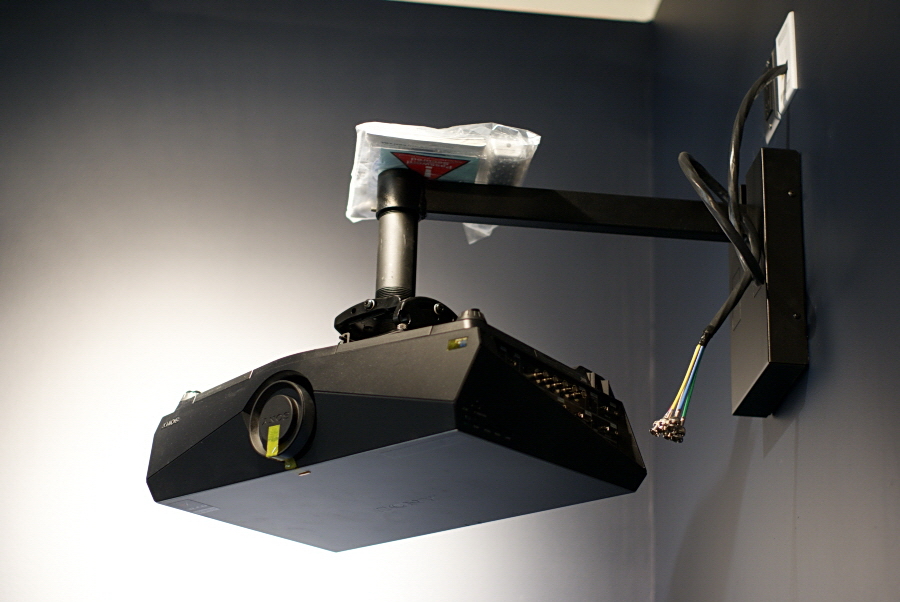
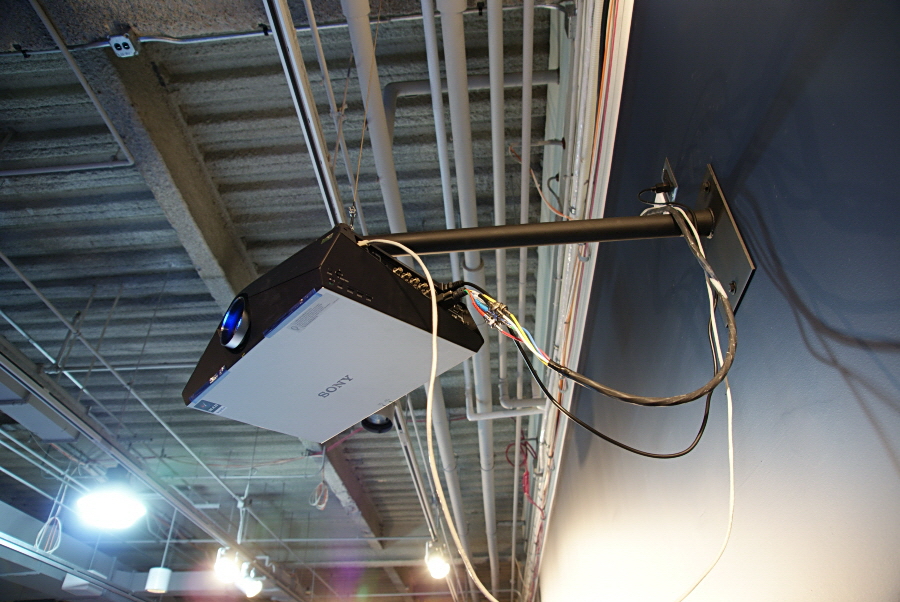
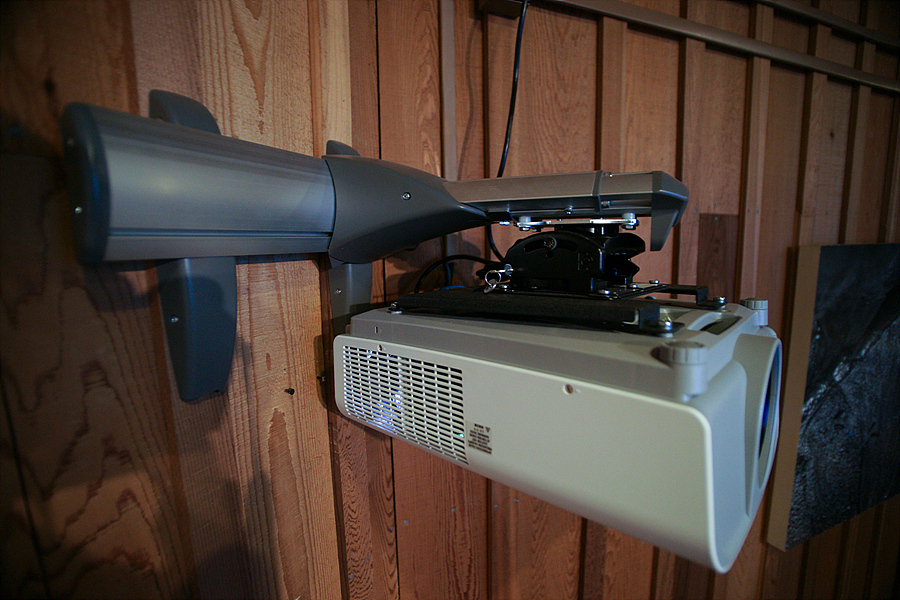
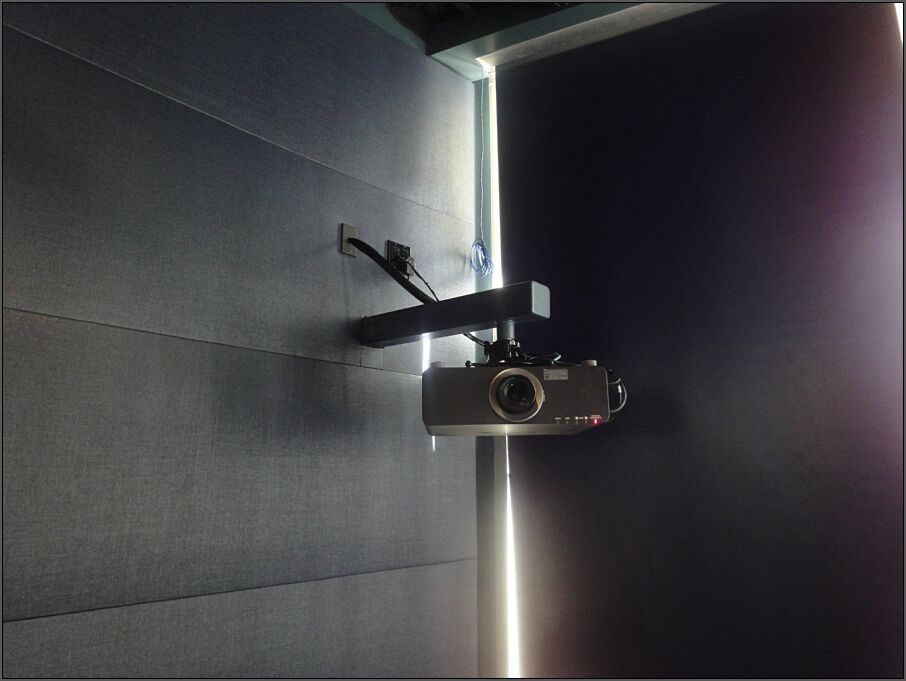
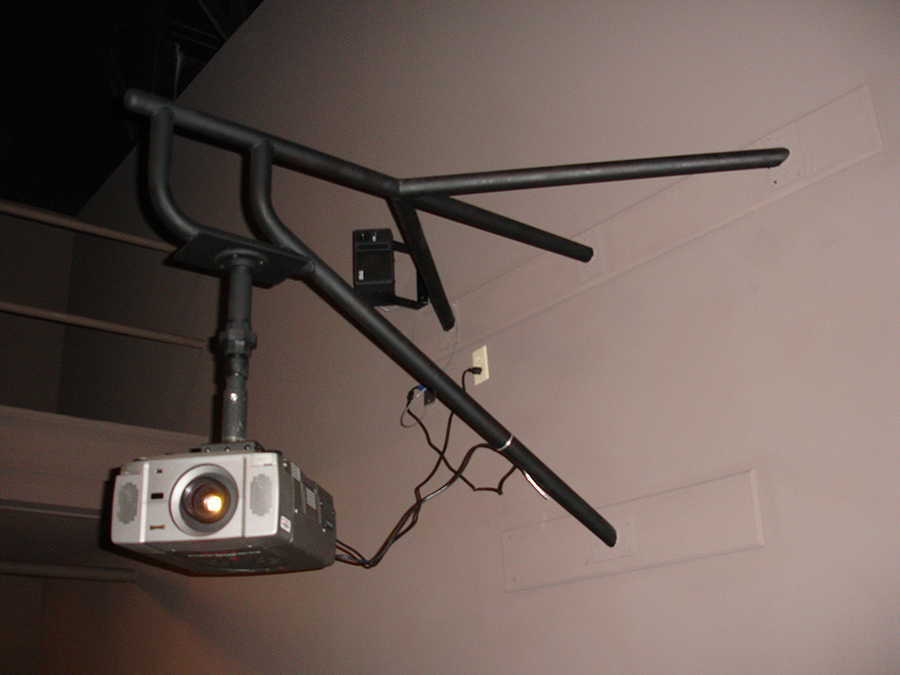
Permalink to Projector PlacementAs described, the projectors are at the corners of a virtual box with the sphere at the center. It is critical that the projectors are located at 90 degree angles from each other, relative to the center of the sphere. The projectors can be attached to a pipe coming down from the ceiling, a floor mounted truss, or attached to a wall. The projectors should be mounted in a way that allows for a 3-axis adjustment (x, y, z planes). The RPA Custom projector mounts from Chief are strongly recommended and available for any projector.
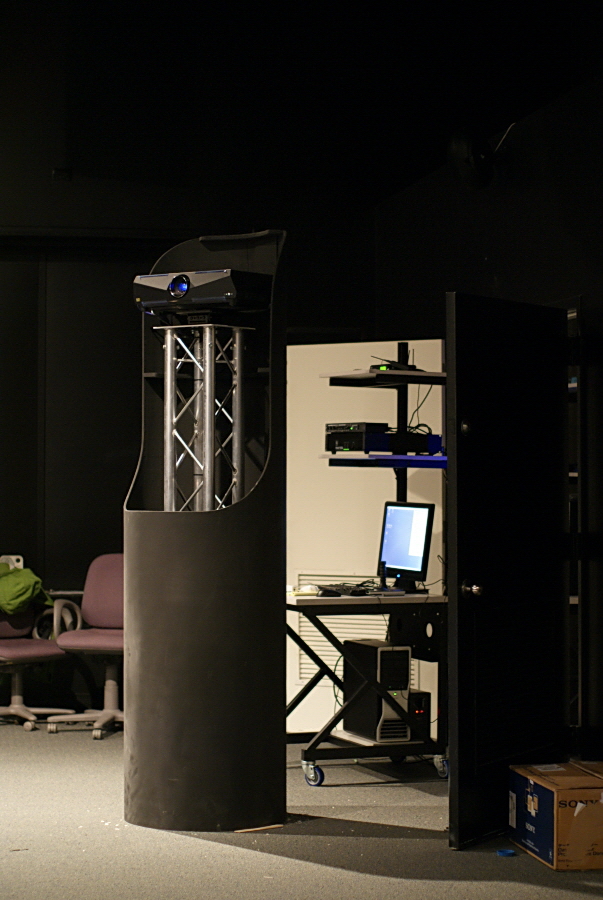
For floor-mounted projectors, it is important to create a barrier around the projector stands that isolates the projectors from people bumping them. When deciding between floor or ceiling mounted projectors, it is important to consider vibration. Any vibration of the projectors shows in the images on the sphere. If there is a floor above the exhibit space with high foot traffic, then ceiling mounted projectors might not be a good idea. If the floor is not solid, then floor mounted projectors are likely to show significant vibration. While wall-mounted projectors can also be used, they tend to have the most problems with vibrations and are not recommended.
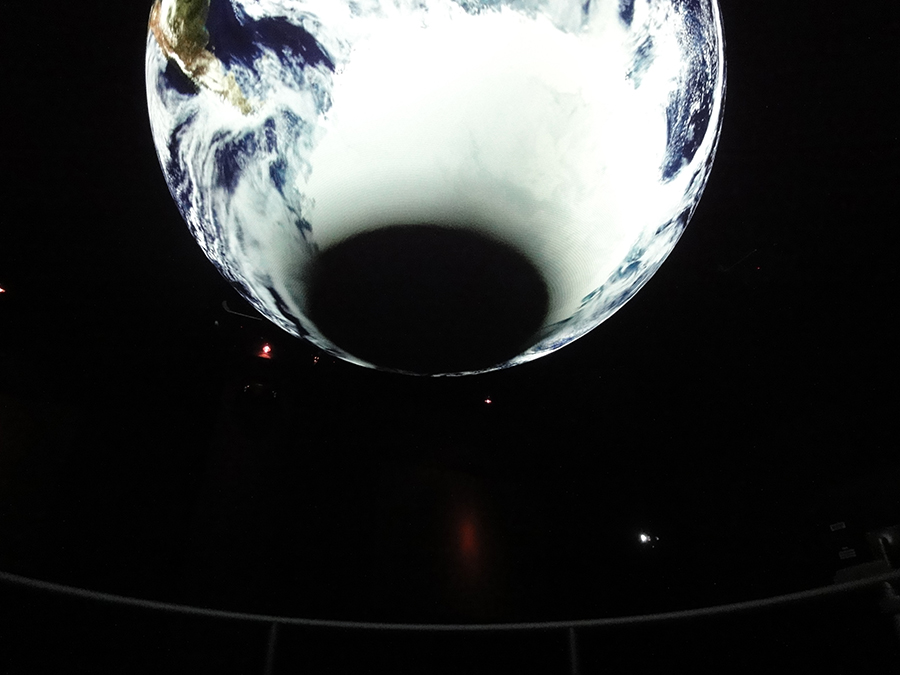
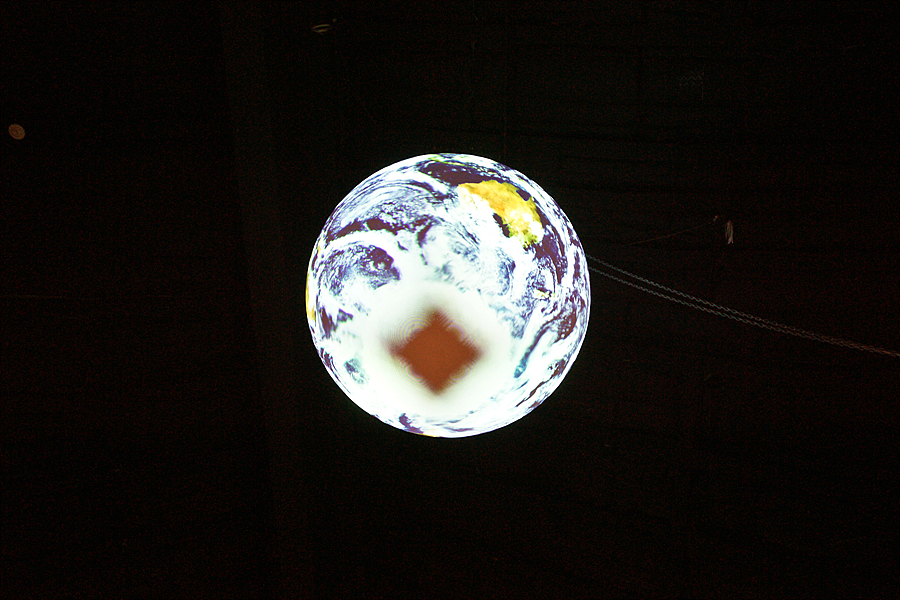
The projector height needs to be equal to the height of the equator of the sphere, plus or minus 12" (please talk to the SOS distributors before making assumptions about the projector height). The four- projector design of Science On a Sphere has some inherent limitations, the main one being the blackout area at the top and bottom of the sphere. The blackout area amounts to a small area at the very bottom and very top of the sphere. This is the area where the light rays of projectors cannot reach from their current location. With the sphere at the recommended height, this blackout area is difficult to see and is generally of little issue even if someone happens to lean over and see the little blank area at the bottom. Raising the projectors causes the blackout area on the bottom of the sphere to increase in size. However, many sites with ceiling-mounted projectors still choose to raise the height of the projectors to move them out of reach. It is critical that the projectors are all on the same geometric plane and that the projector plane is parallel to the floor.
Another area of flexibility for the projectors is their distance from the sphere. While this distance is highly projector dependent, the recommended distance from the projector lens to the center of the sphere is 16’ – 18’ for the standard size sphere. Depending on projector make and model, those distances can be altered somewhat. The SOS team can help you find a projector to meet your needs. It is recommended that all the projectors are the same distance from the sphere, but that can be adjusted as well using the SOS software.
Light Levels
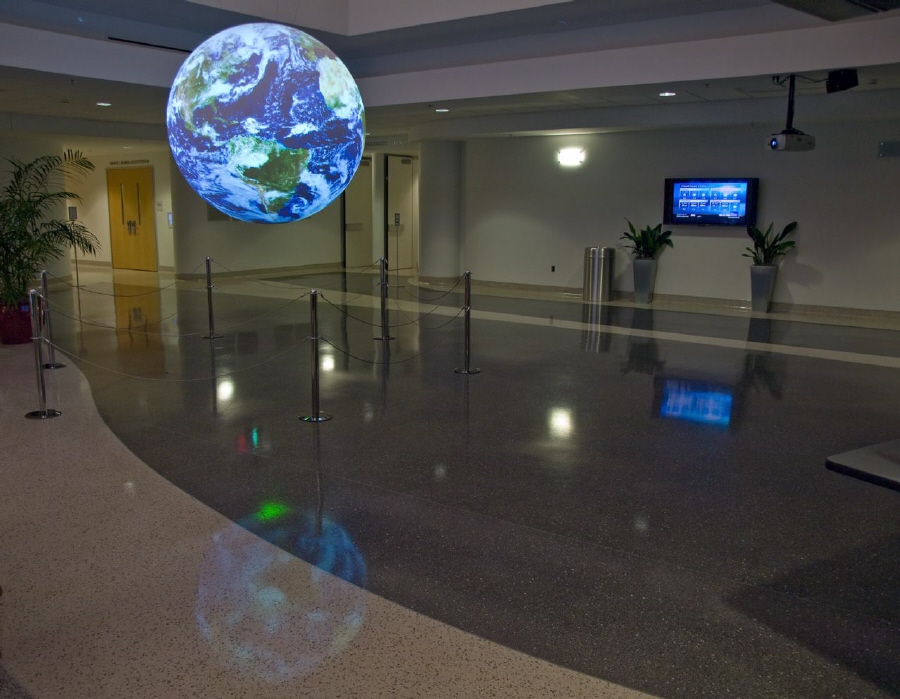
Permalink to Light LevelsIt’s not only the size of the space that has to be considered, but also the aesthetics. The main aesthetic consideration for the space is the light level. Science On a Sphere® looks most brilliant in a dimly lit space, though the exhibit has been set up in several lobbies and other spaces with high light levels. There isn’t a lot of information on acceptable light levels for Science On a Sphere viewing. Any discussion regarding acceptable light levels is fairly subjective. Most of the projectors that are recommended are bright, 4000 lumen projectors. The projectors provide a significant amount of illumination and contrast, even in well-lit areas, however being able to control some aspects of the light conditions in the enclosure will be important. The system looks its best when viewed in fairly dark conditions so that the sphere appears to be suspended in outer space.
Direct light and sunlight will wash out the images on the sphere. Tinting any exterior windows and pointing directional lighting away from the sphere is highly recommended.
Equipment Considerations
Permalink to Equipment ConsiderationsThe computers and additional equipment for SOS should be kept in a computer room or storage space close to the exhibit. Cable runs from the computer to the projectors should be no more than 200’. Many sites find it convenient to be able to see the sphere when working at the SOS computer for programming purposes. A key consideration when choosing the storage location is the ventilation of the space. The Dell computer systems generate very little noise, but a significant amount of heat from rear exhaust fans. The standard configuration consisting of two computers needs to be kept at an ambient air temperature somewhere below the mid 70’s with adequate air flow away from the CPU cases.
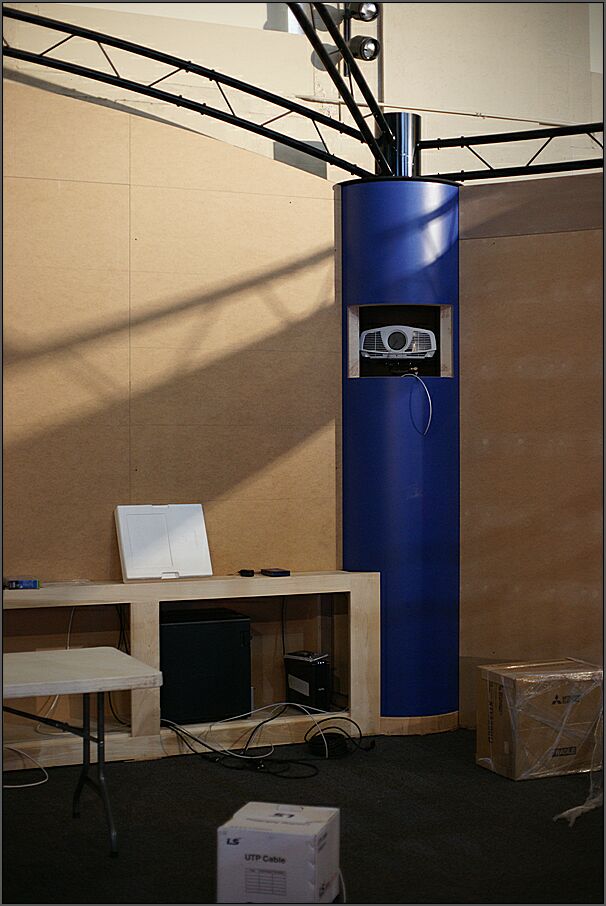
The projectors generate a small to moderate amount of noise due to the cooling fans. The projectors also generate a fair amount of heat for their size. If enclosures are built around the projectors, they need to allow for adequate air flow and ventilation. Air flow and ventilation also needs to be considered if the projectors are positioned near walls or in corners.
Floor and Seating
Permalink to Floor and SeatingWhen seating is provided around SOS, the audience generally stays in the exhibit space for a longer time. Seating can either be spread around the sphere, or consolidated in one section. The type and position of the seating will depend on how the sphere is used. For live presentations with smaller groups, it’s convenient to have the whole audience all gathered on one side of the sphere. For informal viewing or large crowds, then seating around the sphere is a good option. A carpet floor is also desirable for kids to sit down on and to help reduce sound echoes. Many times, when children come in for a field trip or are there as part of a tour, they immediately sit down on the floor.
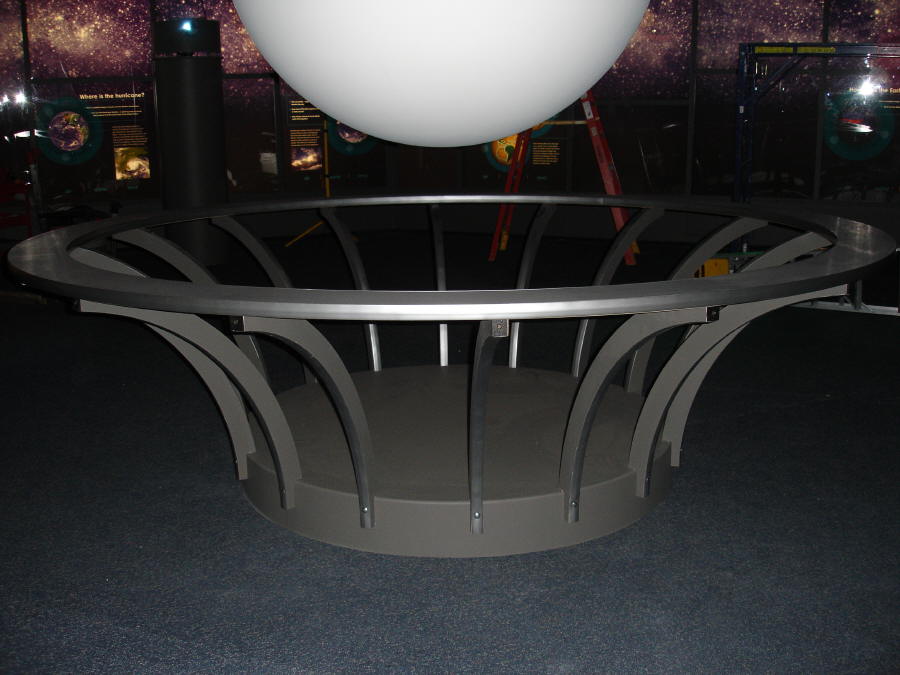
Railing
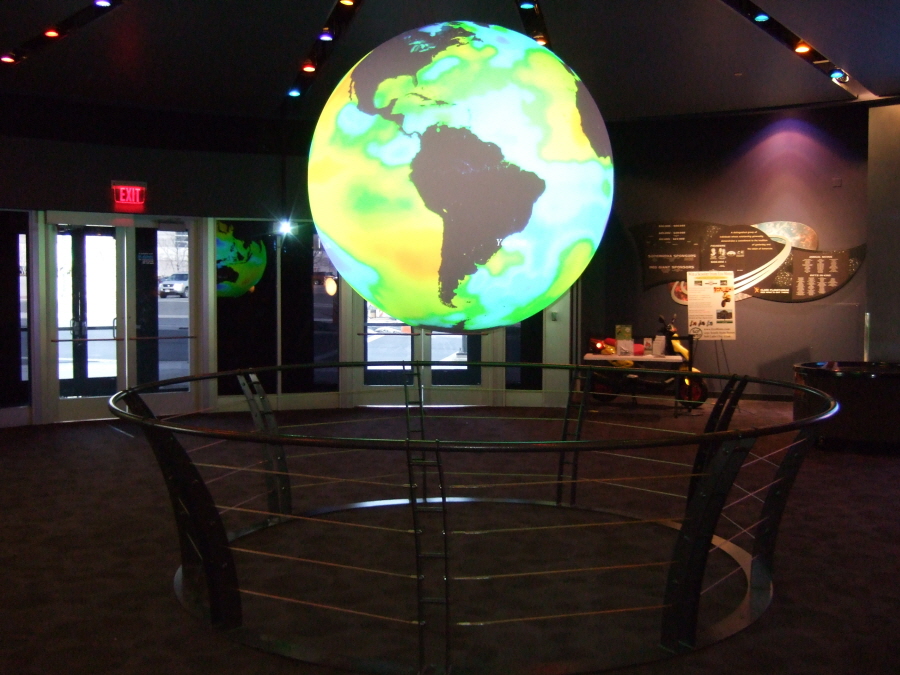
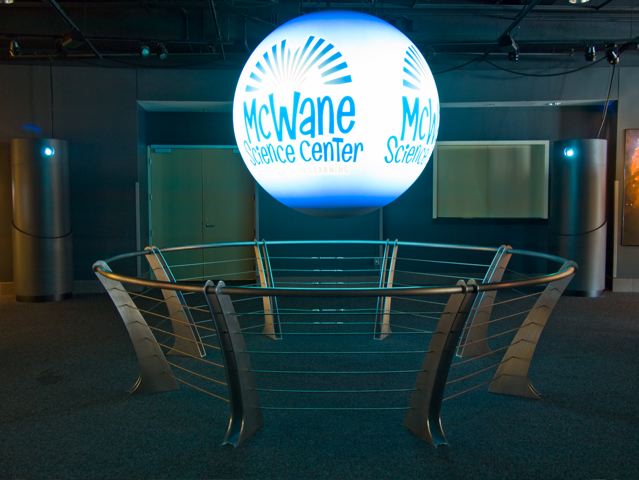
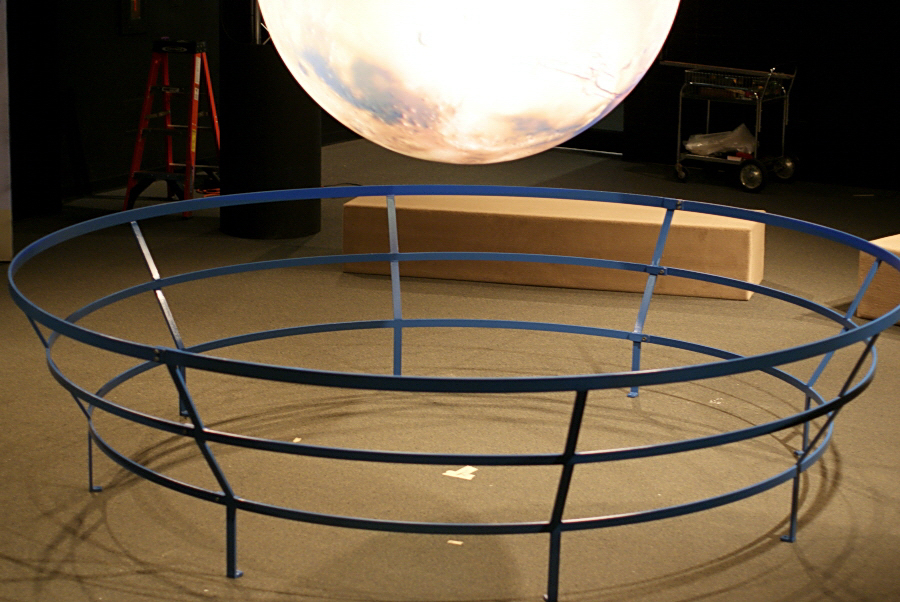
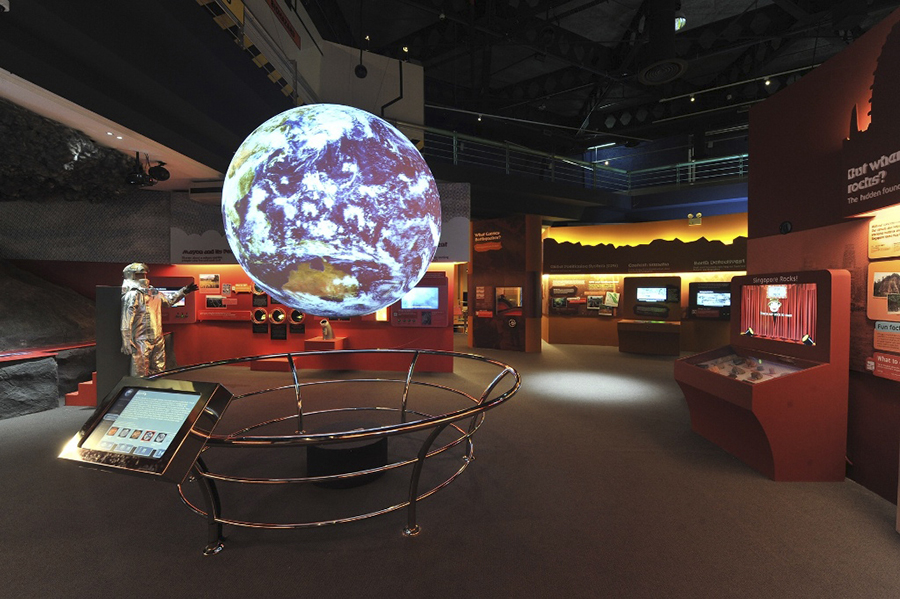
Permalink to RailingA random observation is that children younger than 10 seem to immediately want to touch the sphere and then crawl on the ground underneath it to see what is at the bottom. In a museum setting, it is recommended that a railing or barrier of some kind be installed to restrict audience members from touching the sphere. Touching the sphere can result in sphere movement, pose a safety issue, and generally detract from the presentations. The recommended railing size is a 12’- 14’ diameter circle that is 3’ tall. This size for the railing is large enough to prevent the audience from touching the sphere, but small enough to let audiences get a close-up look. The design of the railing is up to each individual site. The SOS distributors can provide pricing for railings if the site doesn’t want to provide their own.
Exhibit Space
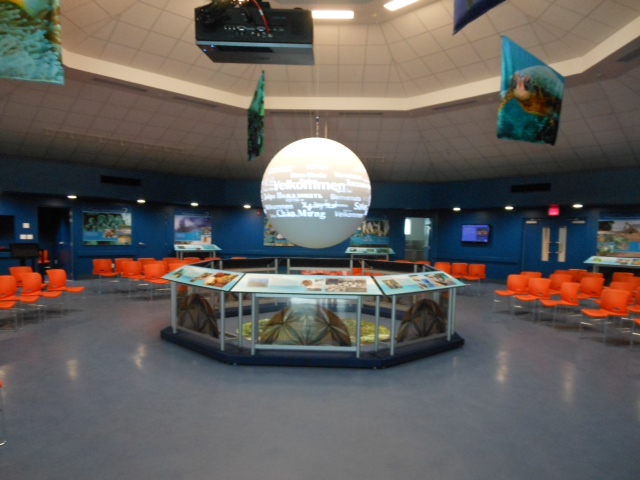
Permalink to Exhibit SpaceThe SOS exhibit can either be incorporated into a larger exhibit, or showcased alone. Some sites have put SOS into a room that is dedicated solely to SOS with only one entrance like a theater, others have secluded the exhibit but have many entrances and exits, and still others have SOS out in the open amongst other exhibits. There is no right or wrong way to set up the exhibit, but programs utilizing the sphere will probably look different depending on the space. A theater setup lends itself well to schedule presentations with a presenter, while a sphere in an exhibit hall works well in an unattended mode. Many existing SOS sites have conducted evaluations as to the pros and cons of the various set-ups. To see different setups, look through the installation pictures.
Audience
Permalink to AudienceScience On a Sphere® is seen by over 66 million people annually, from young children in grade school to adults. The venues range from very casual to extremely structured. During live presentations, having an audience of about 30 people is optimal. Larger audiences are possible depending on how the space is laid out. During presentations, the facilitator can use an iPad to manipulate the animations being shown on the sphere. From evaluations of SOS in public places the following has been observed.
- Visitors are enthralled with SOS, so much so that they generally don’t look at surrounding flat-panel displays with other imagery on it
- Visitors are generally curious about the technical aspects of the sphere
- Visitors liked the aesthetic value of the brightly colored data that was shown on the sphere
- Visitors responded very positively to a live presenter to guide them through the data shown on the SOS. For these presentations the audience would stay for 40-min presentations
Technical Specifications
Permalink to Technical Specifications
Once the exhibit space for Science On a Sphere® has been designed according to the guidelines in the First Steps document, the next step to take is selecting the equipment to be used. All of the equipment for Science On a Sphere®, with the exception of the sphere itself, is off-the-shelf equipment that can be purchased from numerous sites. A generic list of equipment is available, however the needs of each site vary, so it is important to discuss with the SOS distributors the equipment needs for your site.
Computers and Graphic Cards
Permalink to Computers and Graphic CardsThere are very precise computer specifications for the computers that operate SOS. Sites are encouraged to buy two computers - one operational computer, and one spare. Both computers are configured identically for easy replacement should the operational computer encounter any problems. The computers generate a fair amount of heat, so it’s important that the computers are kept in a well ventilated area.
Cabling
Permalink to CablingThe computers are connected to one another through a private gigabit network that is used to sync the computers. An 8 port gigabit network switch and Cat 5e or Cat 6 cabling are required to connect the computers to the network. The projectors can also be connected to the network to allow for remote control through the main SOS computer and iPad remote app. It is important that the right cabling be used to ensure proper system operation.
Typically the computers, network switch, and components are stored in one central location, along with a keyboard, mouse, monitor and KVM. DVI video extenders with Cat 6a cables are used to connect the projectors to the computers. The cable length for the video extenders needs to be less than 200’. DVI cables are used to connect the extenders to the projectors and the computers, so make sure to have enough DVI cables. When considering a computer location, temperature and air flow of the space needs to be taken into account. The computers generate a fair amount of heat and need to remain cool, so they need to be stored in a location with good ventilation. Conditions with poor ventilation can lead to overheating for the computers which can cause failures in the hard drive, motherboard, graphics cards, processors and other components. It is convenient, though not required to be able to see the sphere from the computer location for programming purposes.
Audio System
Permalink to Audio SystemAn audio system serves to enhance the Science On a Sphere® exhibit by allowing the site to play narrated pieces and use microphones for presenters. The details of the audio setup are left up to each site, but specifications for a reference audio system are provided. This basic system includes a mixer, a microphone, and four speakers. The speakers are typically mounted near each of the projectors and are positioned to point in towards the sphere. When designing the SOS exhibit, it is important to consider how sound will travel between the SOS exhibit and any surrounding exhibits, and to plan accordingly.
Remote Control
Permalink to Remote ControlIn order to perform projector alignment of the sphere and give live presentations, a remote control is required. The remote control available for SOS is an iPad app. For this to work there, there must be Wi-Fi access to the SOS computer. Either an existing Wi-Fi network can be used, or a dedicated network can be set up for SOS. For the most reliable connection, a dedicated Wi-Fi network for SOS is recommended.
Power
Permalink to PowerThe projectors draw about 20 amps and the rest of the equipment, including the computers, draws about 7 amps. A UPS is suggested for the computers to protect them from power spikes and bumps. Sites should consider putting projectors on UPS units as well, especially if the site has unreliable power. Power should be readily accessible from each of the projector locations, as well as at the central computer location.
Internet Access
Permalink to Internet AccessAnother nice feature to add is an internet line. This serves several purposes. First, it allows the site to automatically download real-time data for display on the sphere. It also lets the sites automatically download weekly updates to the data catalog and stay up to date with software upgrades. Second, if the site’s security permits it, it allows for remote support. Internet speeds of at a minimum 3-4 Mbps are suggested. A Wi-Fi router is part of the equipment list so that a wireless network can be set up to allow for remote control of the sphere with an iPad.
Additional Options
Permalink to Additional OptionsMany sites choose to customize their Science On a Sphere® exhibit through the addition of touch-screen kiosks. A kiosk from the NOAA SOS team is available. More information about the NOAA SOS Public Kiosk is available in the Public Kiosk User Manual.
Floor Plan
Permalink to Floor PlanThe standard Science On a Sphere® set up includes 4 projectors in a square around a 68" carbon fiber sphere. For sites that don’t have enough space for the standard configuration, there are many options available:
- Use projectors with short throw lenses
- Use a smaller sphere (60" or 48" available)
- Use fewer projectors
For questions about how SOS can fit in your site, email sos.support@noaa.gov.
Standard Four Projector Floor Plan
Permalink to Standard Four Projector Floor Plan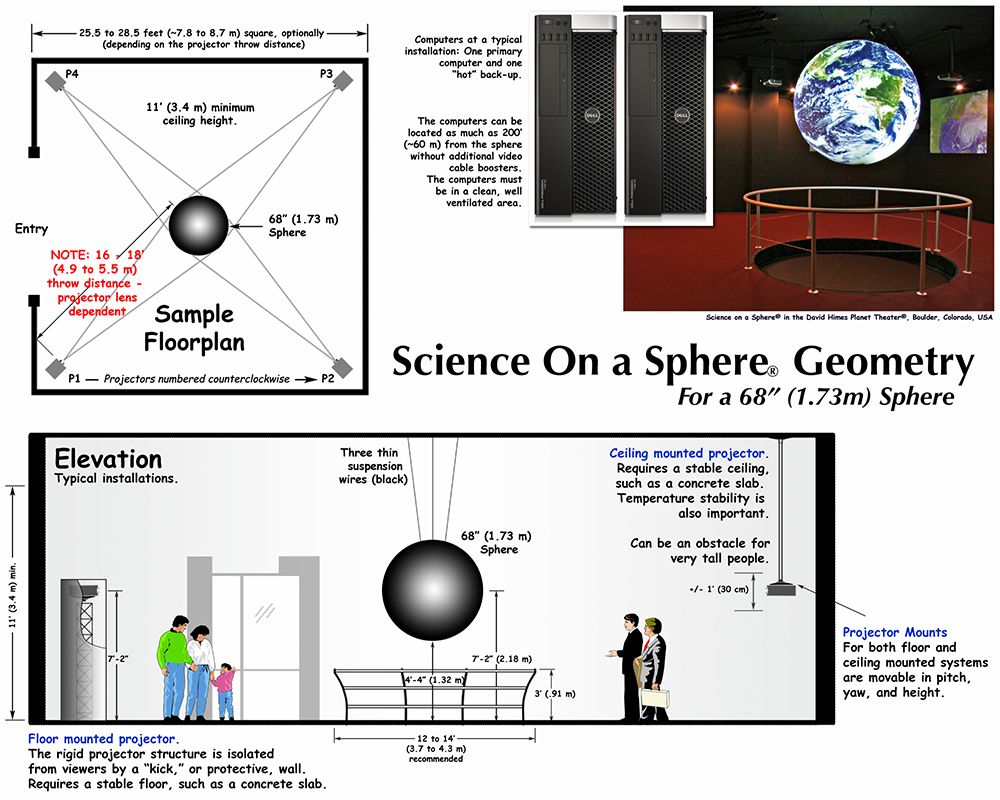
Top-down and side view for a standard 4 projector installation
The four projectors are placed at the four corners of a square that is 25.5–28.5 feet (7.8–8.7 meters) on each side, depending on your projector. The Sphere is hung at the center of the square with a guard rail to prevent viewers from reaching the Sphere. Projectors can be mounted to the ceiling or on the floor. Floor-mounted projectors should be isolated from viewers with a protective wall (a "kick"). Projectors, whether floor-mounted or ceiling-mounted, require a stable mounting surface, such as a concrete slab. The SOS computers can be located up to 200 feet (60 meters) away from the sphere with the use of additional video cable boosters. The computers must be in a clean, well-ventilated area.
Printable PDFs for Various Sphere Sizes
Permalink to Printable PDFs for Various Sphere Sizes- Standard Floor Plan for 68" Sphere
- Standard Floor Plan for 60" Sphere
- Standard Floor Plan for 48" Sphere
Configuration Variations
Permalink to Configuration VariationsIf you don’t have room for four projectors, then using fewer projectors is a great option. The projectors remain 90 degrees apart from one another and one or two quadrants of the sphere are dark, depending on how many projectors are used. Some sites have opted to put the sphere in a corner or against a wall to help hide the dark areas.
Three Projectors
Permalink to Three Projectors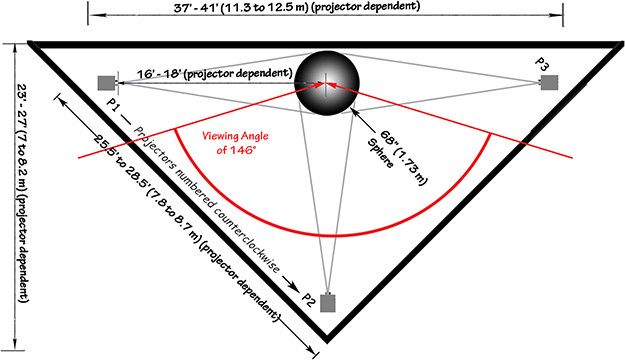
Sample three projector floor plan for a 68" diameter sphere
When using only three projectors, each projector is placed at each of the corners of an isosceles right triangle, with the Sphere placed at the center of the triangle's hypotenuse so that it is equidistant from all three projectors. The hypotenuse of the triangle should be 37–41 feet (11.3–12.5 meters) long, and the other two sides should both be 25.5–28.5 feet (7.8–8.7 meters) long, depending on your projector. In this configuration you'll have a viewing angle for the Sphere of 146°, past which the dark areas will become visible.
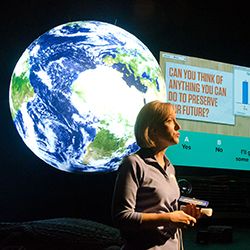
A three projector system with a full sphere against the wall at the Science Museum of Minnesota
Two Projectors
Permalink to Two Projectors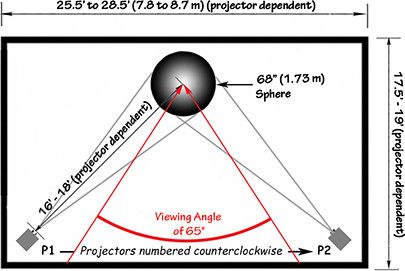
Sample two projector floor plan for a 68" diameter sphere
When using only two projectors, each projector is placed at two corners of a rectangle. The rectangle should be 25.5–28.5 feet (7.8–8.7 meters) by 17.5–19 feet, depending on your projector. The projectors will be placed on the two corners of one of the long sides of the rectangle, with the Sphere hung at the midpoint of the opposite long side. In this configuration you'll have a viewing angle for the Sphere of 65°, past which the dark areas will become visible.
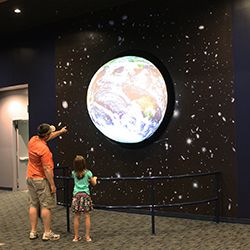
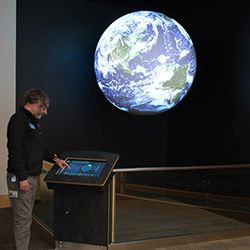
The first image shows a two projector system with a sphere hanging in a cutout in the wall (North Carolina Aquarium on Roanoke Island). The second image shows a two projector system with the sphere in the corner (Kalamazoo Valley Museum).
Printable PDFs for Various Sphere Sizes
Permalink to Printable PDFs for Various Sphere Sizes- Configuration Variations for 68" Sphere
- Configuration Variations for 60" Sphere
- Configuration Variations for 48" Sphere
Equipment List
Permalink to Equipment ListWe have tested out a limited set of system components that we know work with Science On a Sphere®. While other components may work, we can only guarantee a fully functional system that is built using these brands and models.
PC Specifications
Permalink to PC SpecificationsDELL T3680: Recommended Computer Specification. Two of these units are required, one operational and one for a hot spare. Each machine requires two NVIDIA T1000 graphics cards. They are available as an option from Dell when you customize the computer. See video card specifications for details.
Video Projector Specifications
Permalink to Video Projector SpecificationsSOS uses video projectors to display images onto a sphere, however not every projector is well suited for SOS. The system needs high quality, bright, long duty cycle projectors for proper system operation. Of extreme importance is the choice of the projector lens.
One of the projector characteristics we look at closely is brightness. While this is somewhat subjective, we have found that projectors need to produce a nominal 3500 ANSI Lumens. This can vary depending on the ambient light conditions but 3500 Lumens is the minimum — many of our sites use brighter projectors.
The duty cycle of the projector is important for reliability. Since the projectors operate for 8 to 10 hours per day, often 7 days a week, the projectors need to be designed to run for that many hours. Generally, “board room” class projectors fit into this category. We find that these board room class projectors have the appropriate number of fans and filters to operate well in a museum environment.
As you might expect, the projector lens choice is critical. In most cases, the standard lens is usually adequate and always gives the best price. However the zoom and throw ranges need to be checked against the specifics of each sphere installation. The general rule of thumb used is that the projected image needs to be 72" in height at the distance given between the projector lens to the center of the sphere (for a 68" sphere). We’ve used the “lens” calculator found Projector Central to checkout the throw/zoom ranges for a particular projector lens. Because this component is so critical, we request that each site check with NOAA before procuring a projector.
Recommended Projectors
Permalink to Recommended ProjectorsHere are a few projectors that we’ve used at other SOS installations and we have high confidence that they work properly with SOS within the distances listed below (again, the distance is measured from the projector lens to the center of the sphere). Other projectors will work, but we will only support projectors that have been pre-approved by NOAA.
Panasonic PT-FRZ50
Permalink to Panasonic PT-FRZ50- DLP
- 1920x1200 resolution
- 20,000 hour lamp life
- 5400 Lumens
- Standard zoom lens throw distance: 14’0"–28’2" for a 68" sphere
BenQ LK952 or BenQ LK935
Permalink to BenQ LK952 or BenQ LK935- DLP
- 3840x2160 resolution
- 20,000 hour lamp life
- 5,000 Lumens
- Standard zoom lens throw distance: 14’6"–23’3" for a 68" sphere
Projector Mounts
Permalink to Projector MountsIn order to mount the projector, it is recommended to buy a projector mount that allows for adjusting the pitch, yaw, and height. The RPA series of projector mounts from Chief is customizable for every projector and works well for SOS. Make sure to order the RPA custom projector mount based on your projector selection, and not the universal projector mount. Also, we have found the RPA custom mount is better for our purposes than the RPA Elite custom mount, so don’t order any of the Elite versions. For example, for the Panasonic PT-RZ570u, we recommend the RPA324 mount. Use the MountFinder to find the custom RPA mount for you.
Video Card Specifications
Permalink to Video Card SpecificationsEach SOS computer should be ordered with two NVIDIA T1000 video cards installed by Dell. Please make sure that you order two for each computer. It is listed as “dual” on the computer specs quote with a quantity of 1, but that means two cards!
Using HDMI, DVI, or VGA Adapaters
Permalink to Using HDMI, DVI, or VGA AdapatersThese cards have four Mini-DisplayPort outputs. You will need to order active adapters to convert from the Mini-DisplayPort output to your chosen extender format (being either HDMI, DisplayPort, or DVI). It is critical that these adapters are specified as active, or they will not work. We recommend ordering the active adapters from startech.com.
Please let the SOS Team know if you are not using DisplayPort extenders.
Video Extenders
Permalink to Video ExtendersIn order to connect the projectors to the SOS computer, we recommend the use of videos extenders. The extenders you use will vary depending on your projector selection. We recommend:
If the projectors have a built-in receiver, then the 230 Rx will not be needed. Mini-DisplayPort cables with an adapter will be run from the graphics card to the transmitters and then a ethernet cable will be run from each transmitter to the projectors.
If the projectors do not have a built-in receiver, then Mini-DisplayPort cables with an adapter will be run from the graphics card to each of the transmitters and then a ethernet cable will be run from each transmitter to the receivers. An HDMI cable will be needed to run from the receivers to the projectors.
Audio System (Reference System)
Permalink to Audio System (Reference System)Science On a Sphere® requires an audio system, however there are numerous ways to build audio components. Here is one example of how to build an audio system for SOS. It includes a basic, 4 input, mono mixer with four speakers. The speakers are two powered speakers and two un-powered slave speakers. The mixer is used to combine audio that comes from the SOS computer system and a wireless microphone.
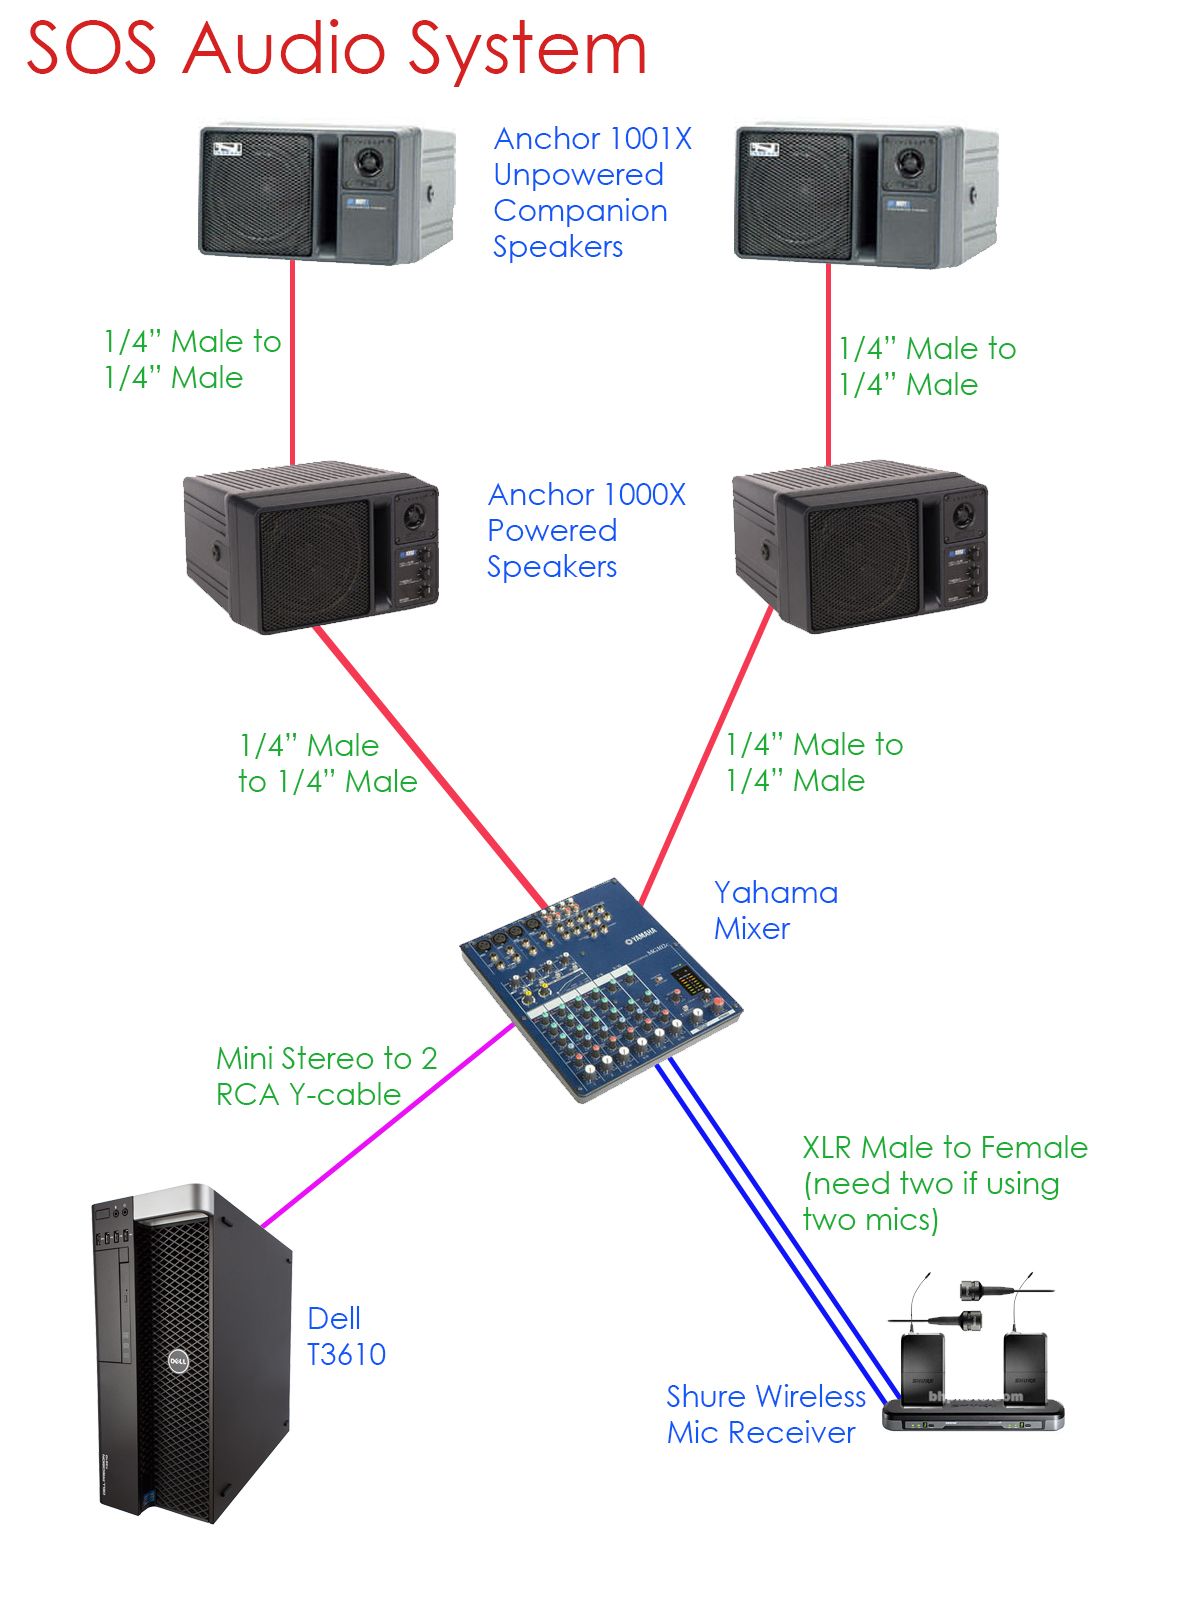
Wiring diagram for the reference audio system
For a higher-end audio installation, David Eltzroth has written a white paper discussing a Dolby stereo surround audio system for SOS (PDF).
Bluetooth Adapter
Permalink to Bluetooth AdapterThe Bluetooth adapter plugs into the main computer via USB and allows for another way to connect the iPad. The following model is regularly used with Science On a Sphere. This is an optional purchase:
Apple iPad Remote Control
Permalink to Apple iPad Remote ControlAs of SOS release 3.4.2, SOS supports the Apple iPad and other iOS devices for sphere operations. For simplicity, we refer to this as the iPad interface, but it can be installed on a recent version of any the following devices:
The iPad and iPad Mini provide a richer interface with more information available to the user. The free app is named SOS Remote and is available in the Apple App Store.
In addition to one of the above devices, the use of this interface requires Wi-Fi access to the SOS computer. There may be an existing Wi-Fi infrastructure at your site that you can use. If not, you will need to purchase an additional Wi-Fi router
Further information about the iPad app, including Wi-Fi requirements, is available in the SOS Remote App Manual.
Many sites find that having an iPad case with a hand strap that makes it easy to hold during presentations is really nice to have. There are lots of options available online.
Optional Hardware
Permalink to Optional HardwareSOS comes with additional optional software that is available to all SOS sites. This software includes the SOS Public Kiosk software. To utilize this software, additional hardware is needed, as described below.
SOS Public Kiosk Hardware
Permalink to SOS Public Kiosk HardwareThe Public Kiosk software runs on a PC running Microsoft Windows. It is officially supported on Windows 7, 8, 10, and 11 with Windows 11 being preferred. The User Interface looks best on screens with 16:9 ratios. It requires a touch screen, which can be separate from the computer or in an all-in-one configuration. The touch screen works best when mounted either in a kiosk housing near the sphere or mounted to the railing that surrounds the sphere. The kiosk PC must be on the same network as the SOS machine, either directly connected with Ethernet or by Wi-Fi.
In our experience, basically any Windows PC that works with a touchscreen will work with the SOS Kiosk. One configuration that is well tested is a PC with the following specifications:
- OS
- Windows 10/11
- CPU
- Intel core-i5-6500T (Quad Core, 6 MB, 4T, 2.5 GHZ)
- Memory
- 8 GB
- Graphics
- Intel Integrated
- Storage
- 128 GB HDD or SSD
More details about the kiosk can be found in the kiosk manual.
Exhibit Design Checklist
Permalink to Exhibit Design ChecklistThere is much to consider when preparing for a SOS installation. Use this checklist as a tool to make sure that nothing is left out. For any questions, email sos.support@noaa.gov.
Exhibit Layout Specification
Permalink to Exhibit Layout Specification| Suggested Measurement | Site Measurement | |
|---|---|---|
| Exhibit Footprint | 25.5–28.5 square feet (for a 68 inch sphere) | |
| Celing Height | 12 feet or more | |
| Projector Positioning | 90° apart | |
| Railing Diameter | 12–14 feet | |
| Railing Height | 3 feet | |
| Cat 6a cables for extenders | Up to 200 feet | |
| Eyebolts in Ceiling | See the Sphere Mount Calculator |
Equipment Specification
Permalink to Equipment Specification| Suggested | Purchased | |
|---|---|---|
| Sphere (lead time up to 8 weeks) | Email sos.support@noaa.gov | |
| Projectors | Site Specific | |
| Projector Mounting Style | Ceiling/Floor/Wall Mounted | |
| Projector Mounts | RPA Chief Custom Mounts | |
| Computers | Dell Workstation | |
| Video Cards | NVIDIA | |
| Extenders (with Cat 6a cables) | DVI or HDMI | |
| Adapters for Video Cards | Extender dependent. Read carefully | |
| Ethernet Cables for Projector Control | Cat 5e | |
| Audio System | Reference System | |
| iPad and Router | iPad Mini and Case |
Things to Consider
Permalink to Things to Consider| Suggested | Notes | |
|---|---|---|
| Projectors draw about 5 amps each | Use UPS for each Projectory | |
| Computer location | Well ventilated, close to Sphere | |
| Computer storage | Should be lockable, out of sight | |
| Internet line | 25 Mbps with static IP | |
| Exhibit lighting | Dim; no direct light or sunlight |
Optional Additions
Permalink to Optional Additions| Suggested | Notes | |
|---|---|---|
| Kiosk | SOS Public Kiosk |
