First Steps
This guide is meant to cover the first steps for planning and designing a Science On Sphere® exhibit. Make sure to also review the technical specifications for SOS.
No two SOS exhibits are alike, so what is described here is a recommended setup based on lessons learned. While many of the parameters can be adjusted to meet your site’s desires, there are limits to how much the exhibit can be altered. Please work with the SOS team every step of the way to ensure that your SOS exhibit will reach its full potential. Your first contact should be sos.contact@noaa.gov for general information and distributor contact details. The SOS installation process from first contact to a completed, installed exhibit is typically several months. Contacting the SOS team early in the planning process helps to ensure your installation timeline can be met.
SOS at the Clark Planetarium in Salt Lake City, UT
Exhibit Design Checklist
Permalink to Exhibit Design ChecklistThe exhibit design checklist is meant to accompany this guide and help ensure that sites have covered all the major details.
Facility Space
Permalink to Facility SpaceAfter your initial contact with the SOS team, the very first thing to consider for a Science On a Sphere® exhibit is space. Science On a Sphere® is a room-sized exhibit. The recommended footprint for the exhibit with a standard size sphere is 30’×30’, with ceiling heights greater than 12’. For the suggested exhibit layout and alternatives options, please refer to the SOS Floor Plan.
Sphere
Permalink to SphereThe standard sphere is 68" in diameter. Other sphere sizes are possible, including the currently available 48" and 60" spheres. The spheres are built to come apart at the equator in two equal halves. There is one seam to hide and it’s a very straightforward process to cover it with spackle and paint.
The sphere, which only weighs 50 pounds, is attached to the ceiling or suspension structure with three cables. The included cables are rated to hold many times the weight of the sphere. A three-point suspension system is used to hold the sphere in place and reduce lateral movement. If the sphere moves, then the images become un-focused. The cables are strong, yet small enough to blend into the background. The suspension cables come with the sphere. The Sphere Mount Calculator should be used to determine the location of the mount points that need to be installed prior to installation week.
SOS at the Whitake Center for Science and the Arts, Harrisburg, PA
Looking down from above, the sphere sits in the center of a square box that can be formed by drawing lines between each adjacent projector. If “D” is the distance from the center of the box to a projector, then the lengths of the sides of this box can calculated by the formula: sqrt(2) x D. It’s important to realize that the distances are just to the projector lens, so the depth of the projector needs to be accounted for when fitting the projectors into a corner or other tight space.
Typically the 68" sphere is positioned 52” above the floor, which puts the equator of the sphere at 7’2”. The height of the sphere is somewhat arbitrary however there are some best practices that should be followed. Positioning the equator at 7’2” serves two goals, the first being that the projectors are also generally 7’2” off of the ground and this height somewhat minimizes the shadows that occur when an individual walks directly in front of a projector. This is clearly dependent on the height of the individual and their closeness to the sphere. The second goal served is that the sphere isn’t too high for viewers. By stepping back four to eight feet, the viewers can still get a view of the northern part of the sphere, yet it’s not so high as to not allow a viewer to walk up very close to the sphere and get a feeling of size, scale and proportions of the globe.
SOS with the SOS Public Kiosk at The Kalamazoo Valley Museum in Kalamazoo, MI
Projector Placement
Permalink to Projector PlacementAs described, the projectors are at the corners of a virtual box with the sphere at the center. It is critical that the projectors are located at 90 degree angles from each other, relative to the center of the sphere. The projectors can be attached to a pipe coming down from the ceiling, a floor mounted truss, or attached to a wall. The projectors should be mounted in a way that allows for a 3-axis adjustment (x, y, z planes). The RPA Custom projector mounts from Chief are strongly recommended and available for any projector.
For floor-mounted projectors, it is important to create a barrier around the projector stands that isolates the projectors from people bumping them. When deciding between floor or ceiling mounted projectors, it is important to consider vibration. Any vibration of the projectors shows in the images on the sphere. If there is a floor above the exhibit space with high foot traffic, then ceiling mounted projectors might not be a good idea. If the floor is not solid, then floor mounted projectors are likely to show significant vibration. While wall-mounted projectors can also be used, they tend to have the most problems with vibrations and are not recommended.
The projector height needs to be equal to the height of the equator of the sphere, plus or minus 12" (please talk to the SOS distributors before making assumptions about the projector height). The four- projector design of Science On a Sphere has some inherent limitations, the main one being the blackout area at the top and bottom of the sphere. The blackout area amounts to a small area at the very bottom and very top of the sphere. This is the area where the light rays of projectors cannot reach from their current location. With the sphere at the recommended height, this blackout area is difficult to see and is generally of little issue even if someone happens to lean over and see the little blank area at the bottom. Raising the projectors causes the blackout area on the bottom of the sphere to increase in size. However, many sites with ceiling-mounted projectors still choose to raise the height of the projectors to move them out of reach. It is critical that the projectors are all on the same geometric plane and that the projector plane is parallel to the floor.
Another area of flexibility for the projectors is their distance from the sphere. While this distance is highly projector dependent, the recommended distance from the projector lens to the center of the sphere is 16’ – 18’ for the standard size sphere. Depending on projector make and model, those distances can be altered somewhat. The SOS team can help you find a projector to meet your needs. It is recommended that all the projectors are the same distance from the sphere, but that can be adjusted as well using the SOS software.
Light Levels
Permalink to Light LevelsIt’s not only the size of the space that has to be considered, but also the aesthetics. The main aesthetic consideration for the space is the light level. Science On a Sphere® looks most brilliant in a dimly lit space, though the exhibit has been set up in several lobbies and other spaces with high light levels. There isn’t a lot of information on acceptable light levels for Science On a Sphere viewing. Any discussion regarding acceptable light levels is fairly subjective. Most of the projectors that are recommended are bright, 4000 lumen projectors. The projectors provide a significant amount of illumination and contrast, even in well-lit areas, however being able to control some aspects of the light conditions in the enclosure will be important. The system looks its best when viewed in fairly dark conditions so that the sphere appears to be suspended in outer space.
Direct light and sunlight will wash out the images on the sphere. Tinting any exterior windows and pointing directional lighting away from the sphere is highly recommended.
Equipment Considerations
Permalink to Equipment ConsiderationsThe computers and additional equipment for SOS should be kept in a computer room or storage space close to the exhibit. Cable runs from the computer to the projectors should be no more than 200’. Many sites find it convenient to be able to see the sphere when working at the SOS computer for programming purposes. A key consideration when choosing the storage location is the ventilation of the space. The Dell computer systems generate very little noise, but a significant amount of heat from rear exhaust fans. The standard configuration consisting of two computers needs to be kept at an ambient air temperature somewhere below the mid 70’s with adequate air flow away from the CPU cases.
The projectors generate a small to moderate amount of noise due to the cooling fans. The projectors also generate a fair amount of heat for their size. If enclosures are built around the projectors, they need to allow for adequate air flow and ventilation. Air flow and ventilation also needs to be considered if the projectors are positioned near walls or in corners.
Floor and Seating
Permalink to Floor and SeatingWhen seating is provided around SOS, the audience generally stays in the exhibit space for a longer time. Seating can either be spread around the sphere, or consolidated in one section. The type and position of the seating will depend on how the sphere is used. For live presentations with smaller groups, it’s convenient to have the whole audience all gathered on one side of the sphere. For informal viewing or large crowds, then seating around the sphere is a good option. A carpet floor is also desirable for kids to sit down on and to help reduce sound echoes. Many times, when children come in for a field trip or are there as part of a tour, they immediately sit down on the floor.
Railing
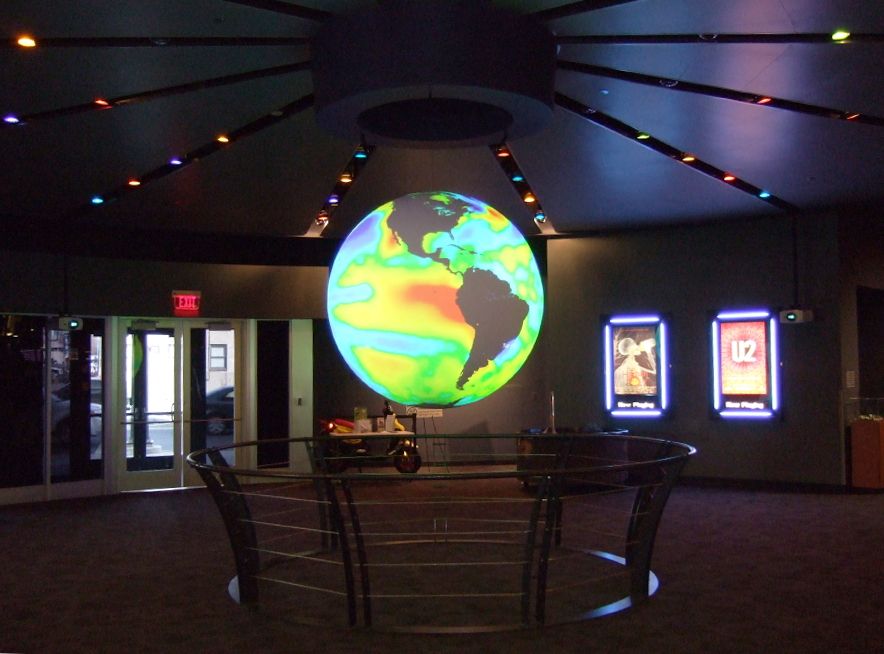
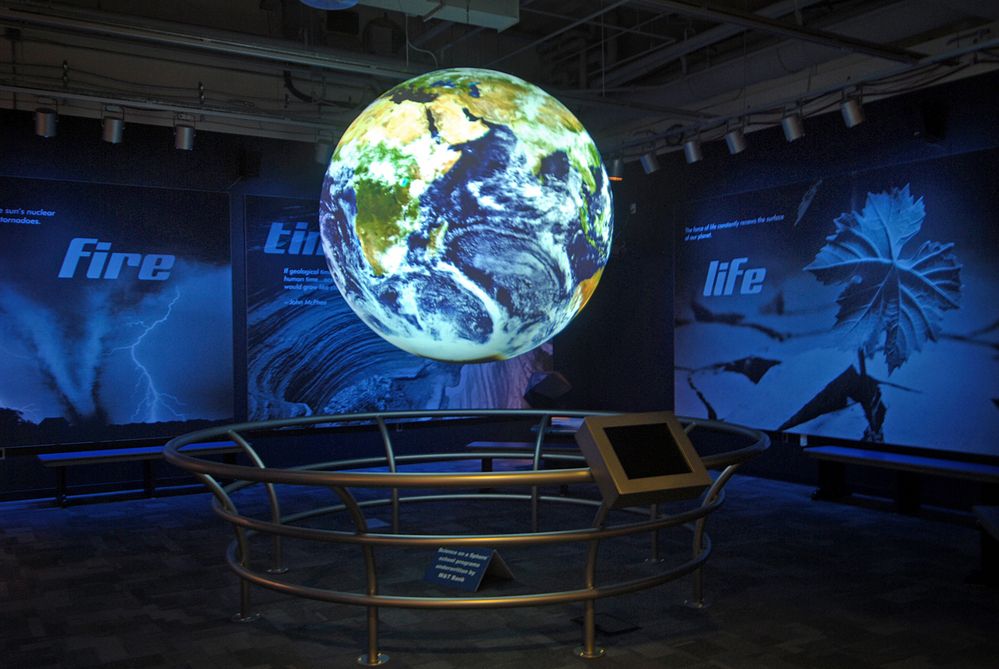
Permalink to RailingA random observation is that children younger than 10 seem to immediately want to touch the sphere and then crawl on the ground underneath it to see what is at the bottom. In a museum setting, it is recommended that a railing or barrier of some kind be installed to restrict audience members from touching the sphere. Touching the sphere can result in sphere movement, pose a safety issue, and generally detract from the presentations. The recommended railing size is a 12’- 14’ diameter circle that is 3’ tall. This size for the railing is large enough to prevent the audience from touching the sphere, but small enough to let audiences get a close-up look. The design of the railing is up to each individual site. The SOS distributors can provide pricing for railings if the site doesn’t want to provide their own.
Exhibit Space
Permalink to Exhibit SpaceThe SOS exhibit can either be incorporated into a larger exhibit, or showcased alone. Some sites have put SOS into a room that is dedicated solely to SOS with only one entrance like a theater, others have secluded the exhibit but have many entrances and exits, and still others have SOS out in the open amongst other exhibits. There is no right or wrong way to set up the exhibit, but programs utilizing the sphere will probably look different depending on the space. A theater setup lends itself well to schedule presentations with a presenter, while a sphere in an exhibit hall works well in an unattended mode. Many existing SOS sites have conducted evaluations as to the pros and cons of the various set-ups. To see different setups, look through the installation pictures.
Audience
Permalink to AudienceScience On a Sphere® is seen by over 66 million people annually, from young children in grade school to adults. The venues range from very casual to extremely structured. During live presentations, having an audience of about 30 people is optimal. Larger audiences are possible depending on how the space is laid out. During presentations, the facilitator can use an iPad to manipulate the animations being shown on the sphere. From evaluations of SOS in public places the following has been observed.
- Visitors are enthralled with SOS, so much so that they generally don’t look at surrounding flat-panel displays with other imagery on it
- Visitors are generally curious about the technical aspects of the sphere
- Visitors liked the aesthetic value of the brightly colored data that was shown on the sphere
- Visitors responded very positively to a live presenter to guide them through the data shown on the SOS. For these presentations the audience would stay for 40-min presentations