Installing the SOS Explorer® (SOSx) Software
Before installing the software, the computer needs to be configured with all the hardware attached and the correct screen configuration. For example, if you’re using a touch screen and a 4k television, make sure the proper resolutions are set for each display. See the Setup Guide for instructions on this. You will also need to be connected to the internet for the final steps of the installation
Launch the Installer
Permalink to Launch the InstallerPlug the hard disk into one of the USB3 ports (they’re blue), if you’re installing multiple copies of SOSx, you can use the same hard disk. If it doesn’t automatically pop up (this behavior depends on configuration settings of your computer), open your file browser and look for the drive named SOSx_Install
Double-click the SOSx-setup.exe file to launch the installation.
Accept the License
Permalink to Accept the LicenseA license agreement will pop up. Read through and click I accept the agreement and then press Next.
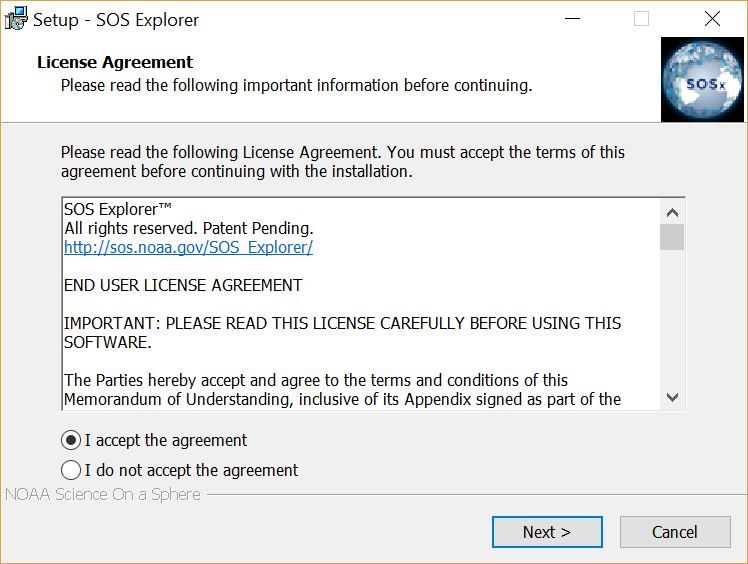
SOSx license agreement
Select Location for the SOSx Installation
Permalink to Select Location for the SOSx InstallationThen you will be asked to select the destination location. Typically, just accept the default location (C:\Program Files\SOS Explorer) by pressing Next.
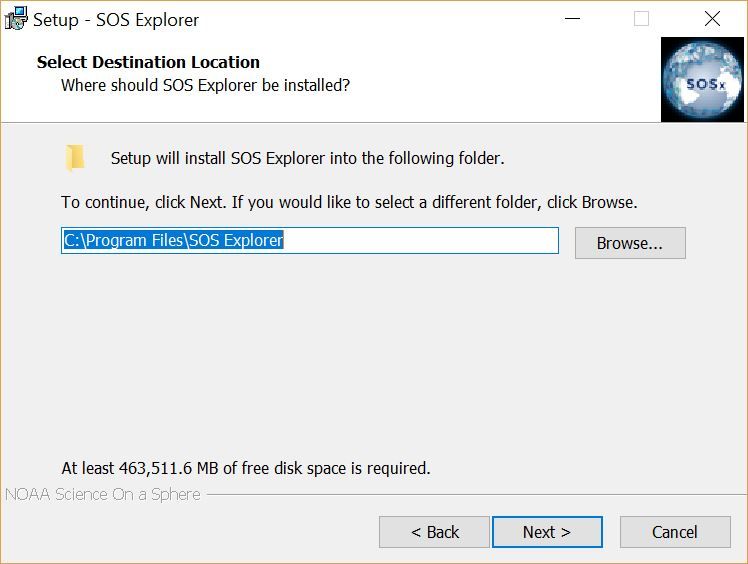
SOSx installation location selection
Choose Dataset Directory
Permalink to Choose Dataset DirectoryNext it will give you a prompt asking where to install the Dataset Directory. If you have just one drive, accept the default C:\local-datasets directory. If you have a secondary drive for storage, switch to that location using the Browse… button. Then press Next.
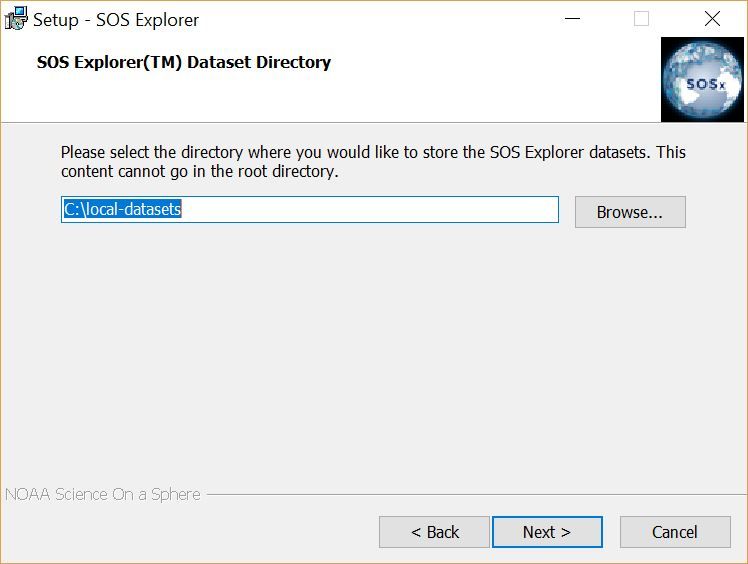
Dataset directory selection
Select Start Menu Folder
Permalink to Select Start Menu FolderIn the Select Start Menu Folder prompt that comes up next, accept the suggested Shortcut by pressing Next.
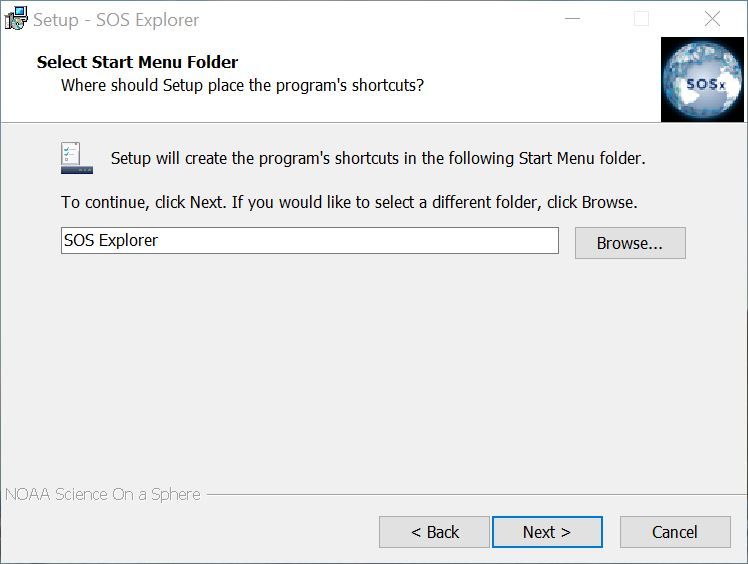
Start Menu folder selection
Select Additional Tasks
Permalink to Select Additional TasksNext you will be asked to Select Additional Tasks. By default Create a desktop icon will be checked. The other options for you to select are:
- Schedule syncing of datasets Tuesday at 9:00AM
- Automatically start on login. This is useful for systems that are set up as a kiosk
- Deactivate Windows swipe gestures (Windows 8.1 or 10). This prevents visitors from easily exiting the application in an exhibit setting
- Deactivate screensaver and power savings. Select this if you don’t want a screensaver coming on when there is no user interaction
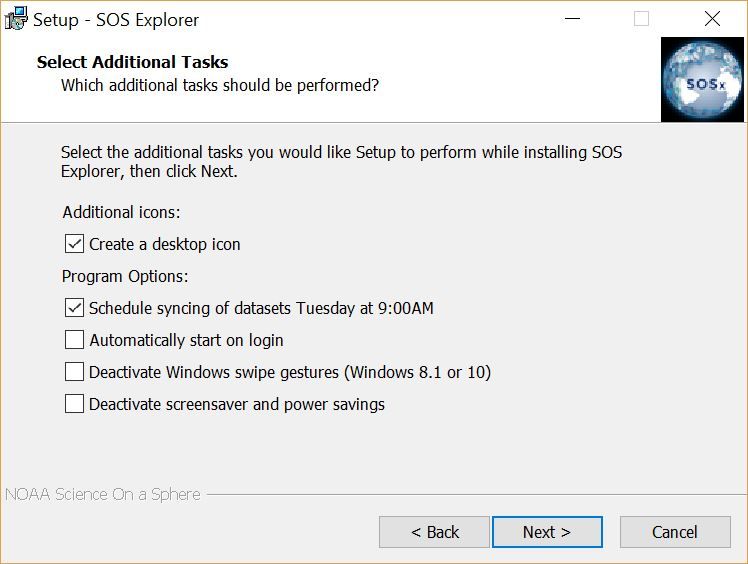
Additional tasks selection
After selecting the above options press Next and a prompt will appear where you can start the installation.
Start the Installation
Permalink to Start the InstallationClick Install to begin the installation. At this point, the install software will download all the SOSx content onto your system. This step will take several hours the first time.
If there are missing software packages, you will be prompted to download these. Agree to all of them in order for the software to run properly. These are video codecs and Windows drivers.
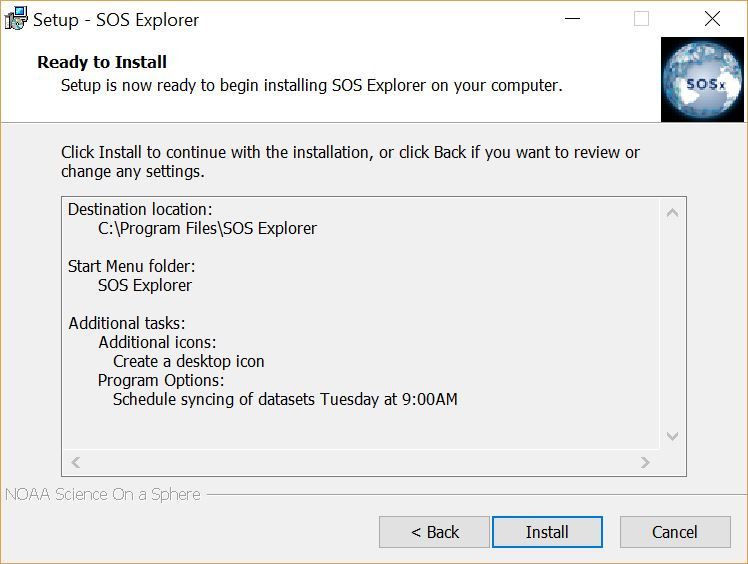
Installation summary
Complete the Installation
Permalink to Complete the InstallationOnce all of the requisite files have been installed on your computer, you’ll see a prompt about completing the setup. You are given the options to view this instruction manual or check for new data. Once you have selected what you want, click Finish.
- If you selected to view the documentation or check for new data, you will see windows for those pop up
- If you selected modify or review configuration the SOSx Configurator will appear
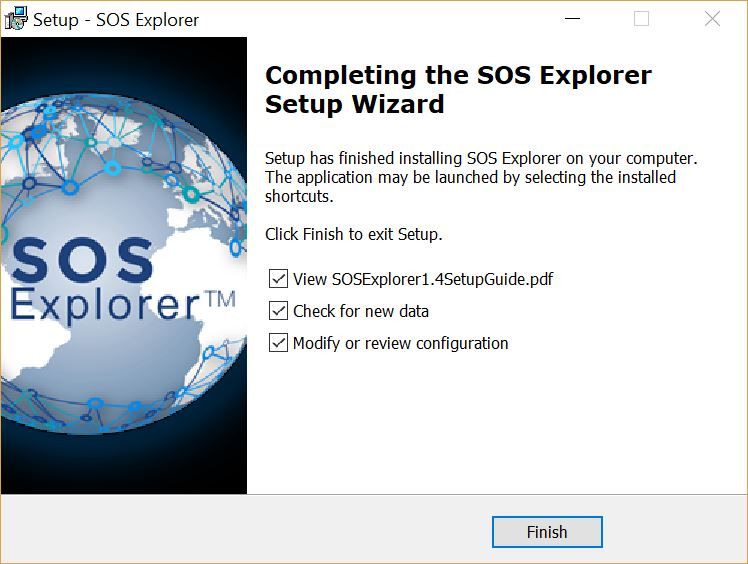
Complete setup
Launch SOSx for the First Time
Permalink to Launch SOSx for the First TimeDouble click on the SOS Explorer® icon on the Desktop (if you kept that default) or in the Start menu folder that was created. This will initiate the registration process.