Phase 1: Setup
Step 1: Turn on the Projectors
Permalink to Step 1: Turn on the Projectors“ProjectorControl.gui” is an application that allows you to easily switch your projectors ON or OFF at the click of a button. This application is typically set up on your SOS computer by the SOS Team during installation.
If this application is not already running on your SOS computer’s Desktop, double click the “Projector Control” icon located on the Desktop. Then, click the “Turn Projectors ON” button.
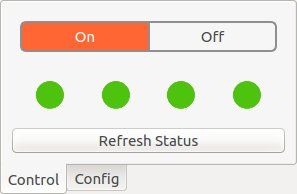
The “Projector Control GUI” shows that all four projectors are turned on and have encountered no errors.
If this application was not installed at your site, turn on each projector by using the projector’s remote control.
Step 2: Set Projector Settings
Permalink to Step 2: Set Projector SettingsHigh Altitude Mode
Permalink to High Altitude ModeAt high altitudes, a projector can overheat due to low air density. If your site is located at a high altitude, set this mode to ON. This will allow the projector to operate with a faster fan speed to prevent damage.
Lamp Mode
Permalink to Lamp ModeIf a room is reasonably dark, use the projector’s lower lamp mode setting (if this feature is available). If the room is bright, set the projector to a higher lamp mode setting for greater light output. In general, all projectors should have the same lamp mode setting so that one projector is not brighter or darker than the others.
Lens Shift
Permalink to Lens ShiftIf your projector has the option for lens shift, in most cases it is best to leave the lens at its default position (i.e., where the center of the projected image aligns directly with the center of the projector’s lens). Ideally, you want the center of the projected image to hit the sphere equator. If the physical placement of the projector does not allow for this, first try tilting the projector (only slightly) so the center of the projected image hits the equator. If this does not work, then try adjusting only the vertical lens shift. If your projector has horizontal and/or diagonal shift, keep these shifts at their default settings.
Keystone Correction
Permalink to Keystone CorrectionIf your projector is mounted such that it is tilting up or down instead of mostly straight, you may have to use the projector’s keystone correction feature to make the projected image more rectangular. For most sites, however, we recommend you do not use any keystone correction.
Resolution
Permalink to ResolutionThe projector’s resolution should be set to its native resolution. Many projectors offer a higher resolution option that is greater than the native resolution. Regardless, you still need to use the projector’s native resolution.
Zoom and Focus
Permalink to Zoom and FocusAfter the lens shift has been adjusted, adjust the projector’s zoom (either manually from the projector’s lens or via the projector’s remote if this option is available). To figure out how far to zoom in or out, first open the Red Ball onto the sphere (see the Red Ball Alignment section). The Red Ball should be fairly centered on the sphere due to physical projector placement. Then, adjust the zoom so that the Red Ball overshoots onto the wall behind the sphere only slightly. Finally, focus the image by looking at the center of the sphere near the equator and using the focus adjustment on the projector or projector’s remote.
Step 3: Edit the SOS Configuration File
Permalink to Step 3: Edit the SOS Configuration File- Measure the height (in inches) from the ground to the sphere’s equator. Write this value down
- For each projector, measure the height (in inches) from the ground to the center of the projector’s lens. Write each value down
- For each projector, measure the distance (in inches) from the center of the projector’s lens to the center of the sphere. Write each value down.
- Write down the native resolution of the projectors, the number of projectors in the display, and the total degrees used by the display (for example, 4 projectors covers 360 degrees longitude, while 3 projectors covers 270 degrees longitude).
- Log on to the main SOS computer as the user “sos”. The sos account is set up with administrative privileges and is necessary for editing alignment files. The sos account password will be what was provided to you during installation
- Open the SOS Configuration Manager by selecting the “Edit SOS Settings” option in the SOS Utilities application on your Desktop. (If you are using SOS version 5.4 or below, you will have to directly edit and save changes to the config file called “sos_stream_control.config”, which is located in the directory /home/sos/. Go ahead and open this file)
- Modify the appropriate values in the config manager to match what you wrote down
- Save the configuration and then close the manager
Step 4: Start the SOS Application on the SOS Computer
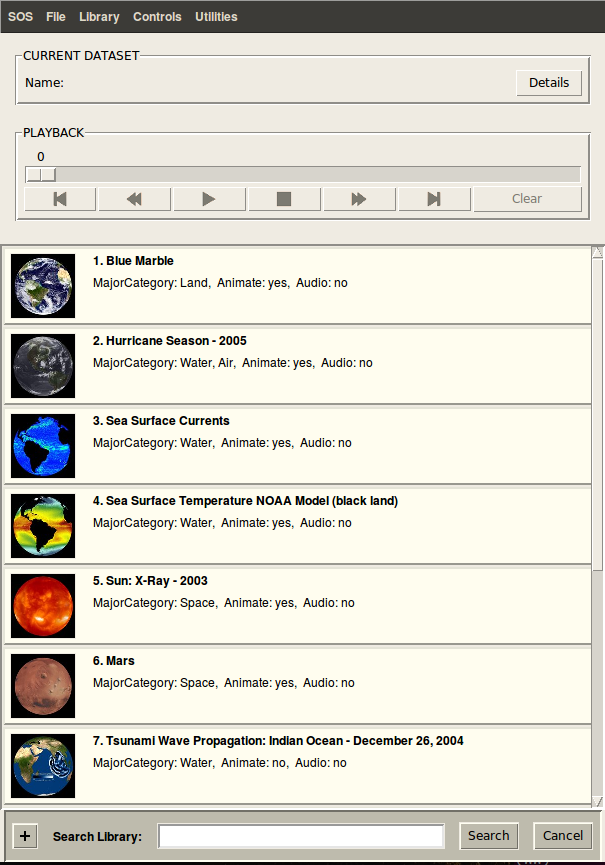
Permalink to Step 4: Start the SOS Application on the SOS ComputerIn order to perform projector alignment, the main SOS application, called “SOS Stream GUI”, must be open and running on your SOS computer. If it is not running, double click on the “Start SOS” icon located on the SOS computer’s Desktop to launch the application.
Step 5: Open the Alignment Interface in the SOS Remote App
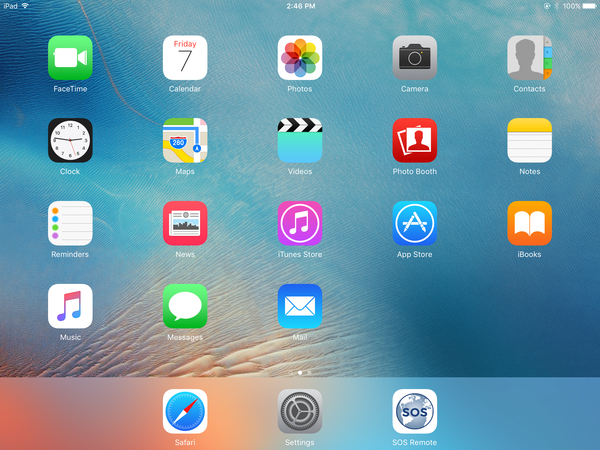
Permalink to Step 5: Open the Alignment Interface in the SOS Remote AppTo open the Alignment interface on your iOS device, tap on the “SOS Remote” app icon located on the home screen.
Then, tap on the “Settings” tab.
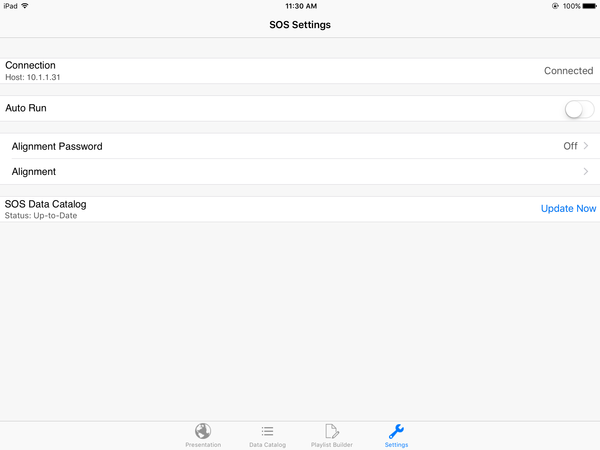
Select the “Alignment” option. A warning message will pop up. Select “Yes” to continue.
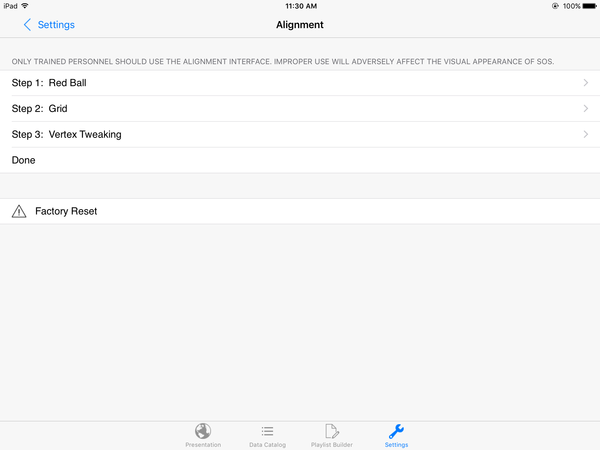
A white grid against a red background will be displayed on the sphere.
Step 6: Factory Reset
Permalink to Step 6: Factory ResetTo reset the projectors to their default alignment settings, tap on the “Factory Reset” button located on the Alignment page. A warning message will pop up. Select “Yes” to proceed with the Factory Reset.