Picture in a Picture
Picture in a Picture (PIP) allows you to display single pictures (any of the previously mentioned image formats works), an image sequence, or videos (MPEG4 only) on top of any dataset.
This feature can be used to display any image, but is commonly used to display colorbars, charts and graphs, logos, and other images that supply supplemental information. Images that you are going to use as PIPs can be stored in the dataset folder that they go with.
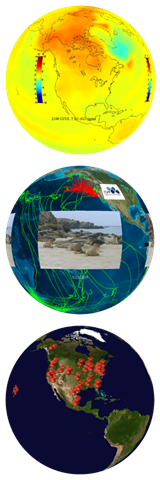
When used for a colorbar, a PIP can help label a dataset, as seen at right. It is not recommended to embed colorbars or other supplement imagery into the maps that you create. Leave them as additional image files that can be added in the playlist.sos file. This gives the user complete control over the position and size of the PIP and gives presenters the ability to turn them off on the fly using the SOS Remote app.
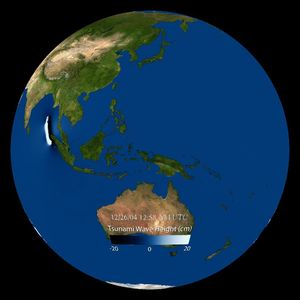
A PIP can also be used to provide a close-up view of a region or give the viewer additional context for what they are seeing. In the example at right, the underlying dataset shows the tracks of elephant seals in red, and the PIP is a picture of actual elephant seals. Multiple PIPs can be shown at the same time, or staggered to create a slideshow effect. Make sure to consider the placement of the PIP in order to not block information in the underlying dataset, especially if the PIP is displayed for an extended period of time.
By using PIPs that are PNG’s with a transparent background, many different shapes can be projected on the sphere with the underlying dataset as a background. PIPs can be set to display in specific locations on the sphere as markers, as seen at right. Here each pushpin is a PIP that identifies the location of a SOS installation.
Standard PIPs shouldn’t be any larger than 1024x1024 in resolution. Be aware that overlapping and warping can occur if the display size of a PIP is set too large. Make sure to test each dataset before distributing it to other sites, checking the PIP size, placement and timing. PIPs can also be MPEG4 files or image sequences.
Each PIP must be specified with the pip attribute. You can point to an image,
time series, an image url (for example: http://example.com/image.jpg), or a
live stream (for example: rtsp://server_name/stream_name.sdp). All of the
following modifying PIP attributes must then be listed below that PIP. To add
another PIP, simply add another line that starts with pip and then list the
modifying attributes in the lines below it. You can add as many PIPs as you
want.
PIP Style
Permalink to PIP StyleThere are three different styles for PIPs: projector, room, and globe.
projector is the default, where the PIP is replicated four times and placed
with the default position centered in front of each projector. As the imagery
rotates, the PIP remains stationary in pipstyle = projector. A pipstyle of
globe places one PIP on the globe, by default with a latitude and longitude of
0,0. As the sphere is tilted and rotated, this PIP moves with the globe. This
allows you to use PIPs as geo-referenced markers. The center of the image is
placed at the specified latitude and longitude. A pipstyle of room places one
PIP on the globe, by default with a latitude and longitude of 0,0. As the
sphere is tilted and rotated, this pip remains stationary relative to the room,
with the sphere data sliding underneath it. See Orientation of
Data to figure out where 0,0 is set in your room.
PIP Timing
Permalink to PIP TimingThe piptimer attribute has to be set (in seconds) so that the system knows
how long to display the PIP. If the piptimer attribute is set to 0, then the
PIP will be displayed for the duration of the dataset, which is the default.
You can delay the appearance of a PIP by using pipdelay, which is in seconds.
Rather than having the PIPs appear abruptly, you can use the pipfadein and
pipfadeout to fade the PIP in and out in a specified number of seconds. The
time to fade in and out a PIP is included from the total amount of time
allotted for the piptimer. By default, a series of PIPs will play through
only once. You can set duration to a given number of seconds to restart the
underlying dataset and the PIPs.
PIP Size
Permalink to PIP SizeIn order for the PIP to be an appropriate size for the sphere and in the proper
proportions, you have to set the pipwidth and pipheight. The width and
height are measured in degrees latitude and longitude. If you set just the
height or the width, the software will automatically scale the image. If you
are using pipstyle = projector you won’t want to make your PIP more than 90
degrees wide because the PIP appears four times (once for each projector) and
it will start to overlap. In addition to the PIP size, you will also need to
determine where you want it displayed on the sphere. If nothing is specified,
then the PIP will appear in the middle of each of the projector views. To
adjust the position of the PIP, use pipvertical and piphorizontal. Both of
these are in degrees. pipvertical is the vertical position of the image
relative to the equator, with positive degrees above the equator. Be careful as
you move the PIP up and down with pipvertical because the image follows the
lines of longitude and becomes warped at the poles. The horizontal position is
relative to the center of the projector, with positive degrees east of the
project.
An alternative to using pipvertical and piphorizontal is to use
pipcoords, which is set in degrees latitude and longitude. The benefit of
using pipcoords is that there is no warping of the images, even near the
poles. pipcoords is also used with pipstyle = room and globe to position
the PIP.


In the first image, the NOAA logo was added as a PIP and positioned
using pipcoords = 30,0; notice how the logo maintained
it's shape. In the second image, the NOAA logo PIP was positioned with
pipvertical = 30; notice how the logo appears pinched at
the top, where it is warped along the lines of longitude.

In the first image, the colorbar PIP was positioned using
pipcoords = -35,0; notice how the bar appears curved
horizontally, but maintains straight vertical lines on the left and
right edges of the bar. In the second image, the colorbar was
positioned using pipvertical = -35; in this case the
horizontal lines remain straight, but the vertical lines are both
angled towards the south pole.
When a PIP is an mp4 file, the default playback speed is the frame rate of the
dataset on which it is overlaid. If you want to control the frame rate of the
PIP, then use pipfps to set a new frame rate. The final option to set with a
PIP is pipalpha, which lets you adjust the transparency. If not specified, the
pip shows up opaque. If you don’t want your pip to completely block the
underlying image you can adjust the opacity of the image from 0, which is
completely transparent to 1, which is completely opaque.
Text PIP
Permalink to Text PIPA Text PIP is a special kind of PIP that displays text only. A Text PIP has all the same attribute specifications as a normal PIP, such as width, opacity, and fadein time. Rather than using an image editing program to create text and save it as an image file for a PIP, you can use the SOS Visual Playlist Editor and enter text directly into the PIP Text Editor and save the Text PIP to your SOS dataset. A Text PIP gets written to an html file. You should only use the PIP Text Editor to create and edit Text PIP files, and you should not create or edit it by hand.
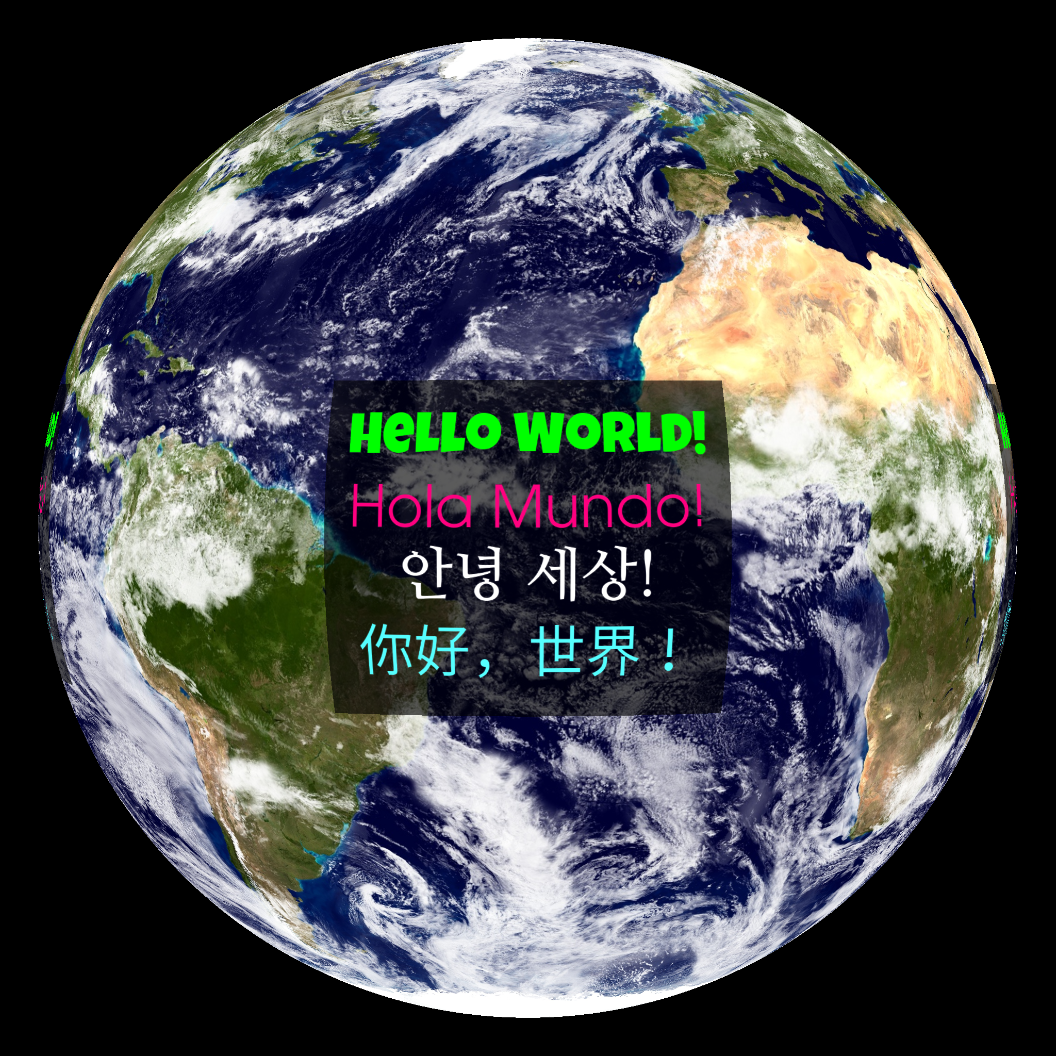
An example of a text PIP showing the same text in English, Spanish, Korean, and Mandarin Chinese.
Moving PIP
Permalink to Moving PIPEach type of PIP (image, image directory, movie, text) can be given a simple path file that contains coordinate locations that indicate how to automatically move the PIP on the sphere as the dataset is animating. The path file is a simple comma separated value file (.csv file format) that contains a list of increasing frame numbers, each with a latitude and longitude value. As the dataset is animating, the PIP will be moved to the location specified in the file that corresponds to the current frame being displayed on SOSOption to render a line path that follows the moving PIP is provided and is turned ON by default. The moving PIP feature makes it easy to show animal migrations (example below shows leatherback sea turtle track), hurricane tracks, etc. on SOS without having to render a moving object into the underlying global movie or image data. Use the SOS Visual Playlist Editor’s PIP Path Editor to associate a csv file with your PIP. For a full example on how to create a Moving PIP, including detailed documentation for creating the csv path file, please see the Moving PIPs How-to.
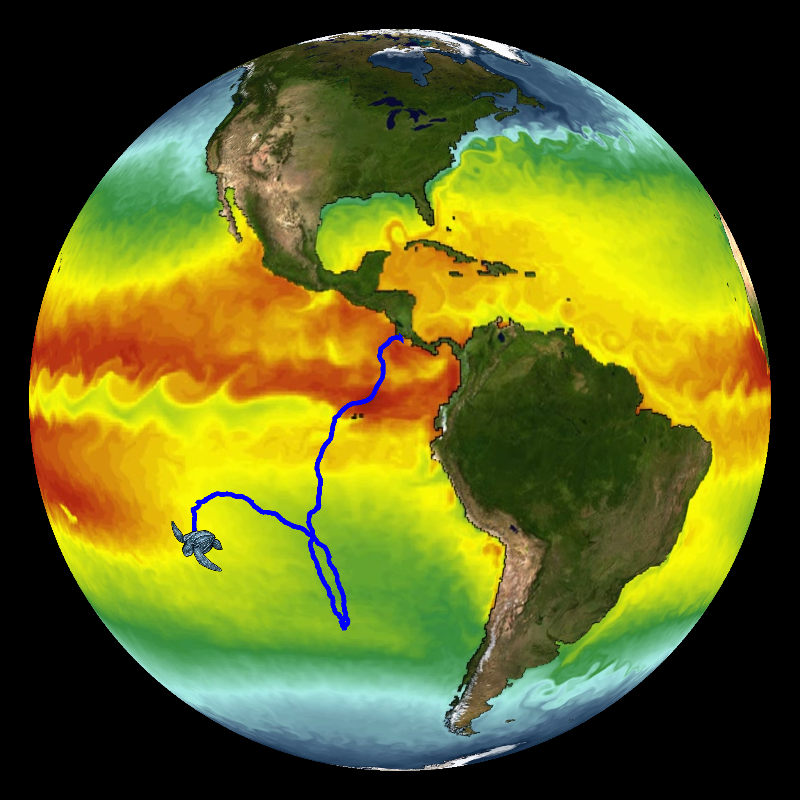
An example of a moving pip
Shared PIP
Permalink to Shared PIPA Shared PIP is a special PIP that can display continuously over multiple clips in a playlist or between playlists. The Shared PIP stays active until you explicitly stop it. In its current implementation, a Shared PIP supports Live Video PIPs as described in the next section and static PIP images.
A Shared PIP is set up through the Shared PIP dialog box, located in the SOS
Stream GUI’s Utilities menu. In the Shared
PIP dialog box that pops up, you specify a Live Video PIP in the same
way as detailed in the section below. For a static PIP image, you can click the
Browse button to locate the image on your SOS computer.
The following PIP attributes work with a Shared PIP: pip, pipstyle,
pipwidth, pipheight, pipcoords, piphorizontal, pipvertical,
pipalpha.
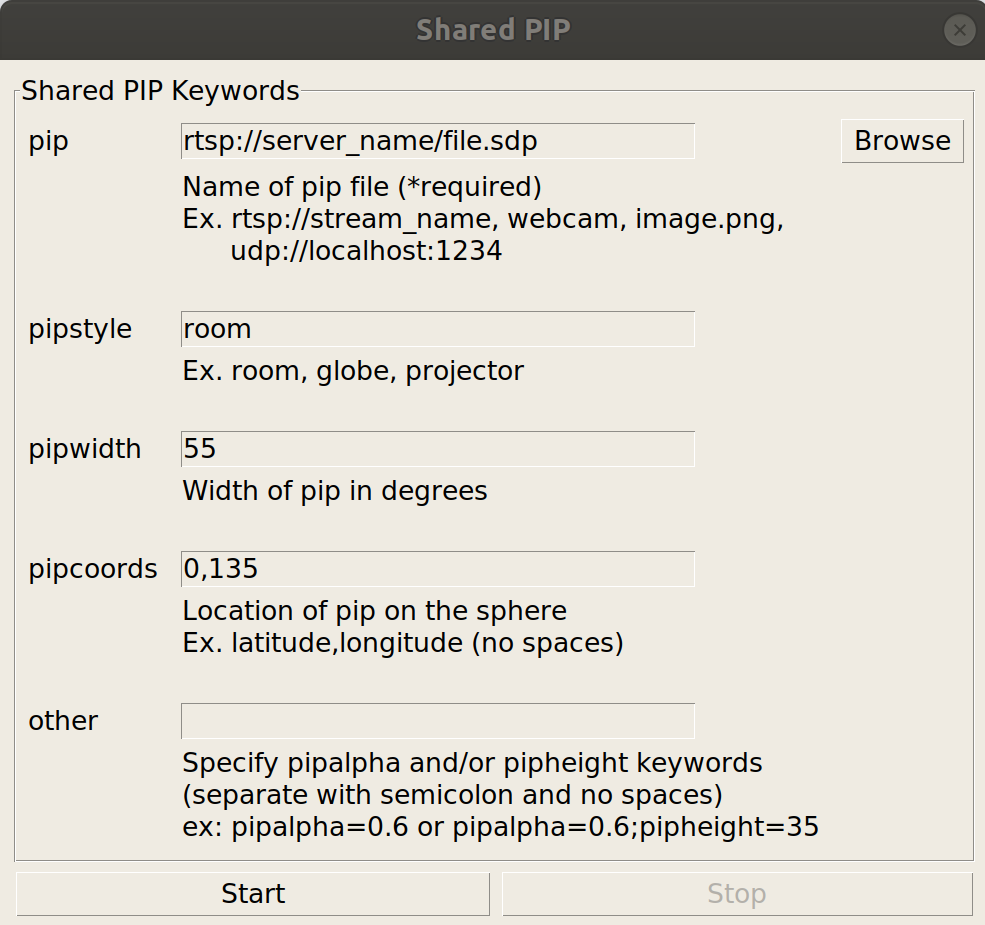
Shared PIP dialog window from the SOS Stream GUI
Once you press Start, the PIP will show up on the sphere, and will remain active even if you switch to a different clip. Press Stop to delete the Shared PIP.
Live Video PIP
Permalink to Live Video PIPA Live Video PIP is a PIP that contains a video that is streaming either from a webcam connected to a local SOS computer, or from an RTSP stream. RTSP (real time streaming protocol) is an application-level protocol that controls the delivery of a real-time data stream, such as live audio and video. This feature may be useful if a site wants to show a real-time video feed of a remote presenter onto their sphere for a particular in-house presentation.
Incorporating in a Playlist
Permalink to Incorporating in a PlaylistA Live Video PIP is specified in a presentation playlist file (or in a clip’s
playlist.sos file) similar to how a normal PIP is specified. To define a Live
Video PIP, simply set the value of the pip entry in your playlist file to an
RTSP URL: pip = rtsp://server_name/file.sdp. In this example,
“server_name/file.sdp” would need to be replaced by the actual name of the
remote presenter’s RTSP stream.
include = /shared/sos/media/oceans/japan_tsunami_waves/playlist.sos
rename = Japan Tsunami with Live Presenter
pip = rtsp://server_name/file.sdp
pipstyle = room
pipcoords = 0,135
pipwidth = 65
To specify a live video pip, set the value of pip in your
playlist file to an RTSP URL.
If you are using a webcam attached to your SOS computer, simply type webcam for
the pip attribute, as in: pip = webcam.
The following PIP attributes work with a Live Video PIP: pip, pipstyle,
pipwidth, pipheight, pipcoords, piphorizontal, pipvertical,
pipalpha.
Once you select this clip via the iPad or SOS Stream GUI, the live stream should pop up on your sphere as a normal pip does (note, however, it may take a few extra seconds to a minute for the stream to show up on the sphere, depending on network speed etc.).
Requirements
Permalink to Requirements- An RTSP source to broadcast the remote presenter: There are various live video streaming solutions available. Currently, we use Apple’s streaming QuickTime technology with the freely available QuickTime Broadcaster. Other streaming technologies that support RTSP may be used
- A reasonably high-speed internet connection is required to send/receive a live video feed. We recommend a dedicated bandwidth of at least 1.5 MBits/sec, though a higher 3-4 MBits/sec is preferred
Limitations
Permalink to Limitations- The webcam currently does not support audio, and may exhibit a delay in frame rate overtime
- Although RTSP supports both live data feeds and stored video/audio clips, in our current implementation, only live data feeds are supported for display in a PIP
- If the live stream is stopped by the host while a Live Video PIP is being shown on the sphere, SOS Stream GUI will hang for about two minutes, and then it will resume normal activity. So, the best thing to do if you notice a live video stream is no longer working on the sphere is to wait for at least two minutes before using any controls on the iPad or SOS Stream GUI, otherwise, you may have to manually stop SOS and restart it